This month it has been one year since I bought my 117-year-old home in the Holy Rosary neighborhood in Fletcher Place in downtown Indianapolis, and I am sharing the progress I made in my home in the past year! It has been incredible how just a few simple changes really makes a space, and particularly makes the space your own.
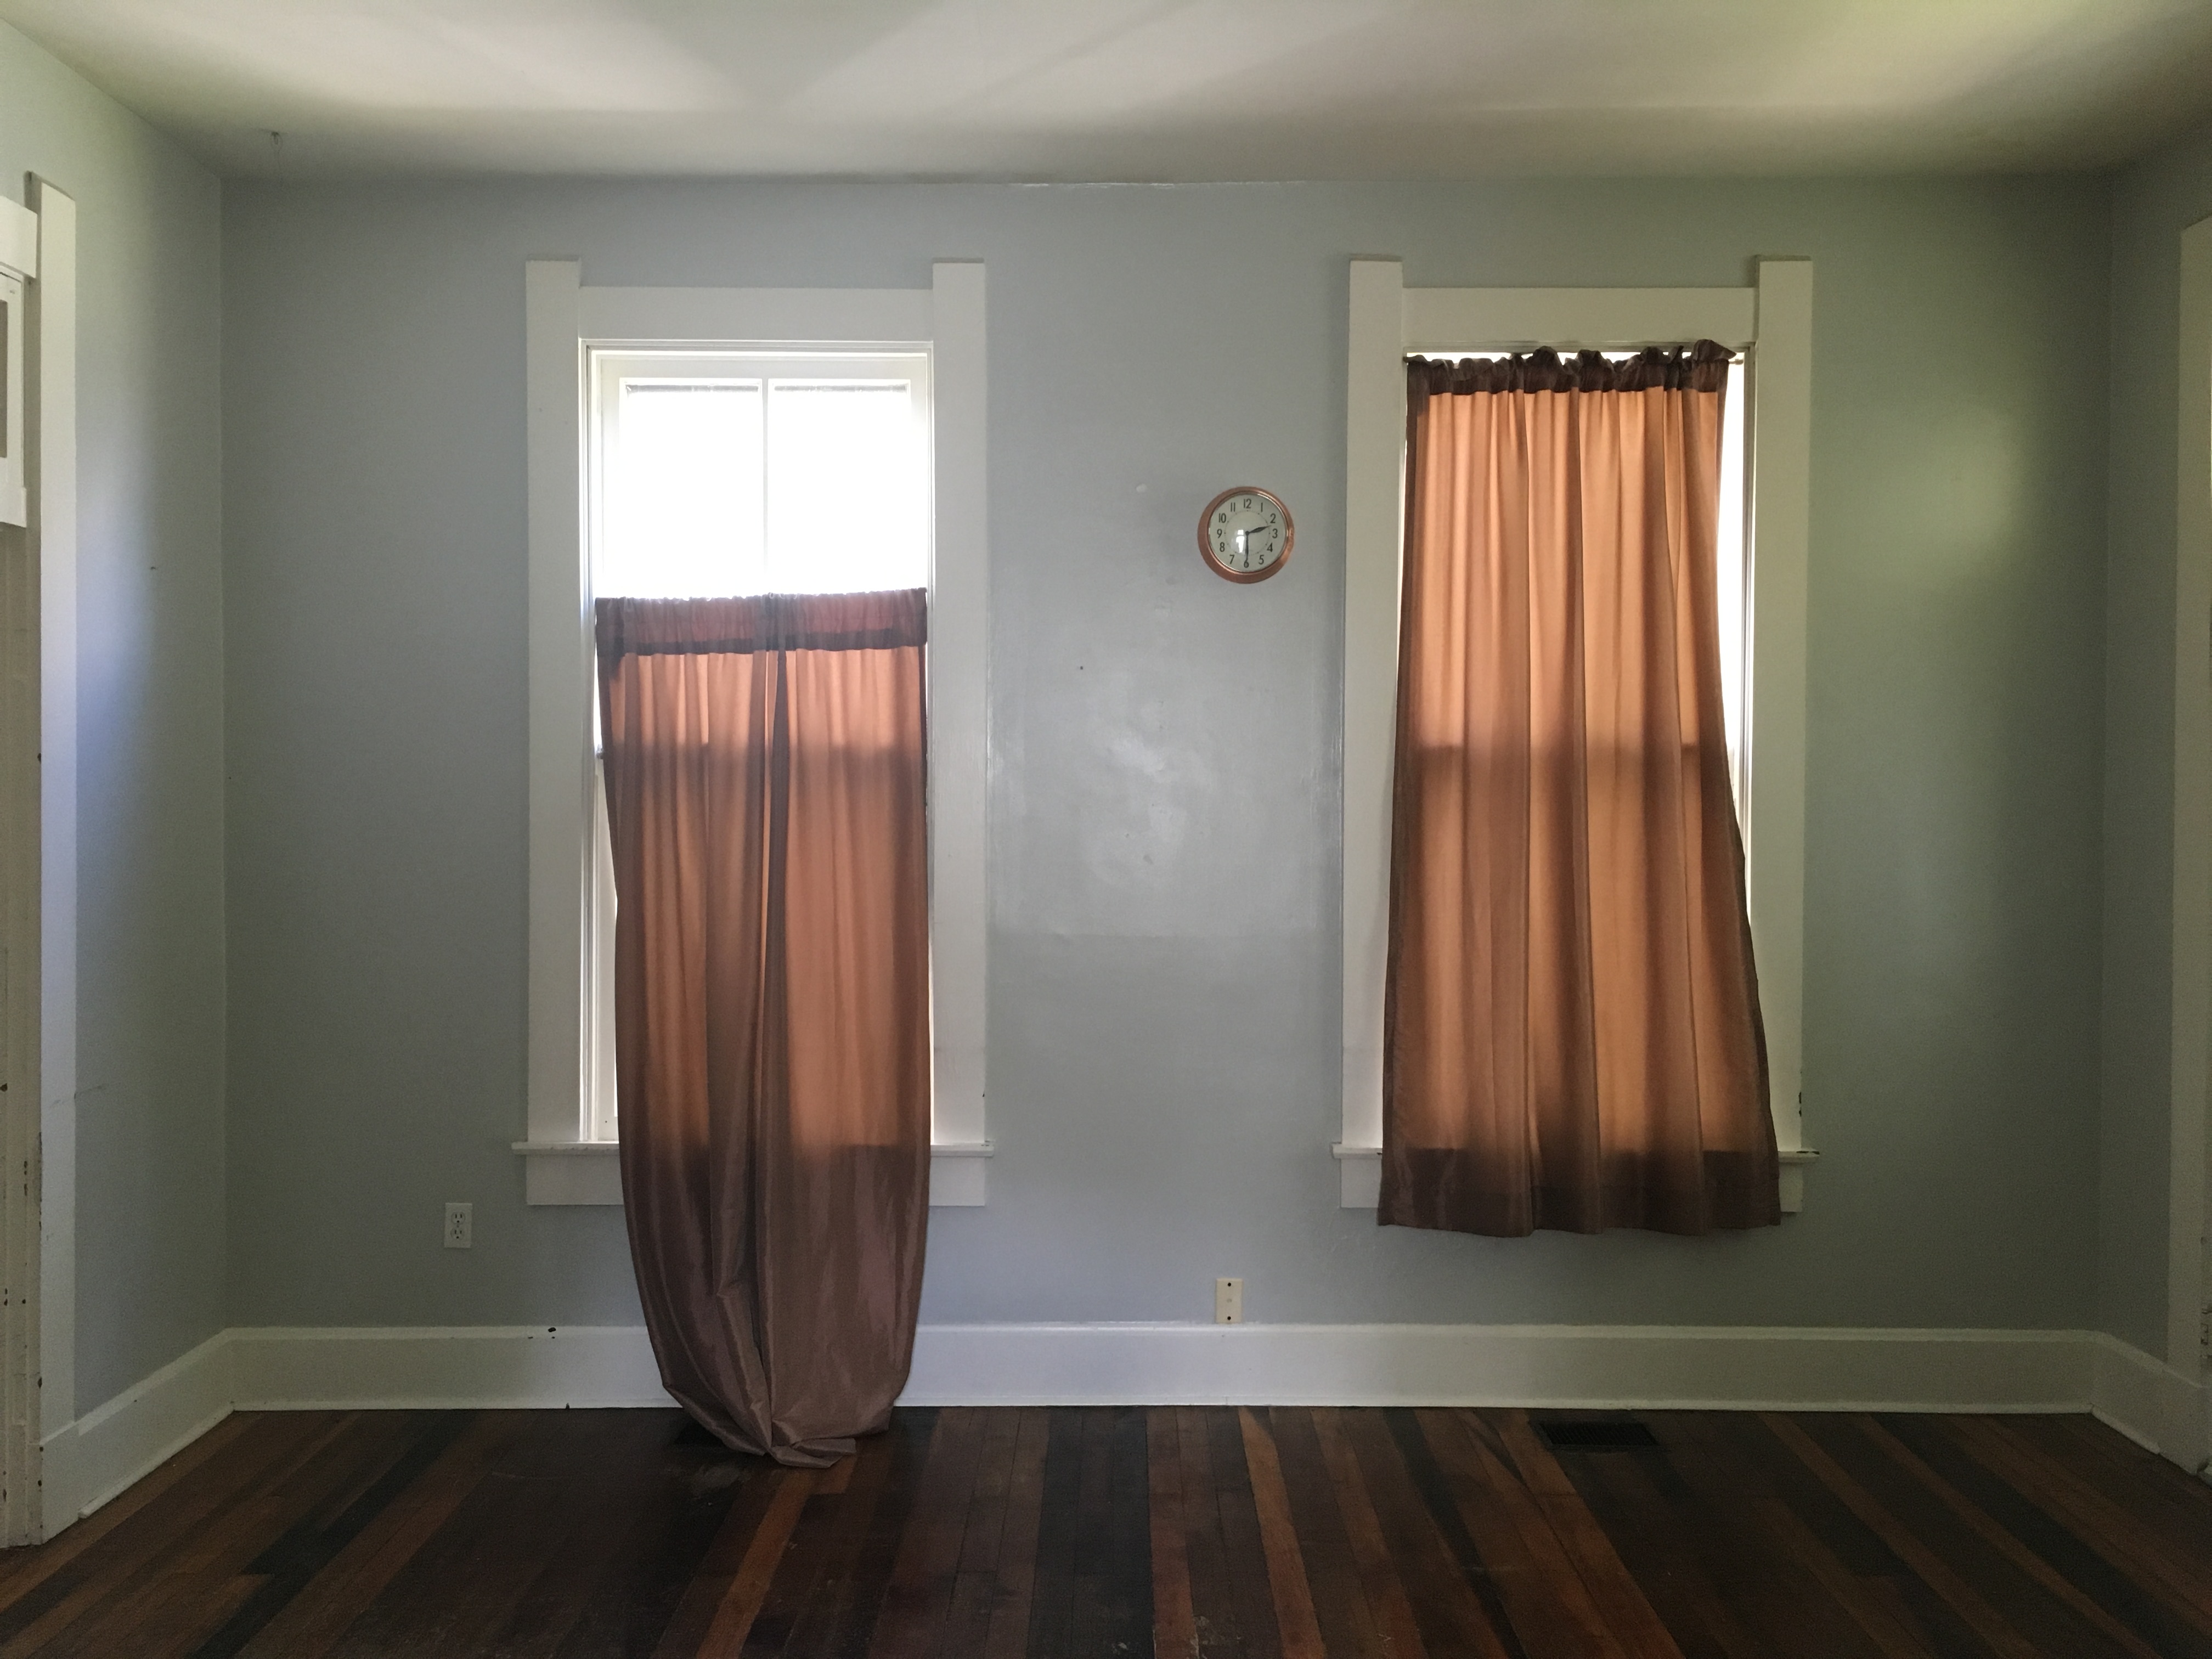
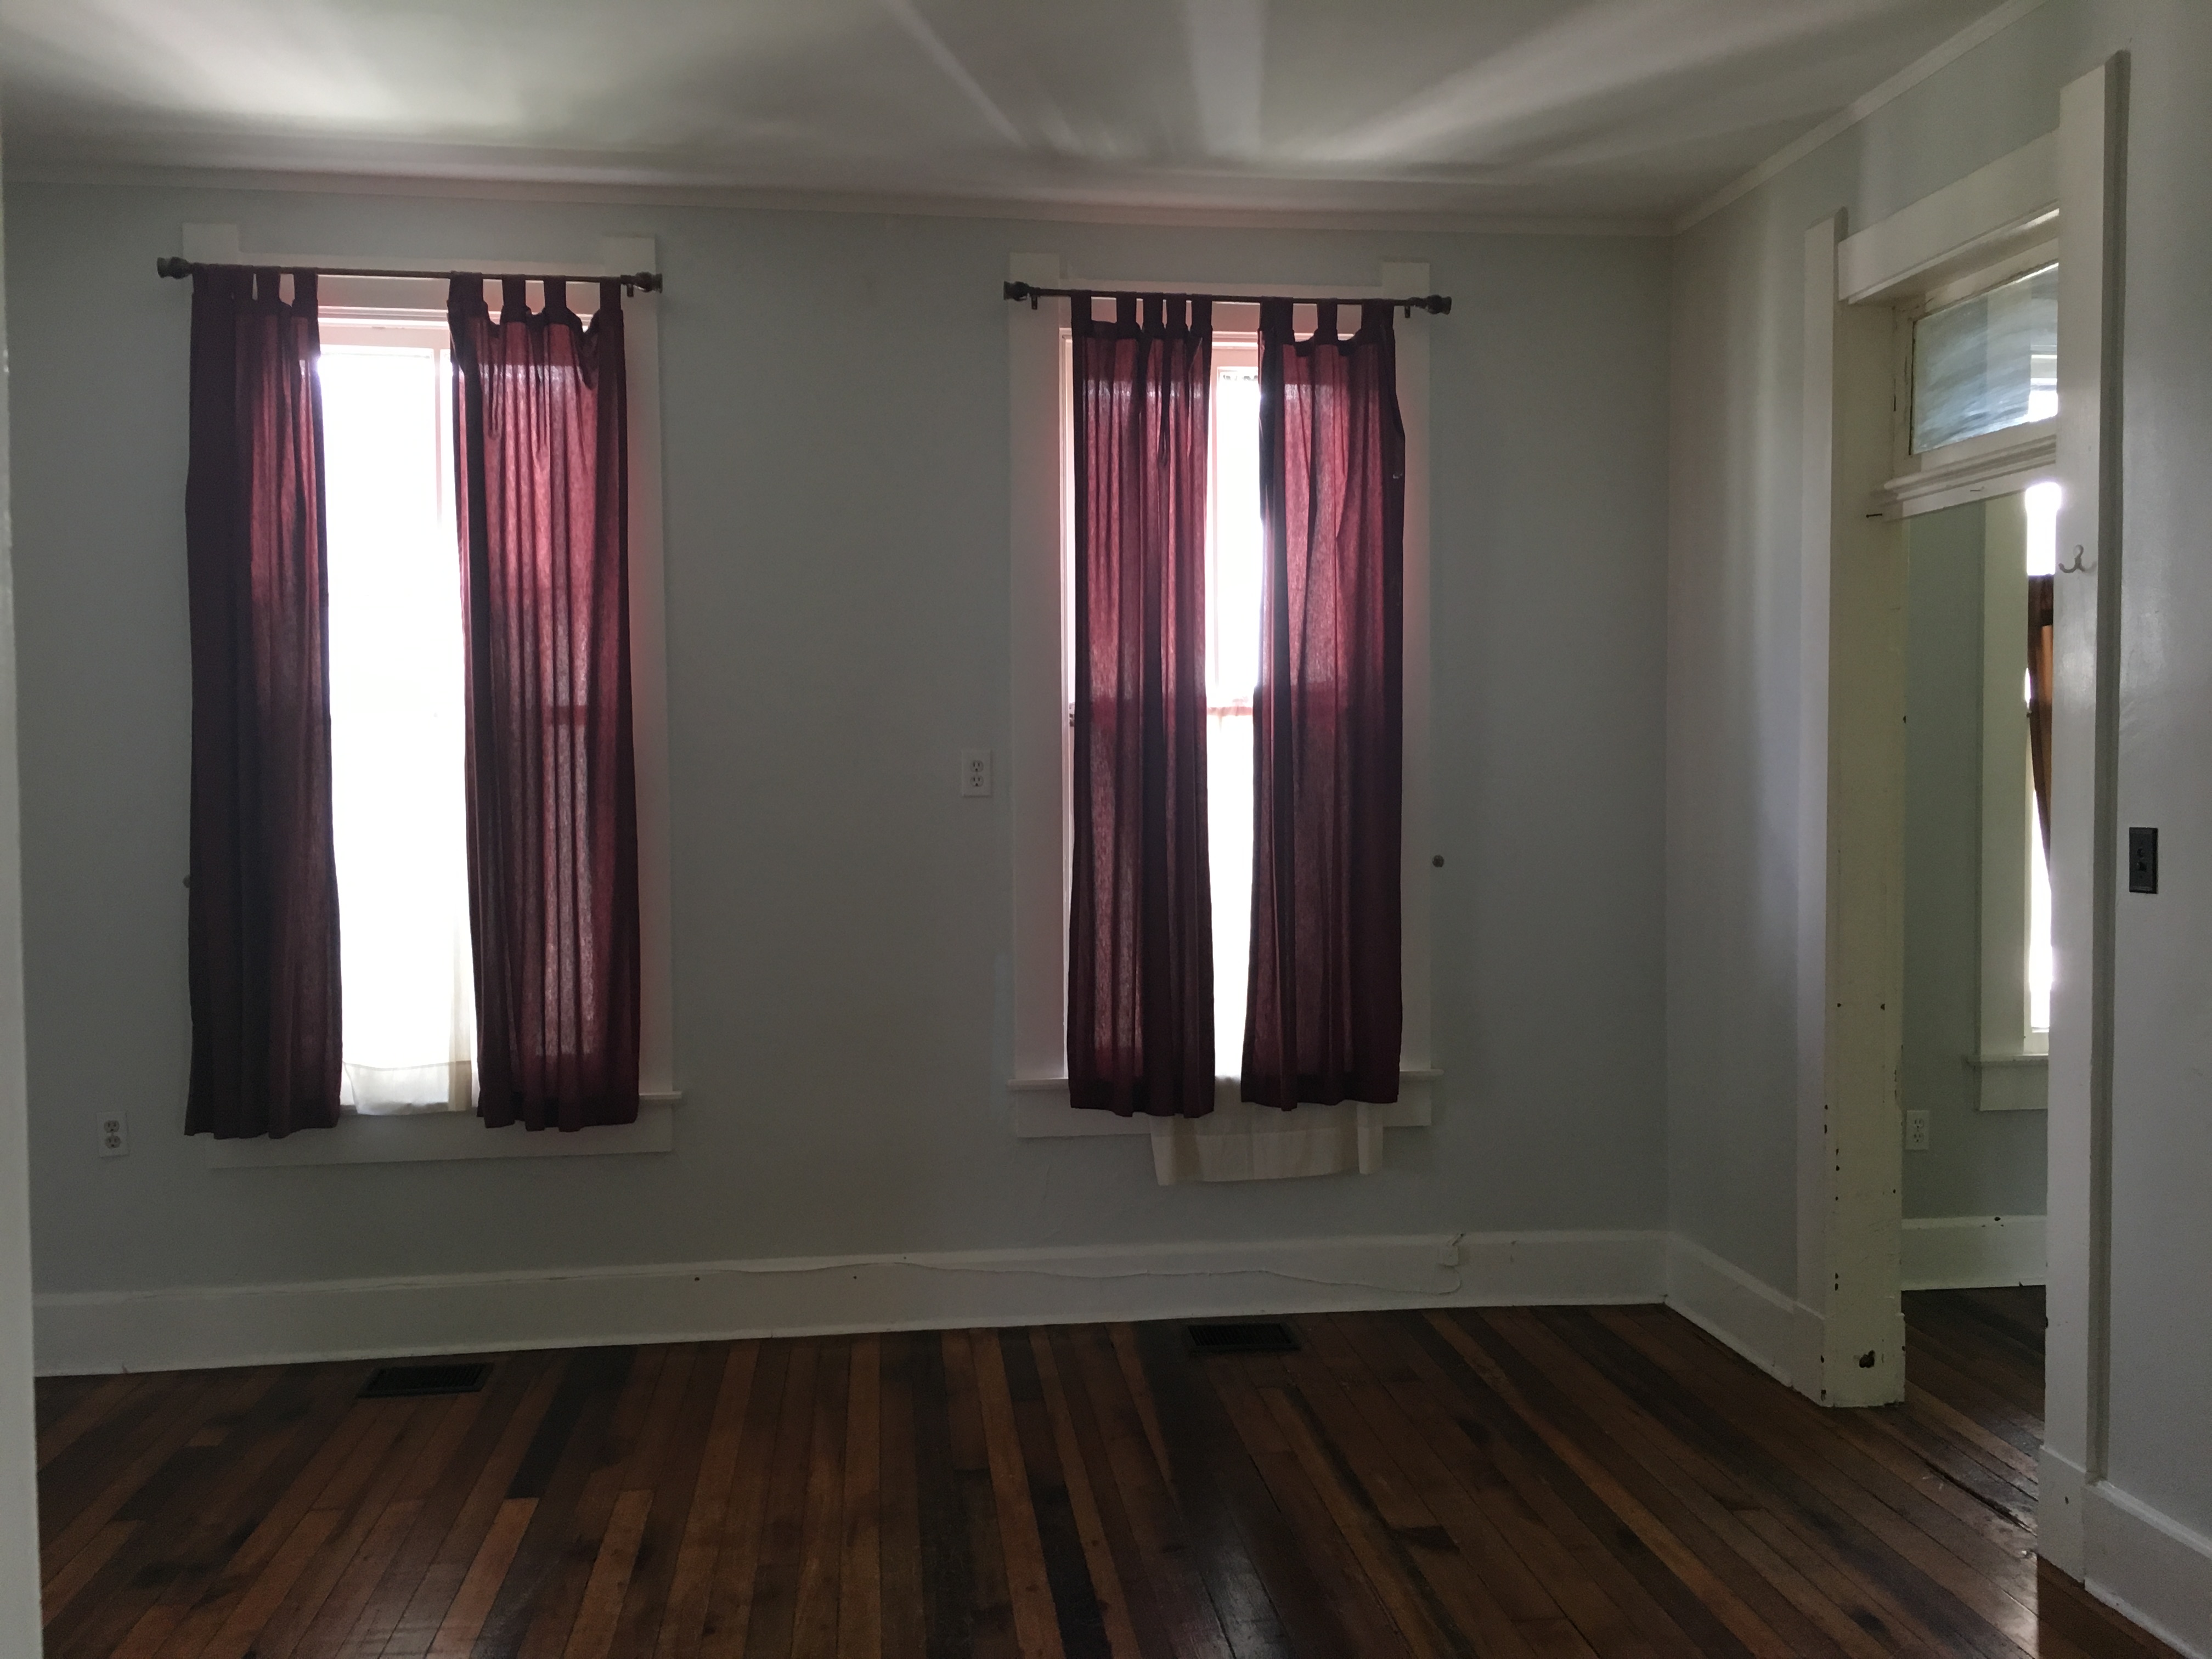
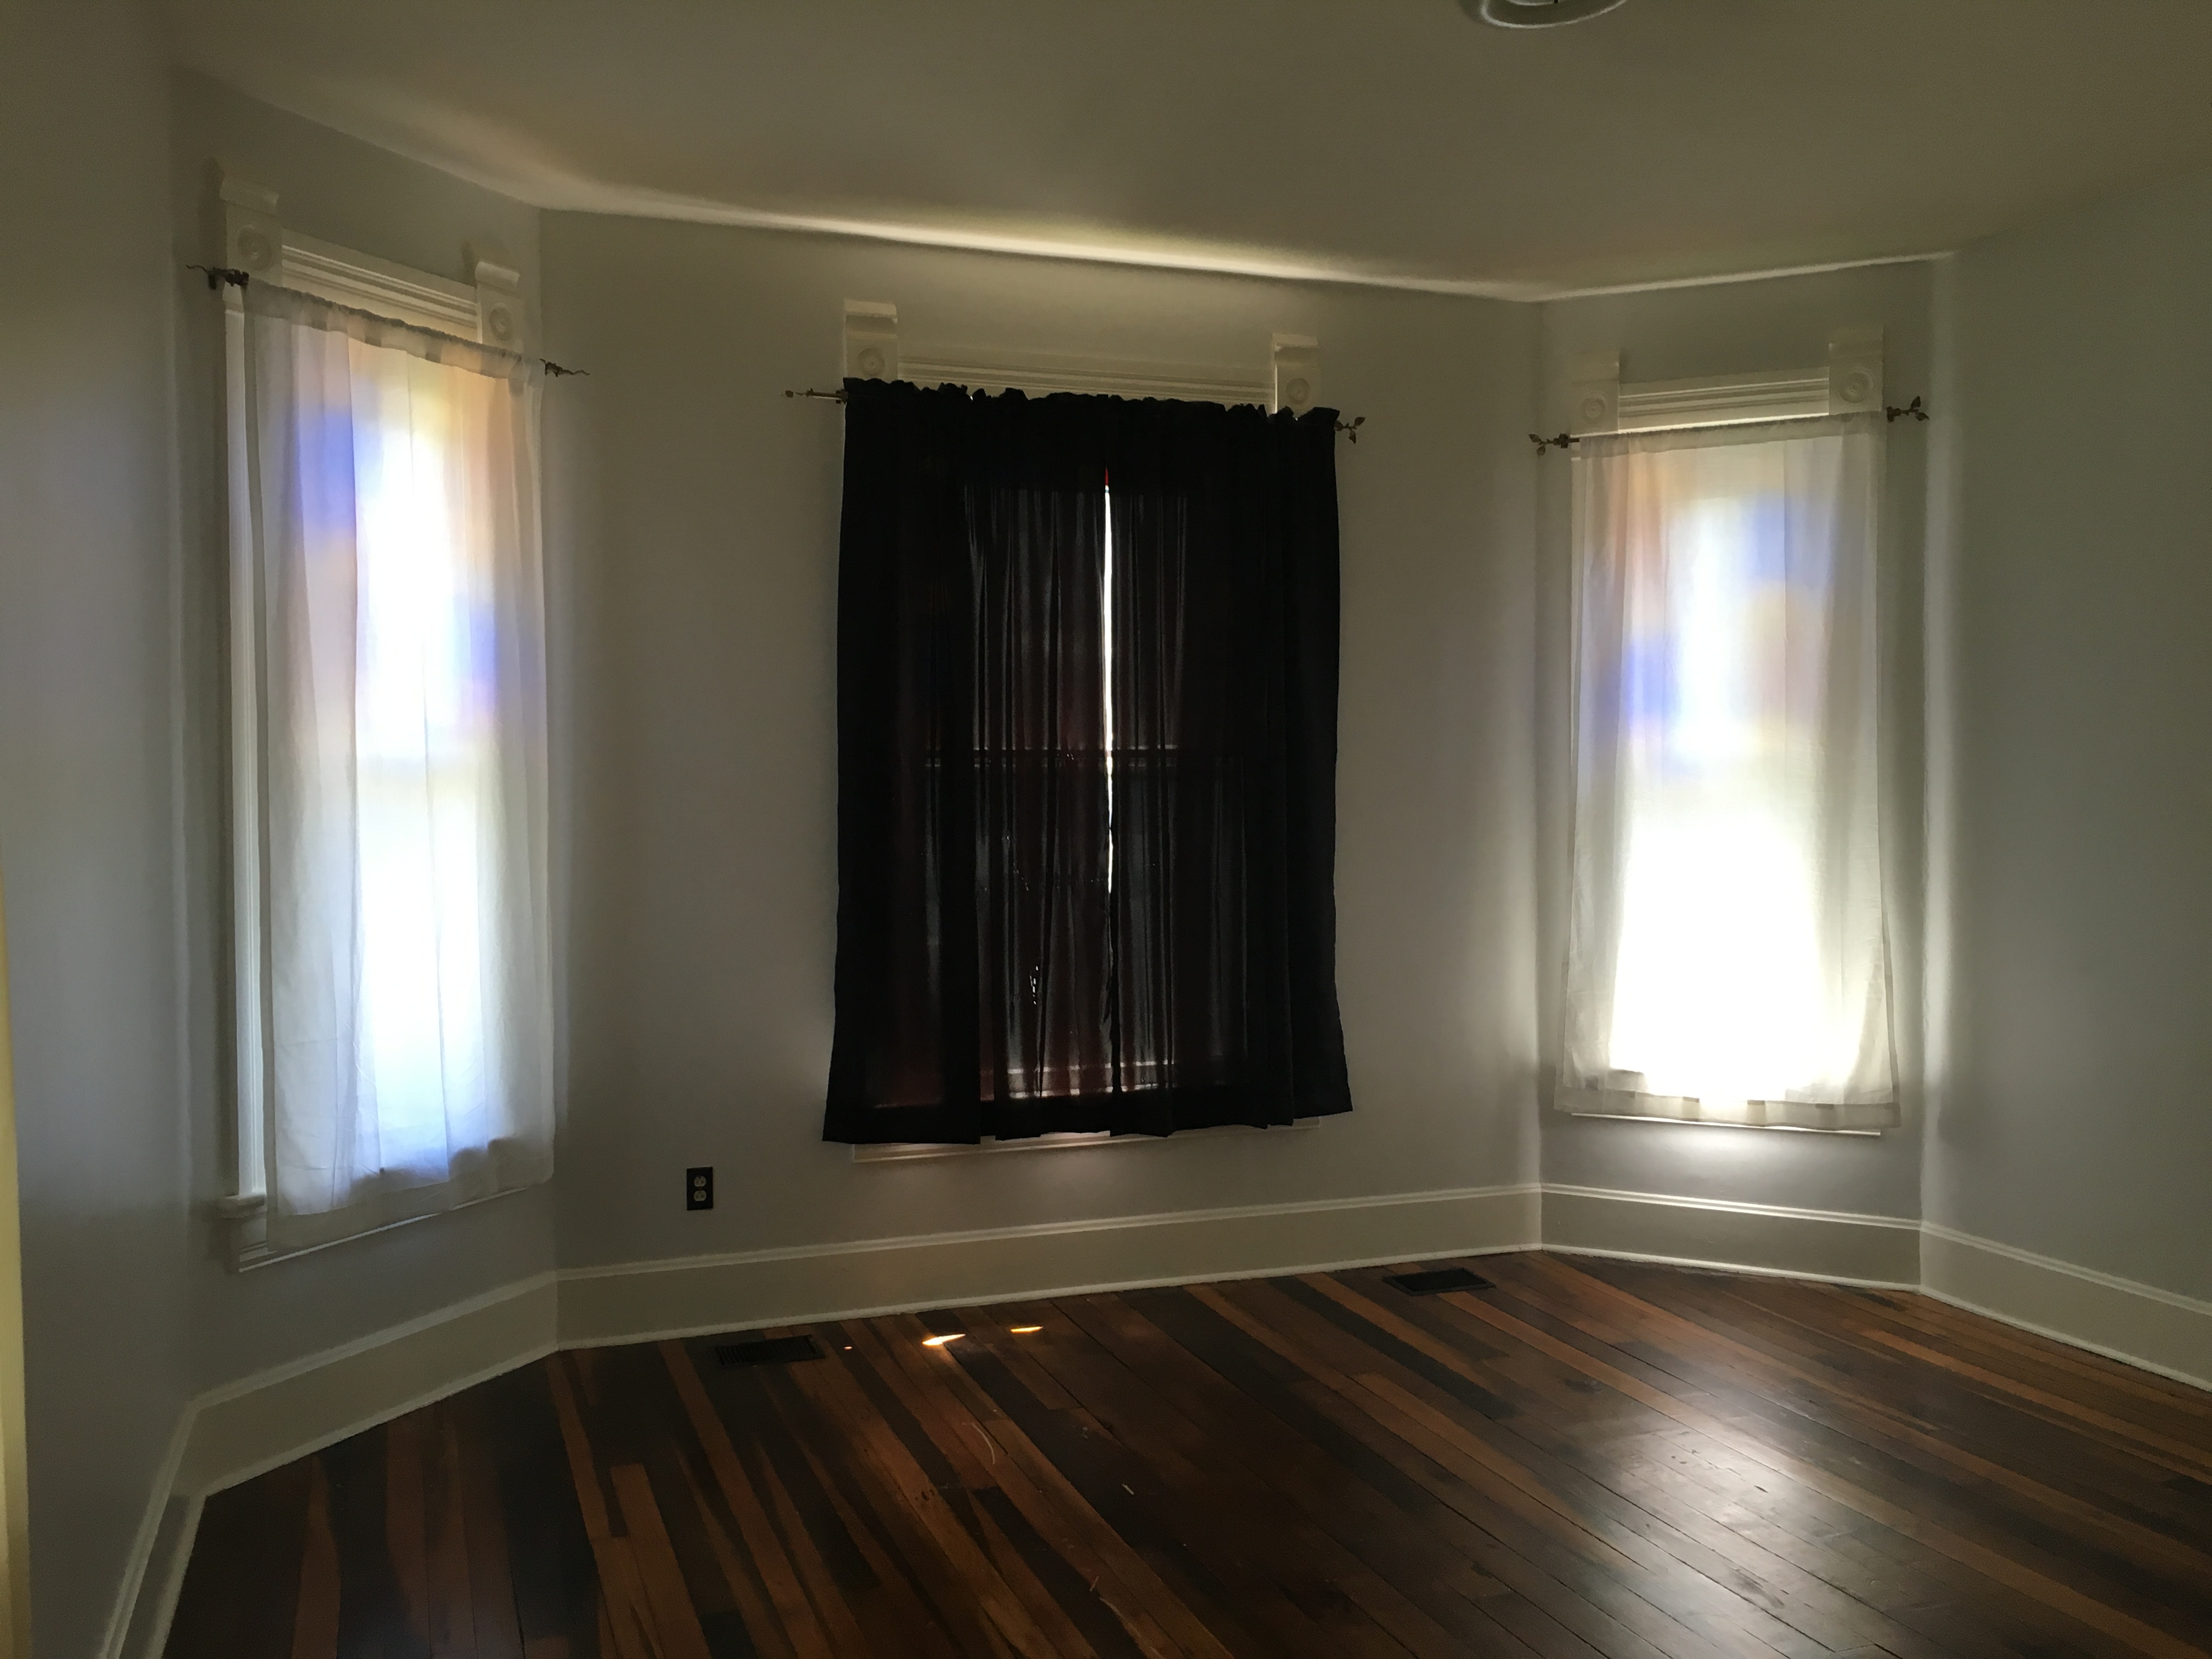
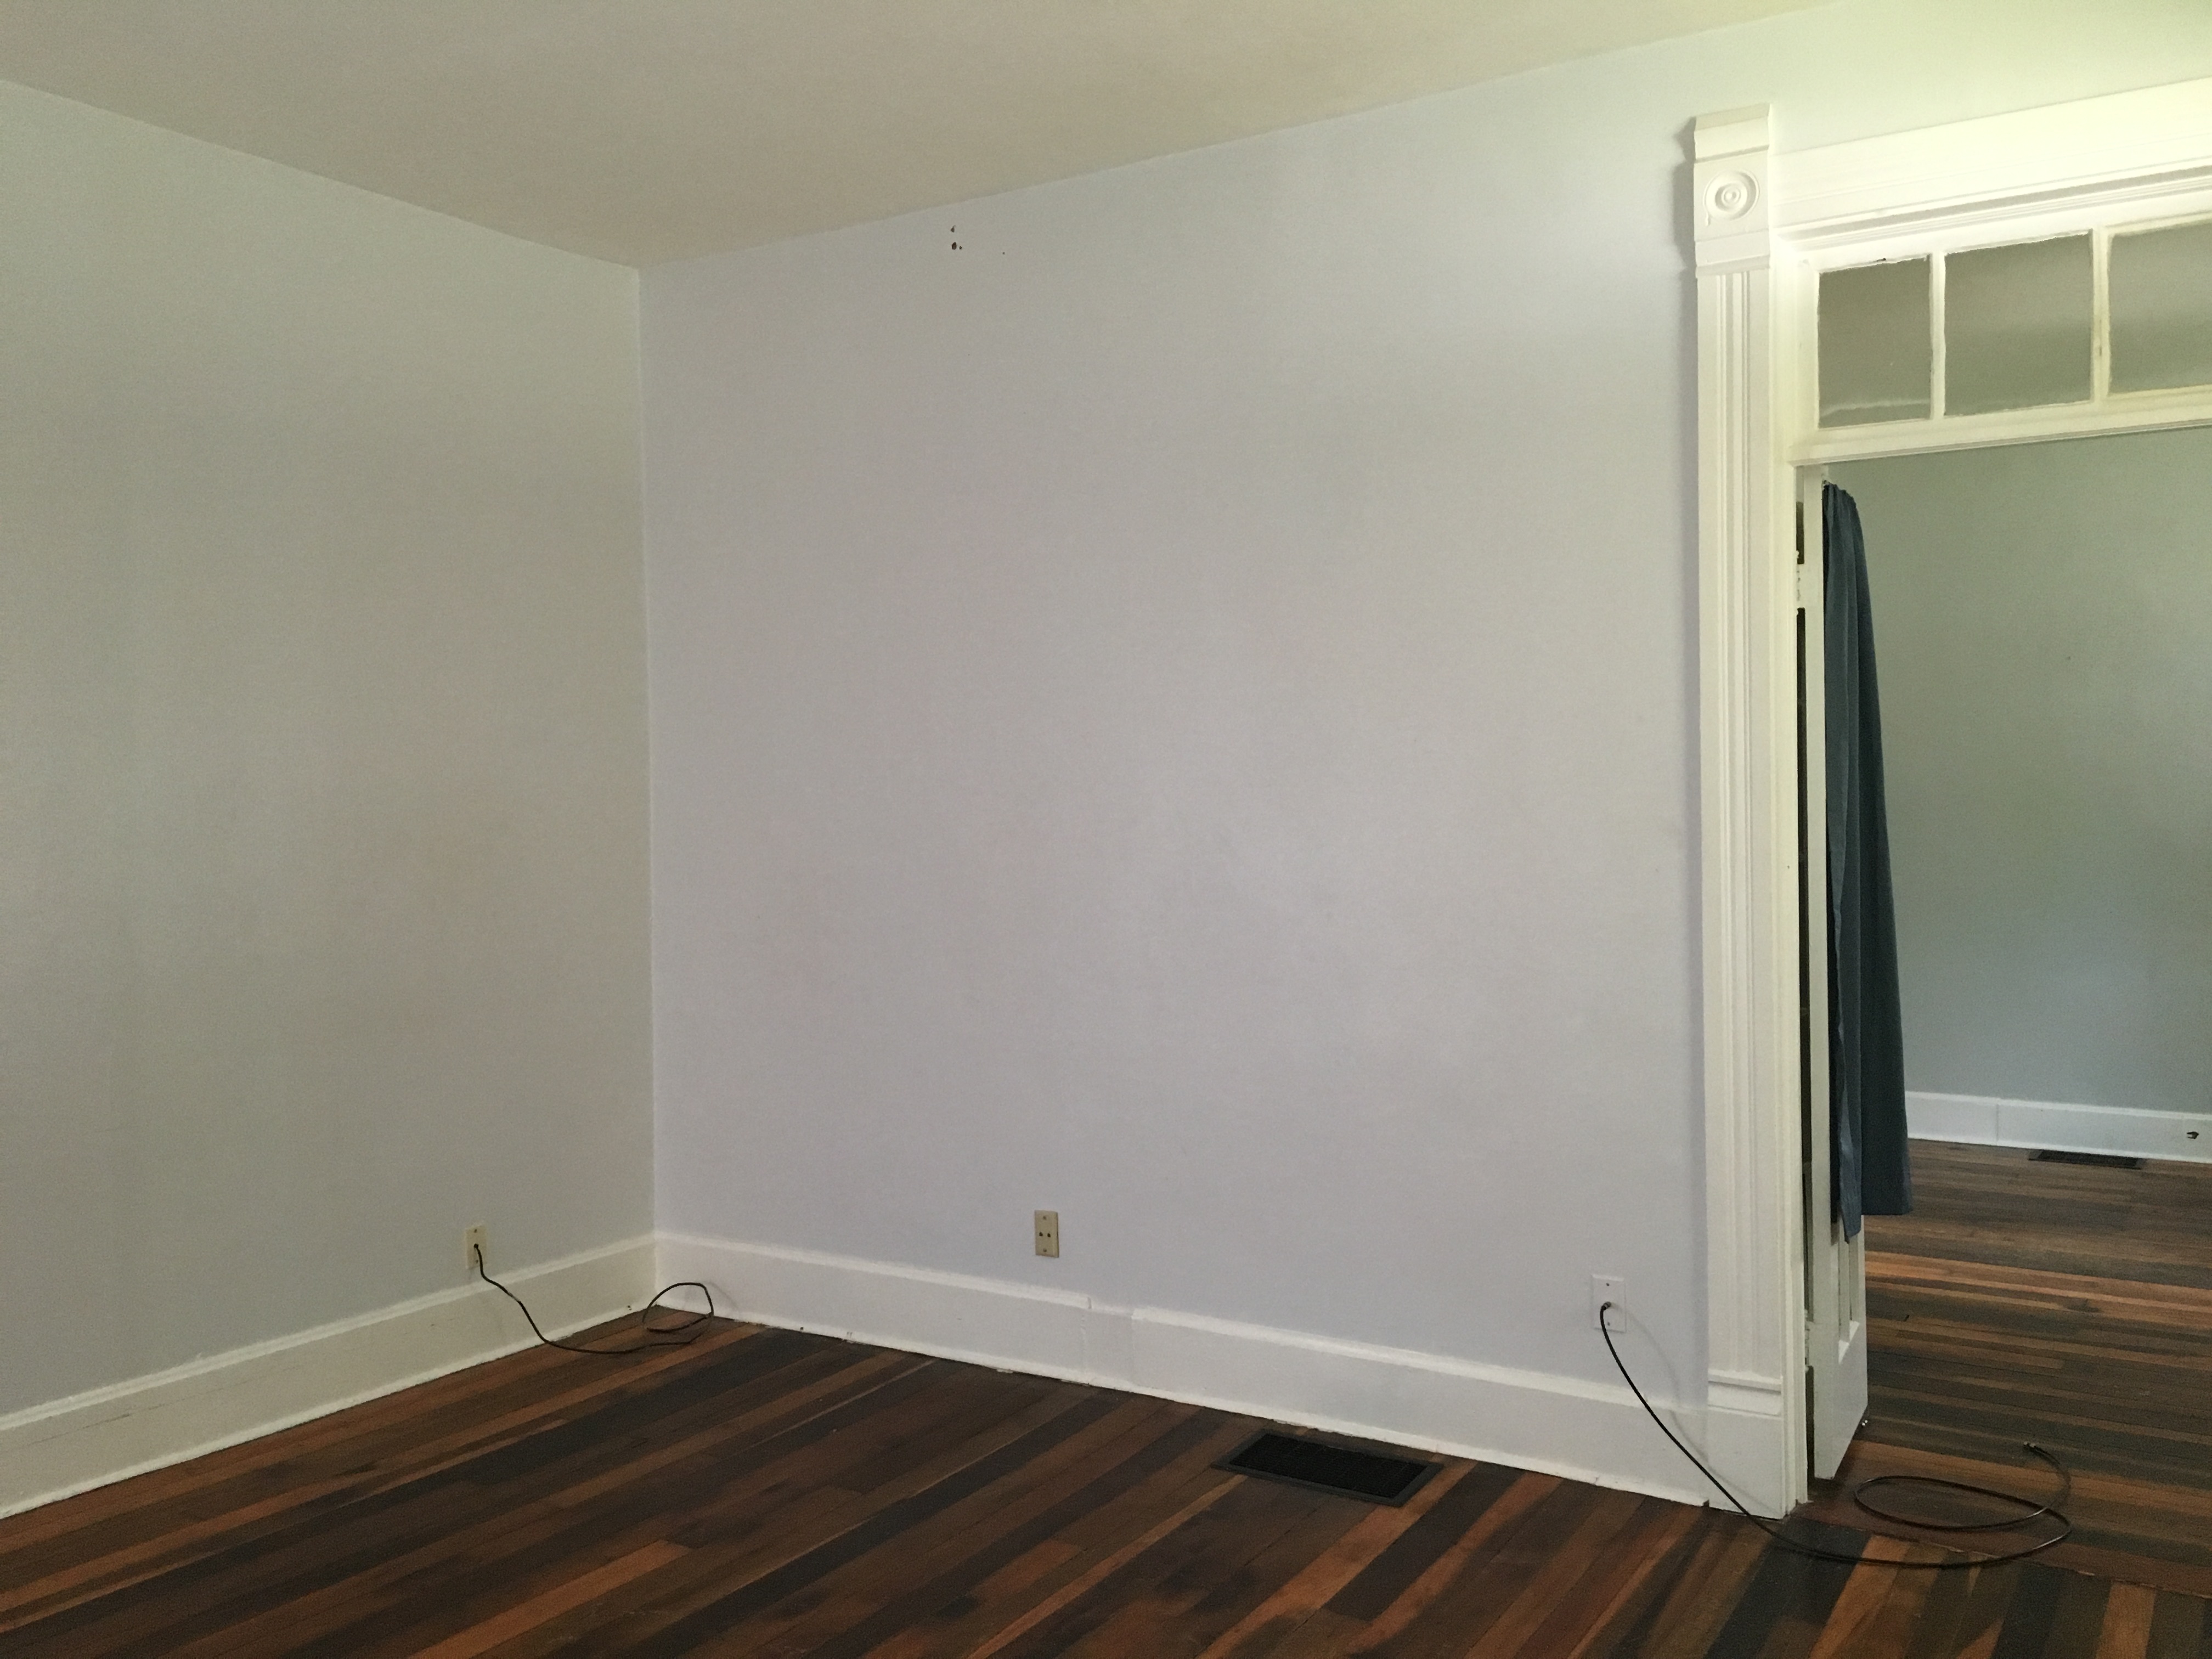
BEFORE:
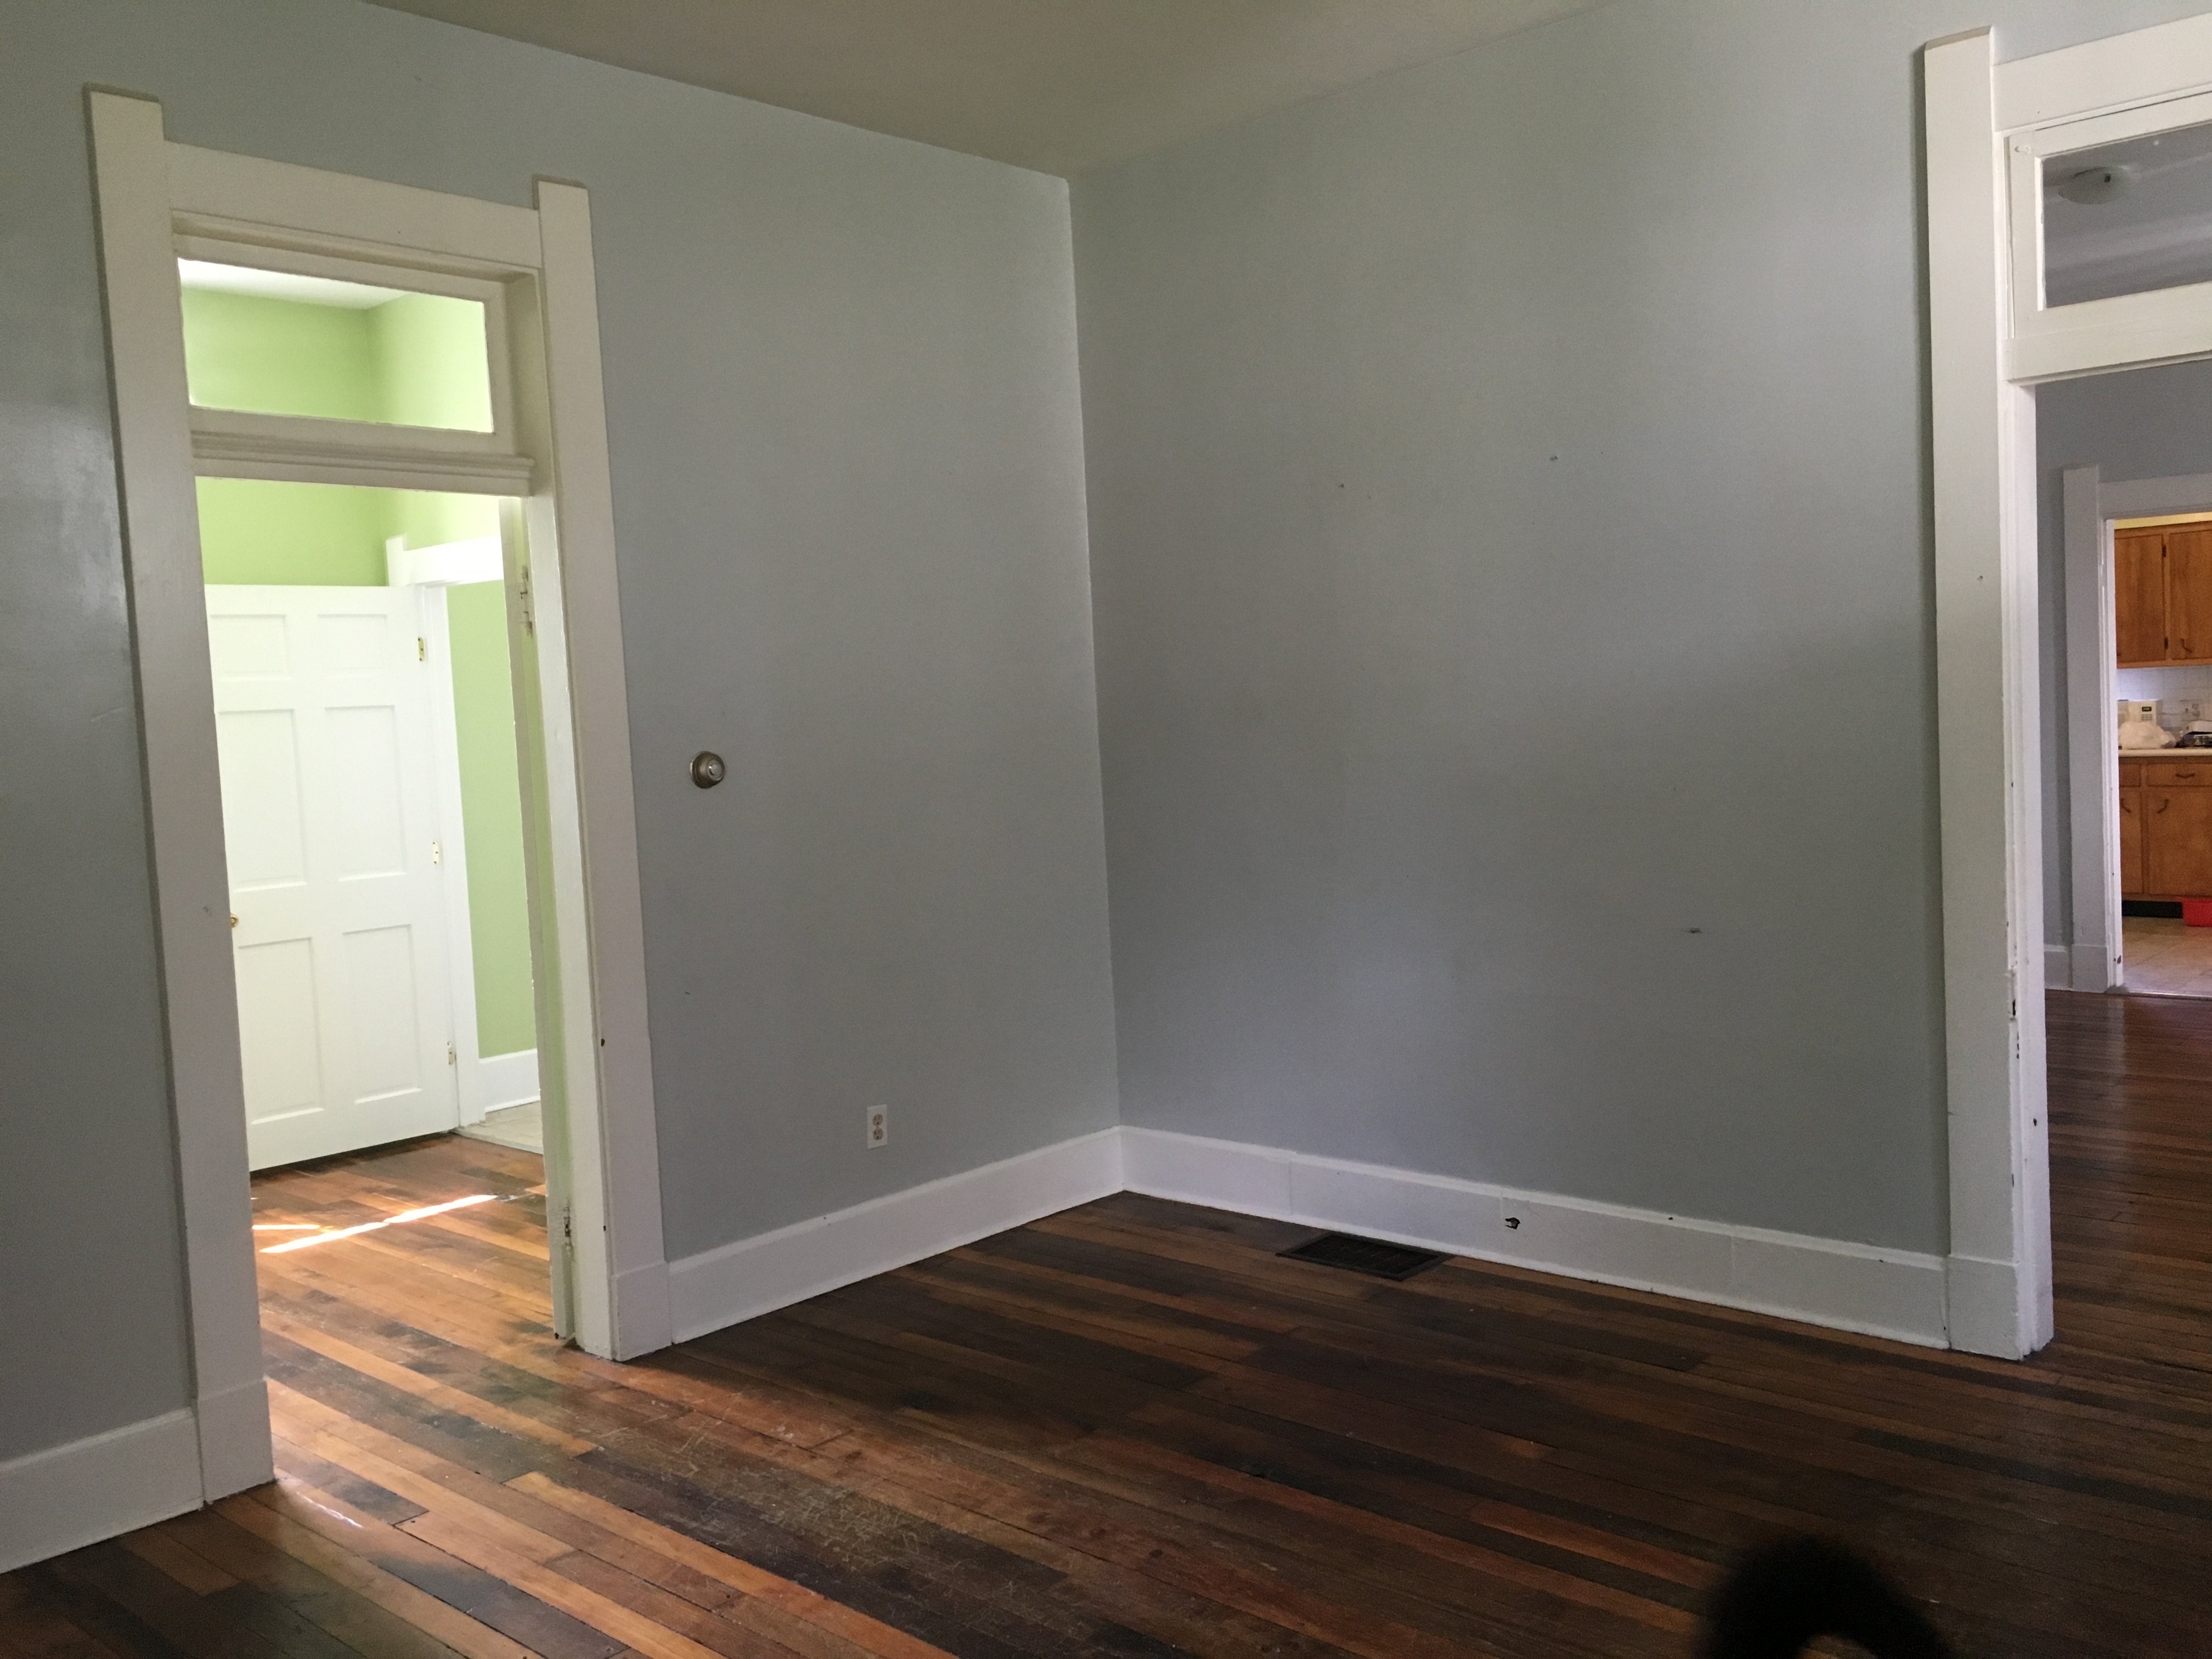
Living Room
Dining room
AFTER:
Living room
.jpg "Tessa Tillett Photography (13 of 24)")
I chose to make the central room light gray, so then it would be neutral as you sit in that room and look through to the colored and patterned walls in all the other rooms. I didn’t want anything to conflict, but I liked the idea of having some bold colors (like in the dining room) or patterns (like in the wallpapered office you’ll see in the next post). So you can kind of get the best of both worlds in all rooms since it is semi-open concept..jpg "Tessa Tillett Photography (14 of 24)")
.jpg "Tessa Tillett Photography (23 of 24)")
.jpg "Tessa Tillett Photography (20 of 24)")
.jpg "Tessa Tillett Photography (15 of 24)")
.jpg "Tessa Tillett Photography (18 of 24)")
.jpg "Tessa Tillett Photography (9 of 24)")
.jpg "Tessa Tillett Photography (19 of 24)")
.jpg "Tessa Tillett Photography (6 of 24)")
.jpg "Tessa Tillett Photography (7 of 24)")
The old camera bag you see below was my late grandpa’s:).jpg "Tessa Tillett Photography (5 of 24)")
This vintage tool box is super easy to swap things in and out according to season and holiday:)
.jpg "Tessa Tillett Photography (8 of 24)")
.jpg "Tessa Tillett Photography (1 of 24)")
.jpg "Tessa Tillett Photography (21 of 24)")
.jpg "Tessa Tillett Photography (10 of 24)")
.jpg "Tessa Tillett Photography (11 of 24)")
Dining room.jpg "Tessa Tillett Photography (16 of 24)")
.jpg "Tessa Tillett Photography (3 of 15)")
.jpg "Tessa Tillett Photography (5 of 15)")
.jpg "Tessa Tillett Photography (6 of 15)")
.jpg "Tessa Tillett Photography (4 of 15)")
.jpg "Tessa Tillett Photography (8 of 15)")
.jpg "Tessa Tillett Photography (13 of 15)")
.jpg "Tessa Tillett Photography (14 of 15)")
I bought this table from a friend and local woodworker who owns Woodwater Project (now Bowtie Woodworks) that for one year donated all proceeds to building wells in Africa. This farm table paid for 1/10 of a well!.jpg "Tessa Tillett Photography (10 of 15)")
Still in need of finding a perfect light fixture for this room..jpg "Tessa Tillett Photography (15 of 15)")
.jpg "Tessa Tillett Photography (12 of 24)")
I keep switching around what floral arrangements to put in these Ball jars. (If you noticed, I have a couple different arrangements in this post.).jpg "Tessa Tillett Photography (24 of 24)")
The ladder on the right came from the old attic drop down that was in the kitchen. I hung Christmas lights on it last winter, and it’s just kind of been there ever since. I’m still deciding if I’m keeping it as decor or not, but I’m just trying to use what I’ve got!
.jpg "Tessa Tillett Photography (3 of 24)")
.jpg "Tessa Tillett Photography (9 of 15)")
.jpg "Tessa Tillett Photography (4 of 24)") All my collected beer coasters from my country-wide brewery tour.
All my collected beer coasters from my country-wide brewery tour..jpg "Tessa Tillett Photography (2 of 24)")
.jpg "Tessa Tillett Photography (2 of 15)")
.jpg "Tessa Tillett Photography (1 of 15)")
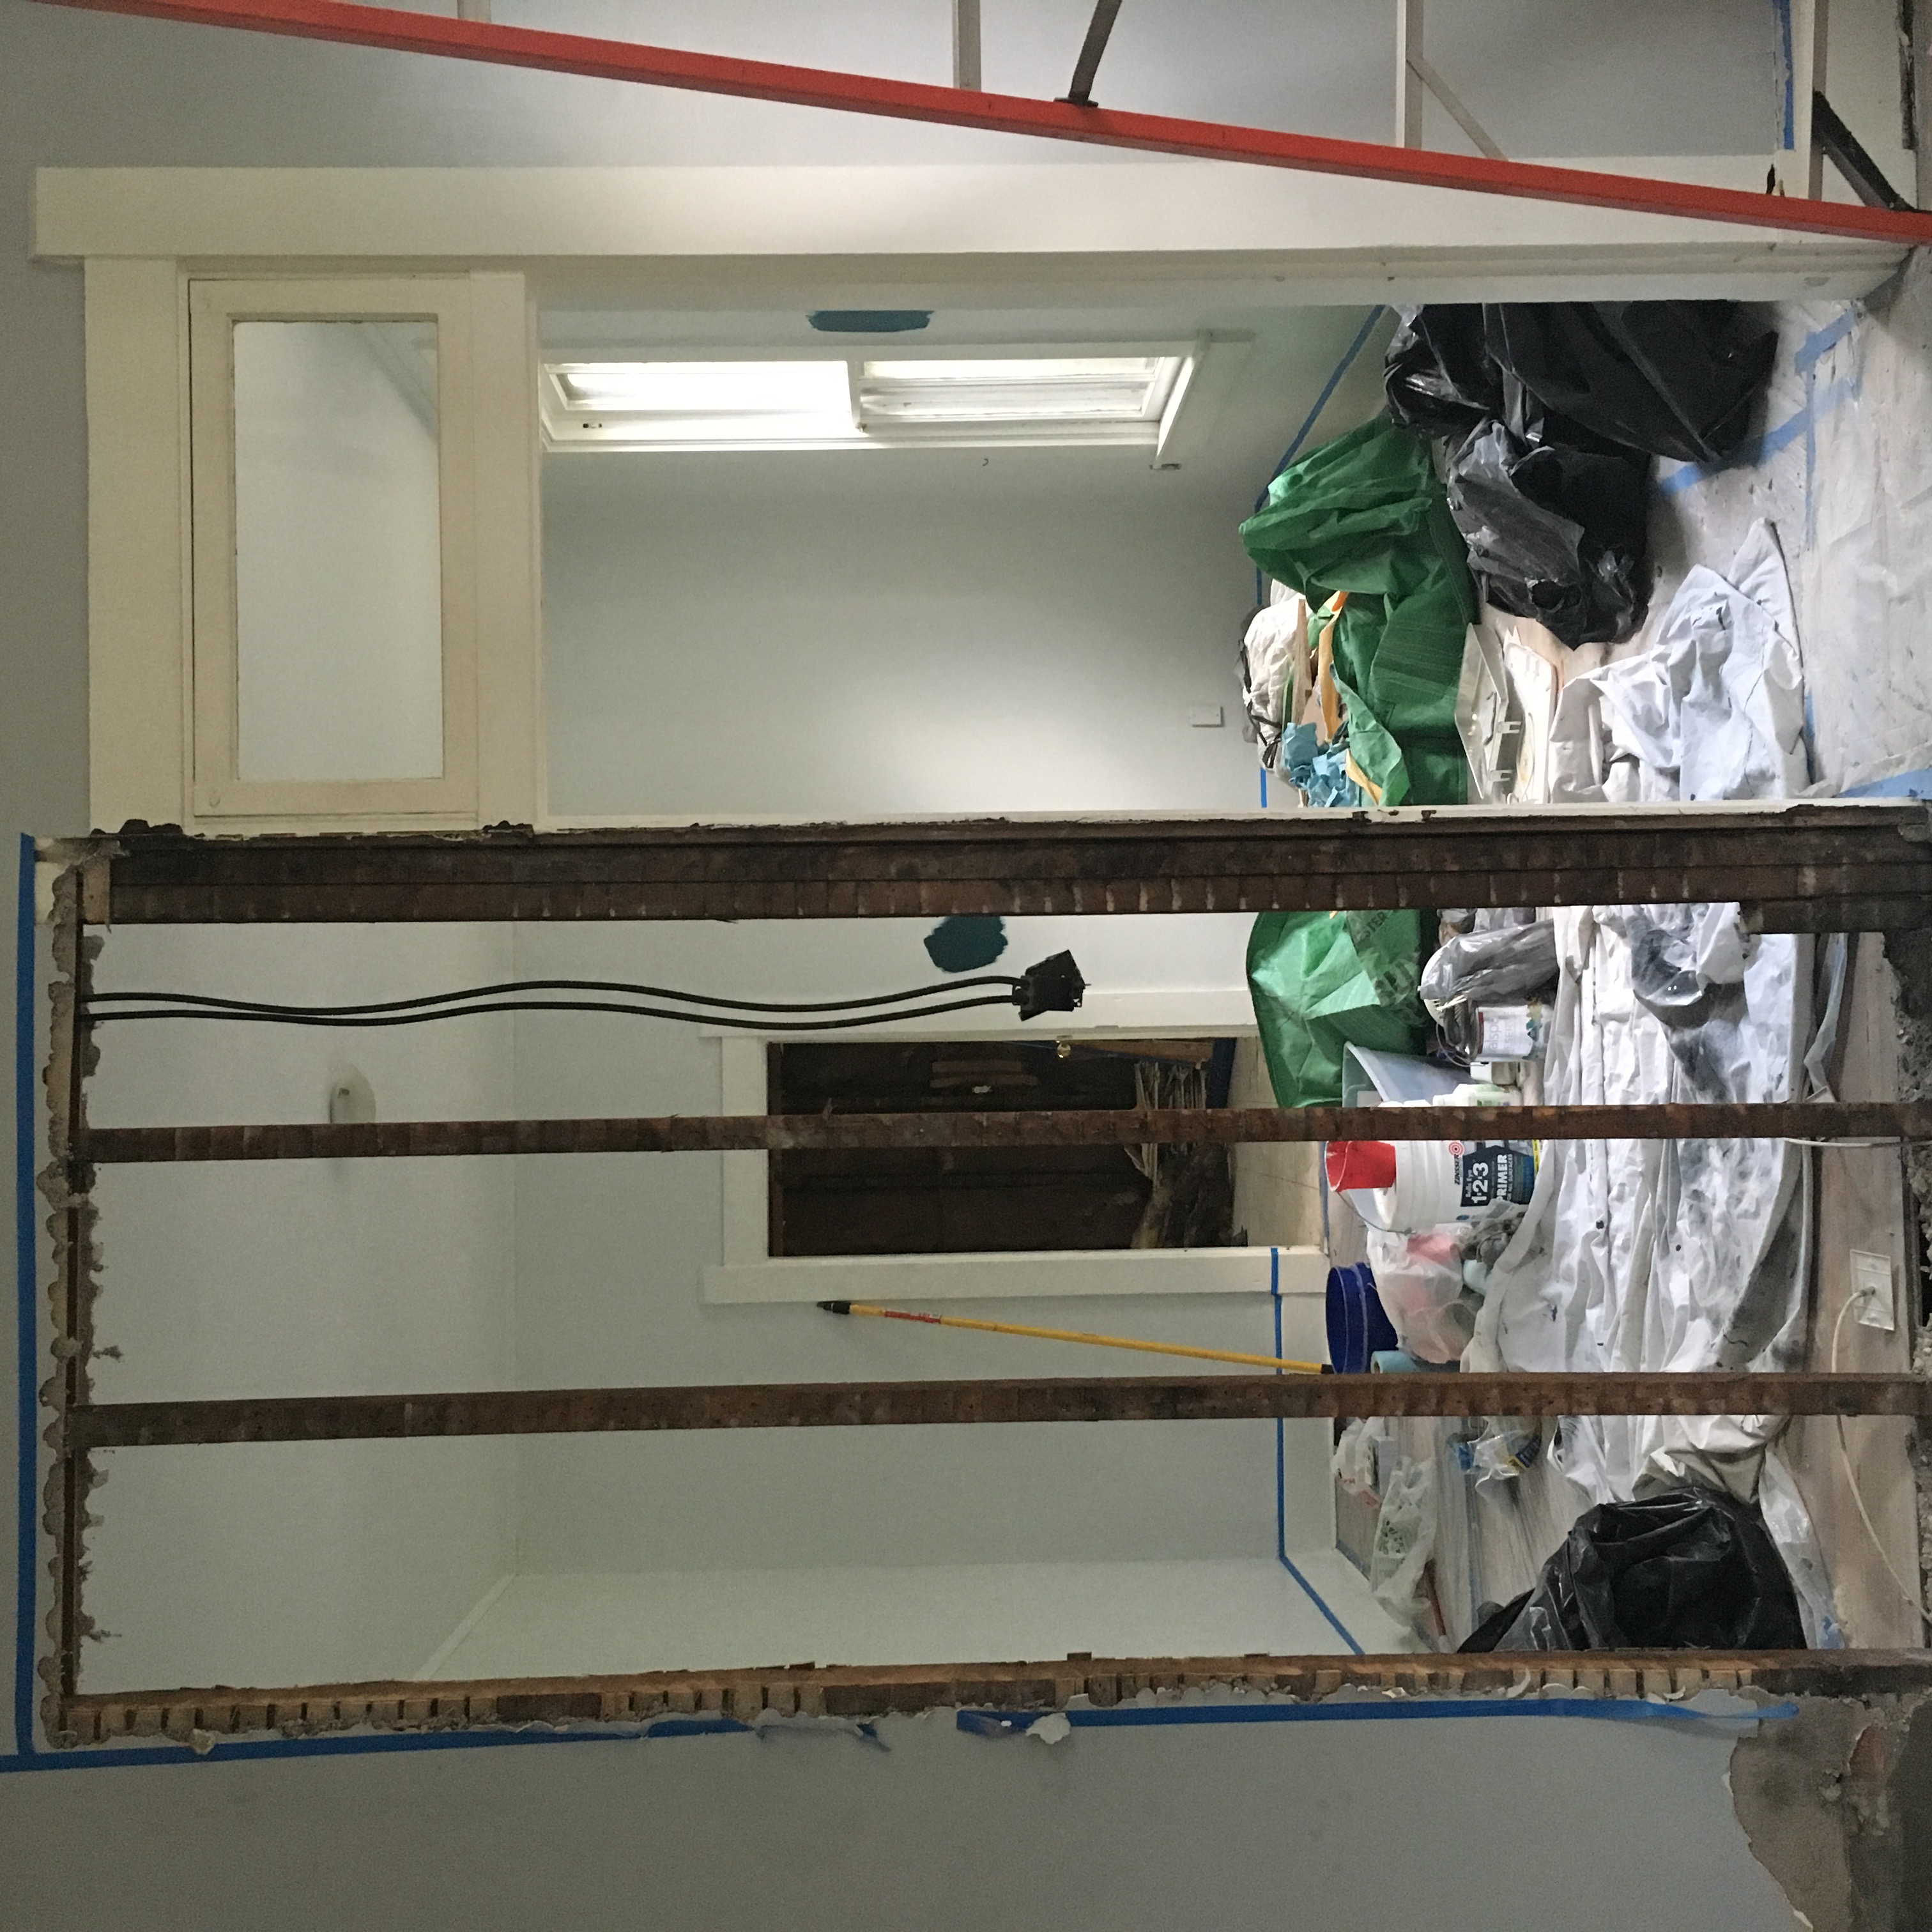
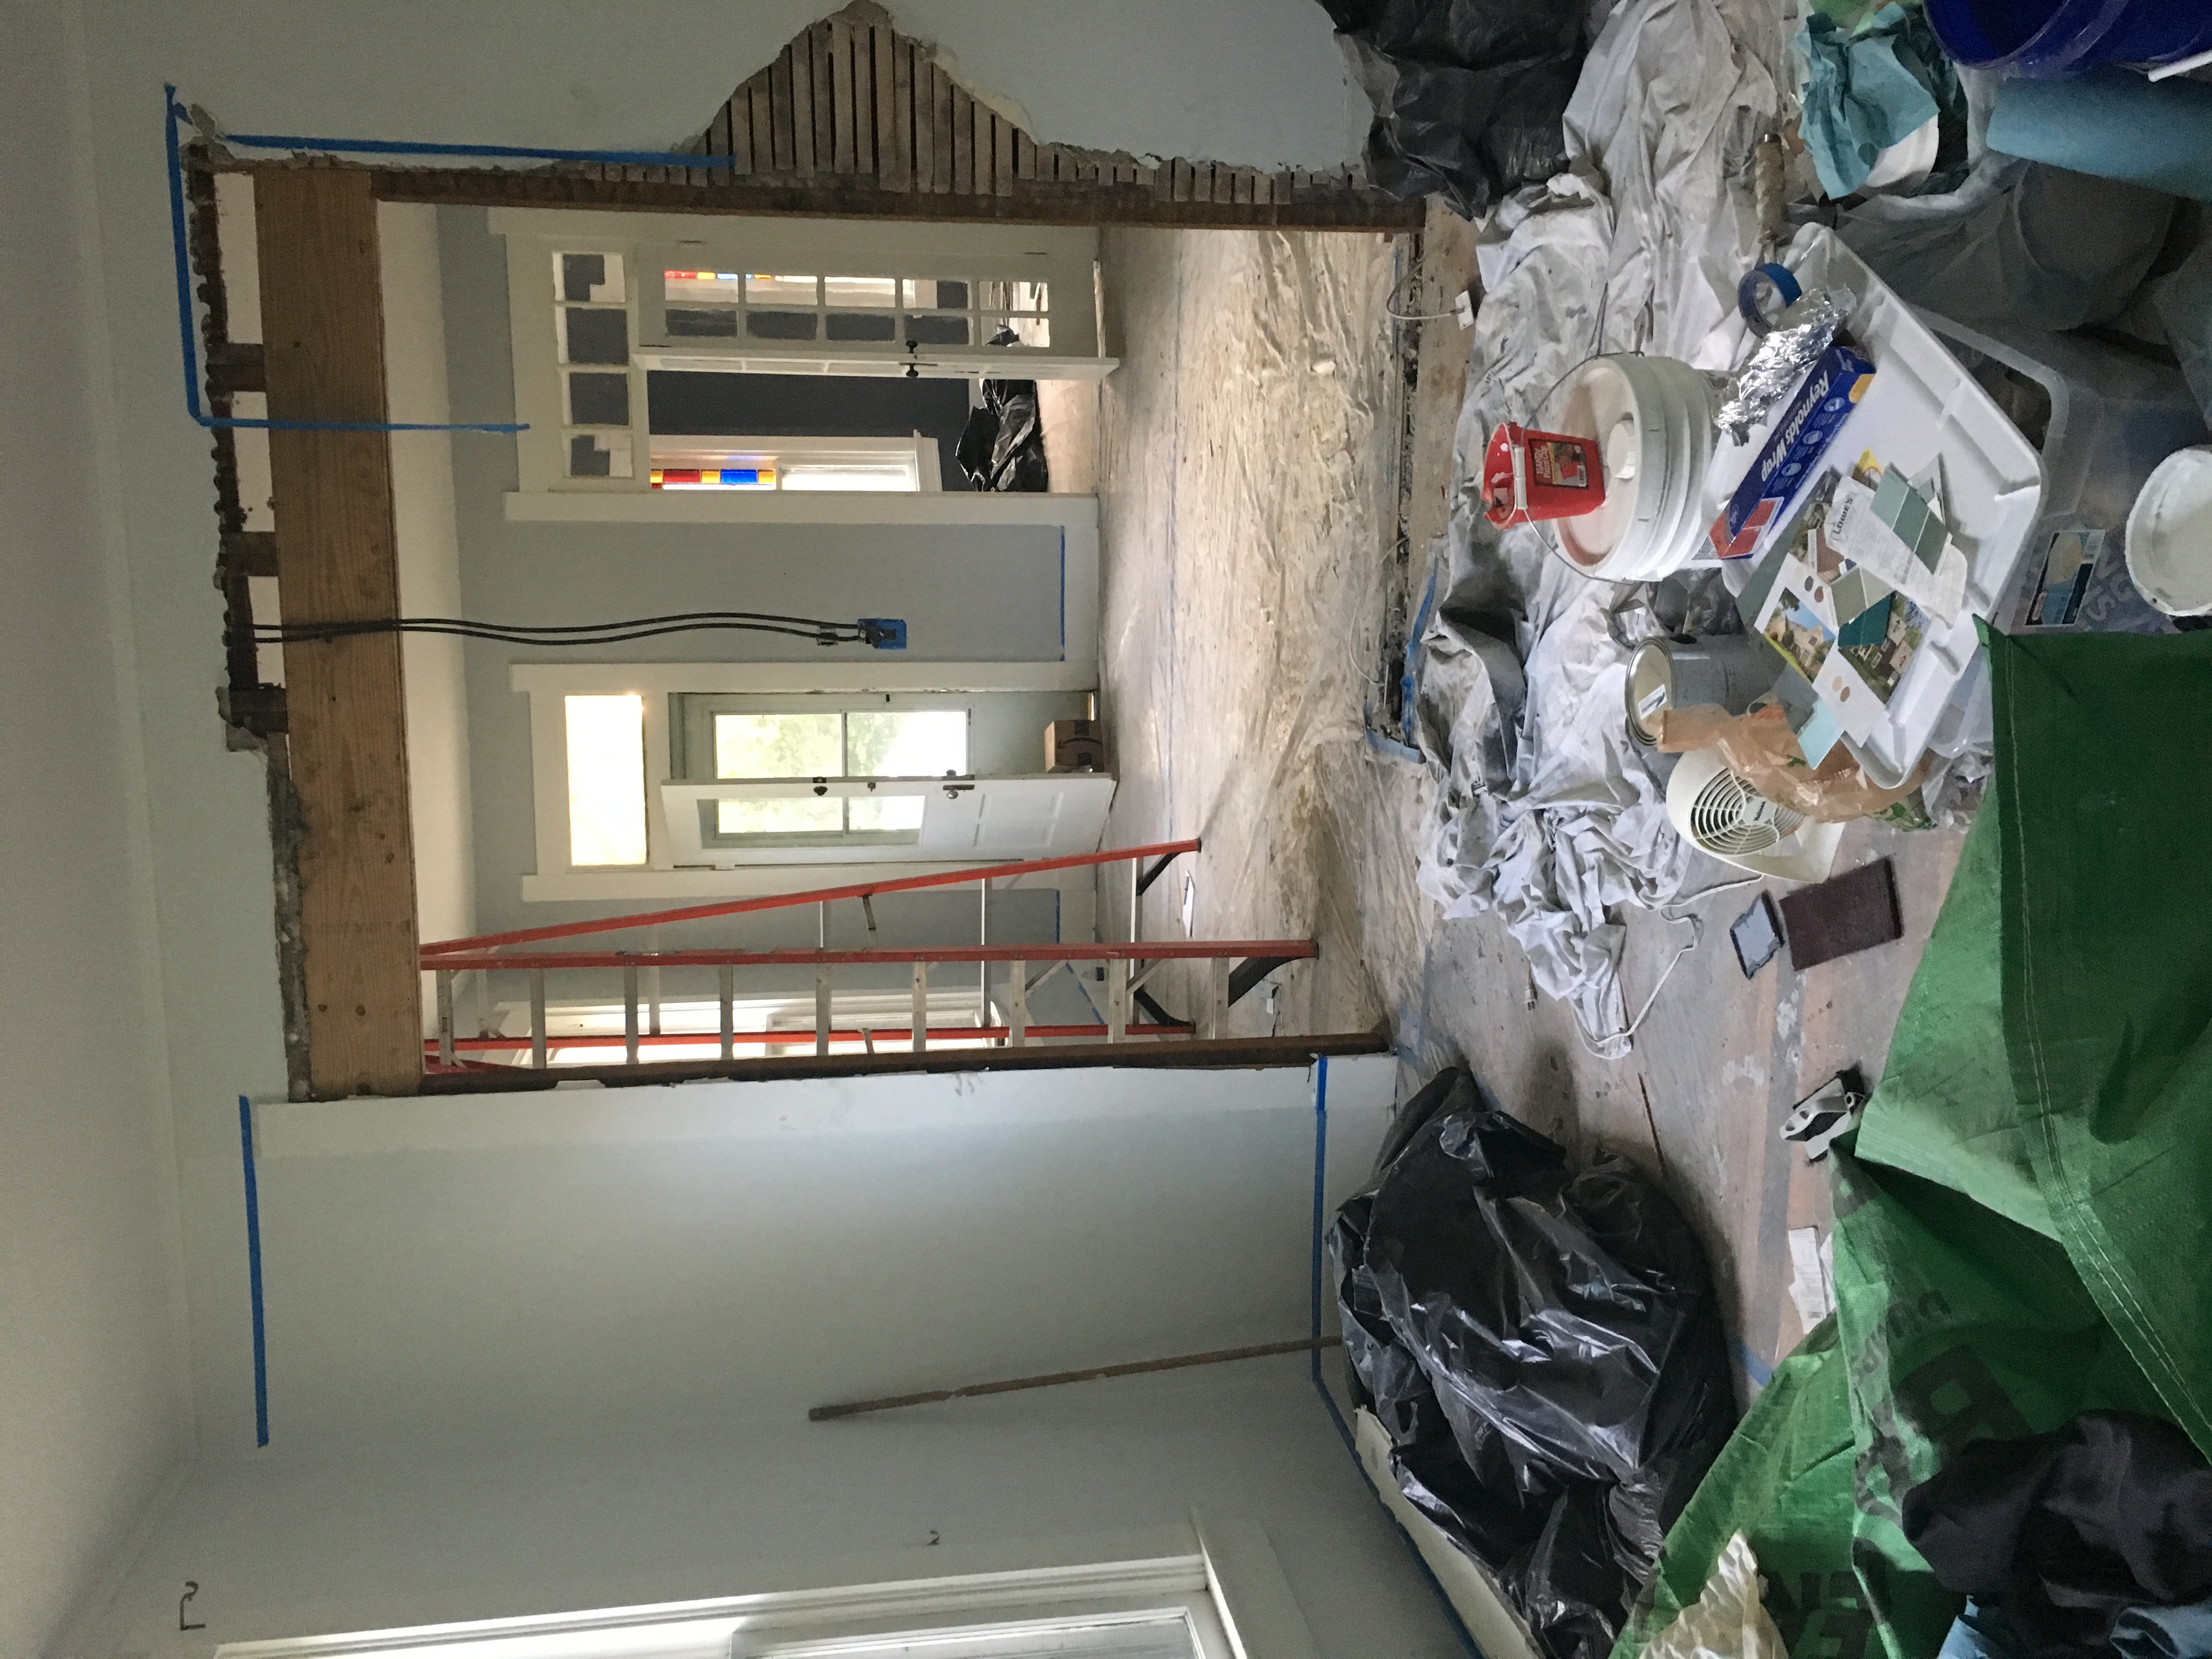
WHAT WAS DONE:
- Widened the opening between the living room and dining room (I considered opening it up all the way, but decided I liked the idea of having separate spaces, not only conceptually, but so I could design the areas very differently.)
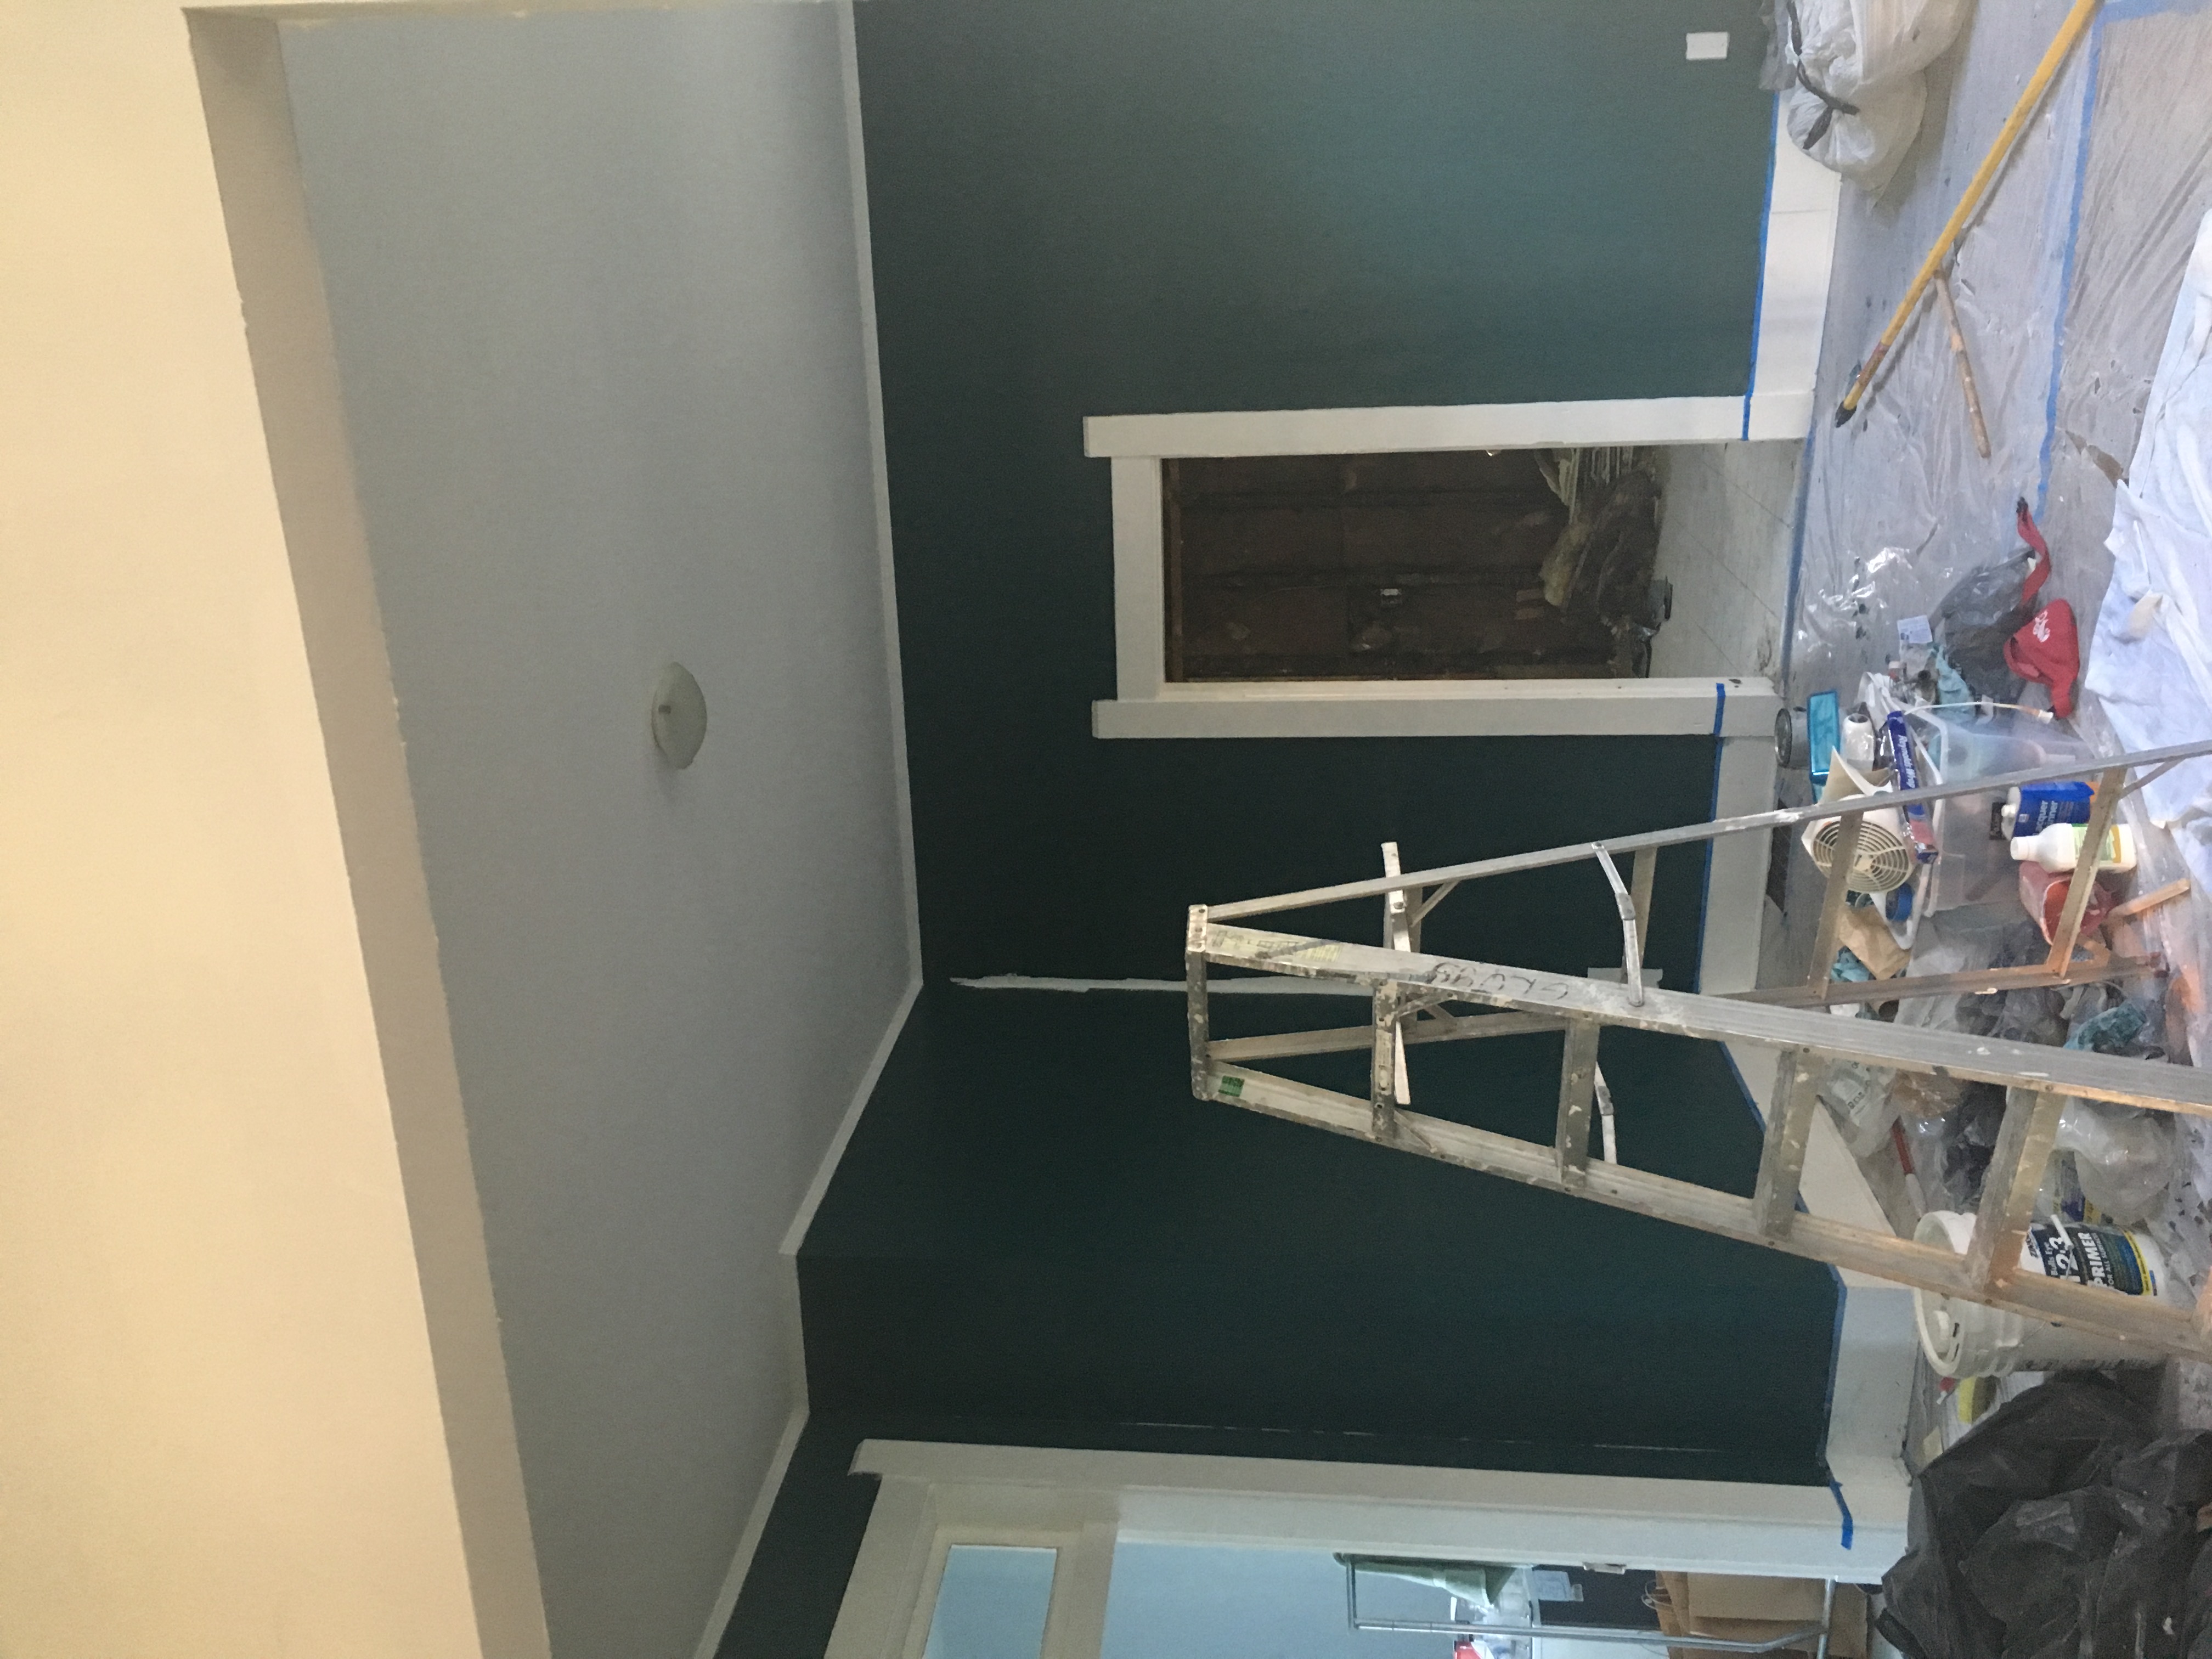
- Painted both rooms’ walls, trim & ceilings [Living room: (basically the same wall color, but had to paint because the smoke smell was so great, it needed a fresh coat) Dining Room: ]
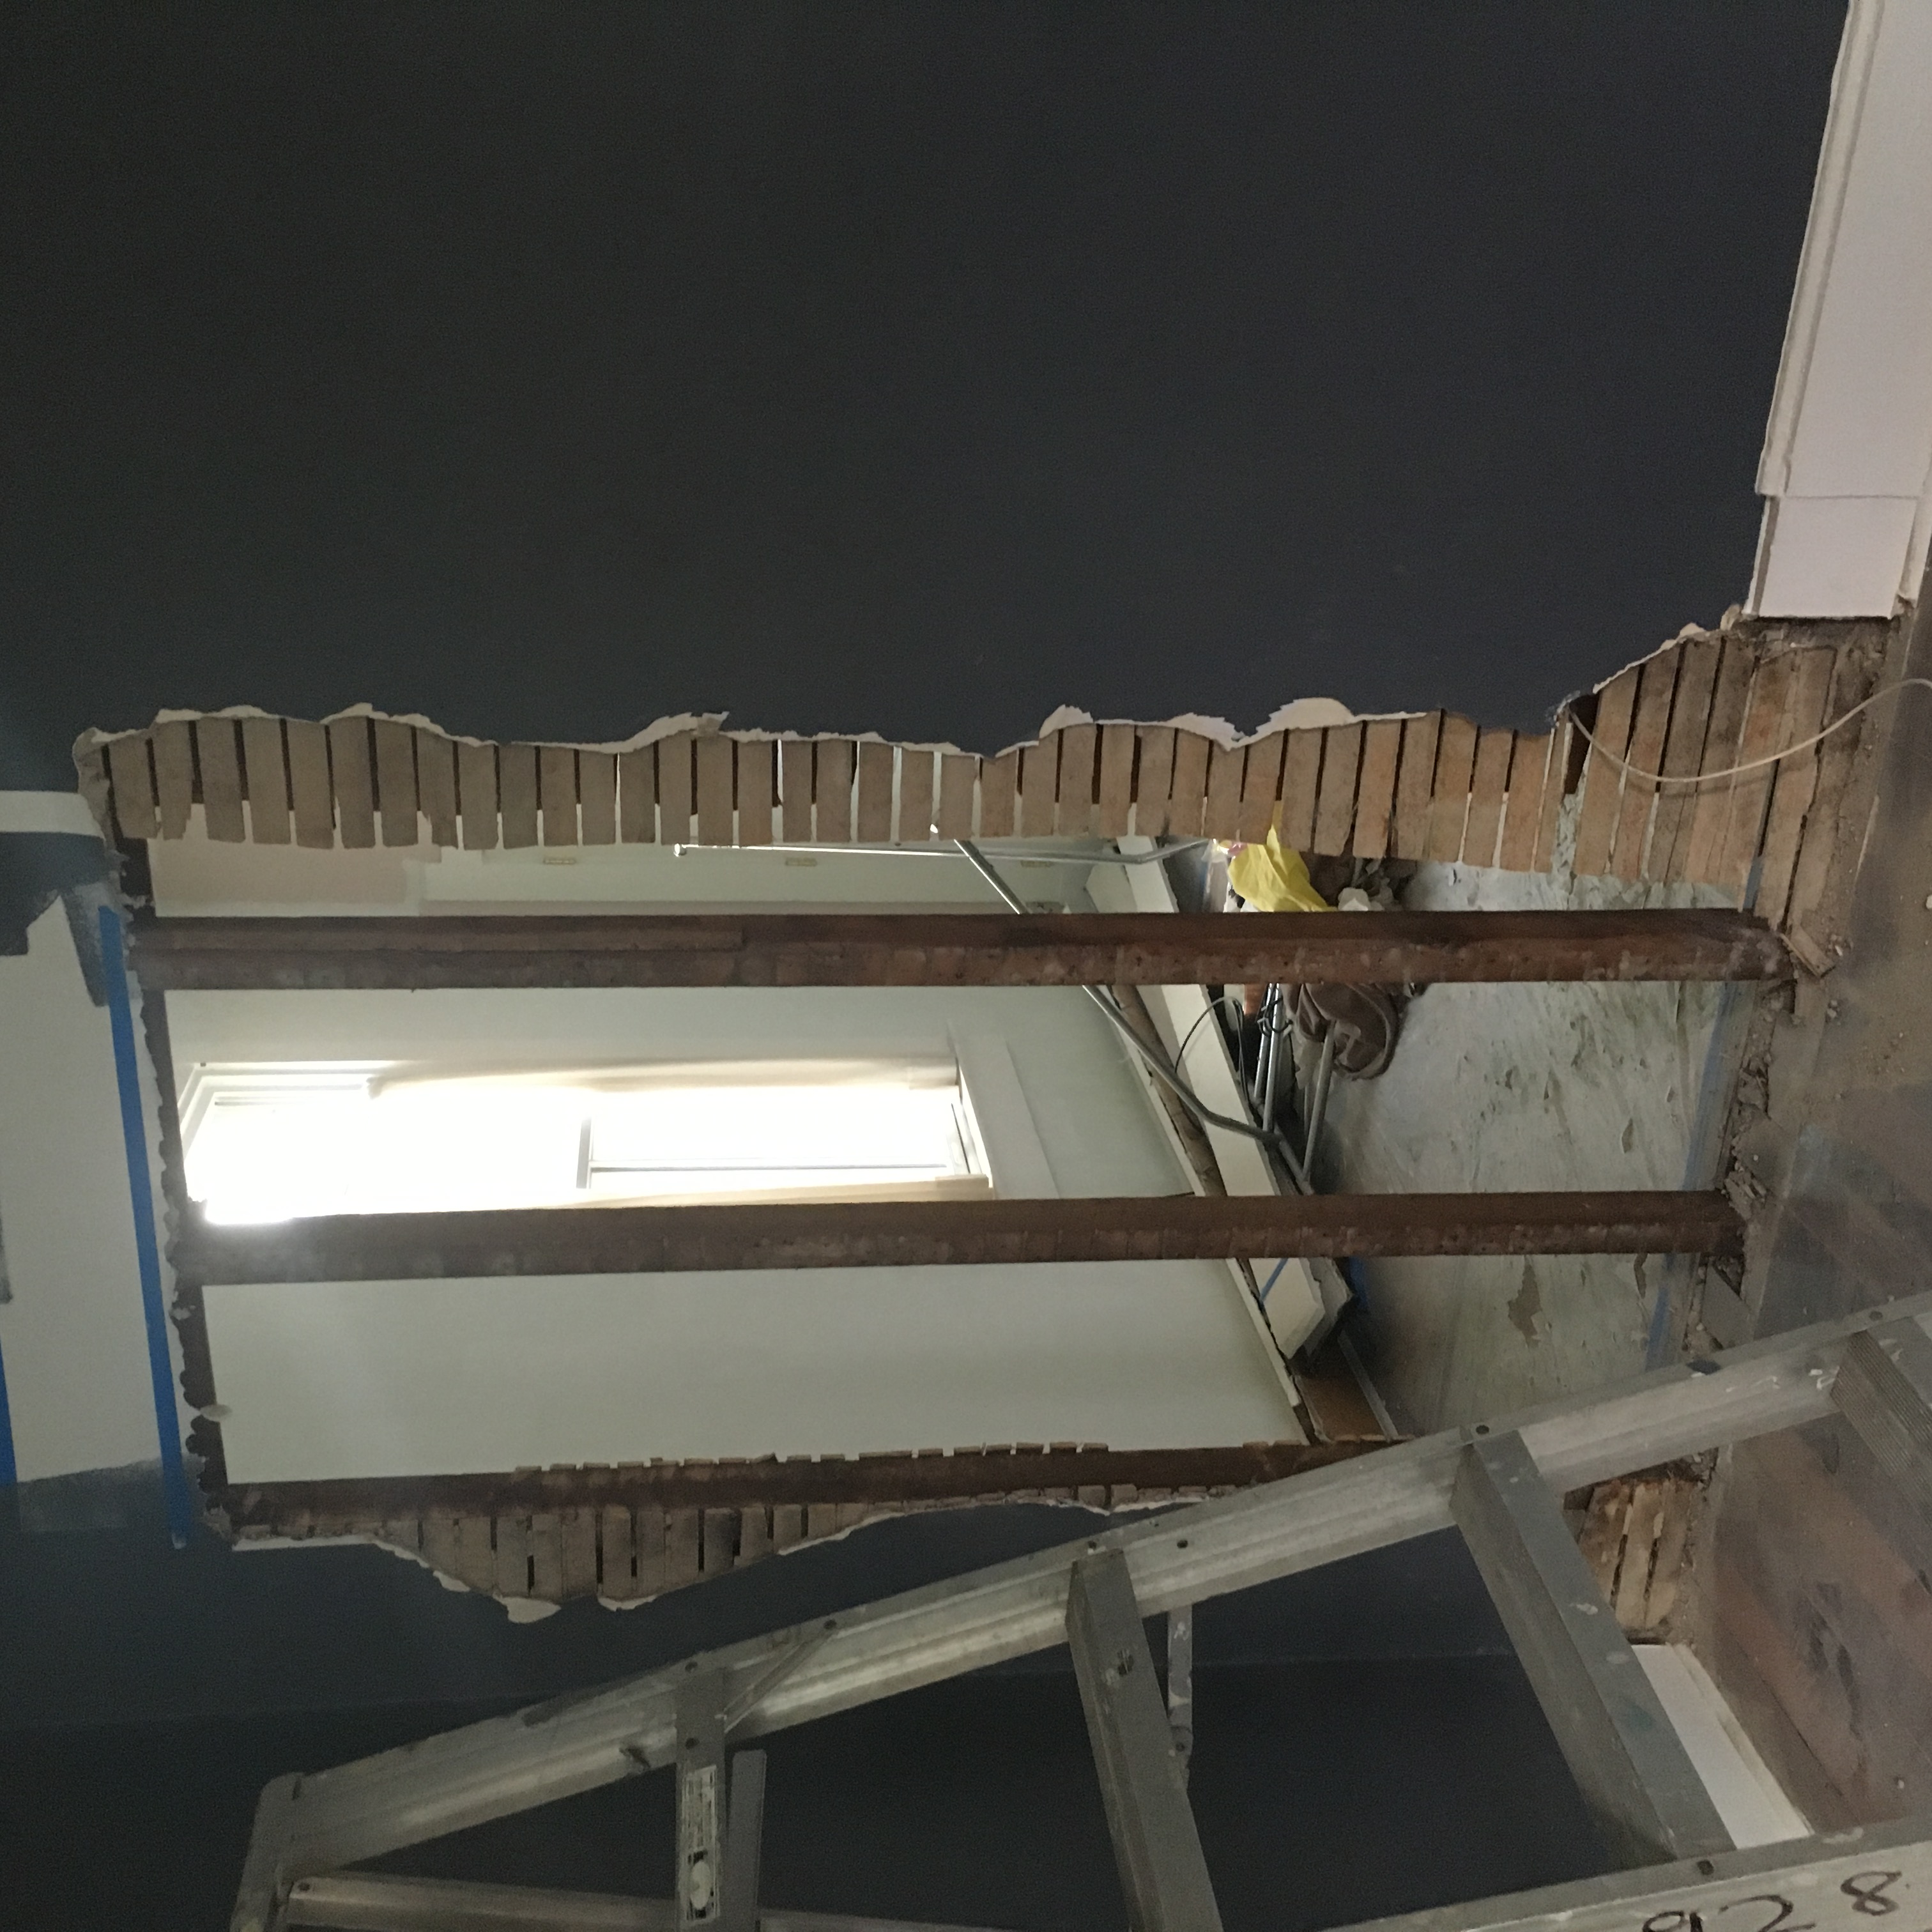
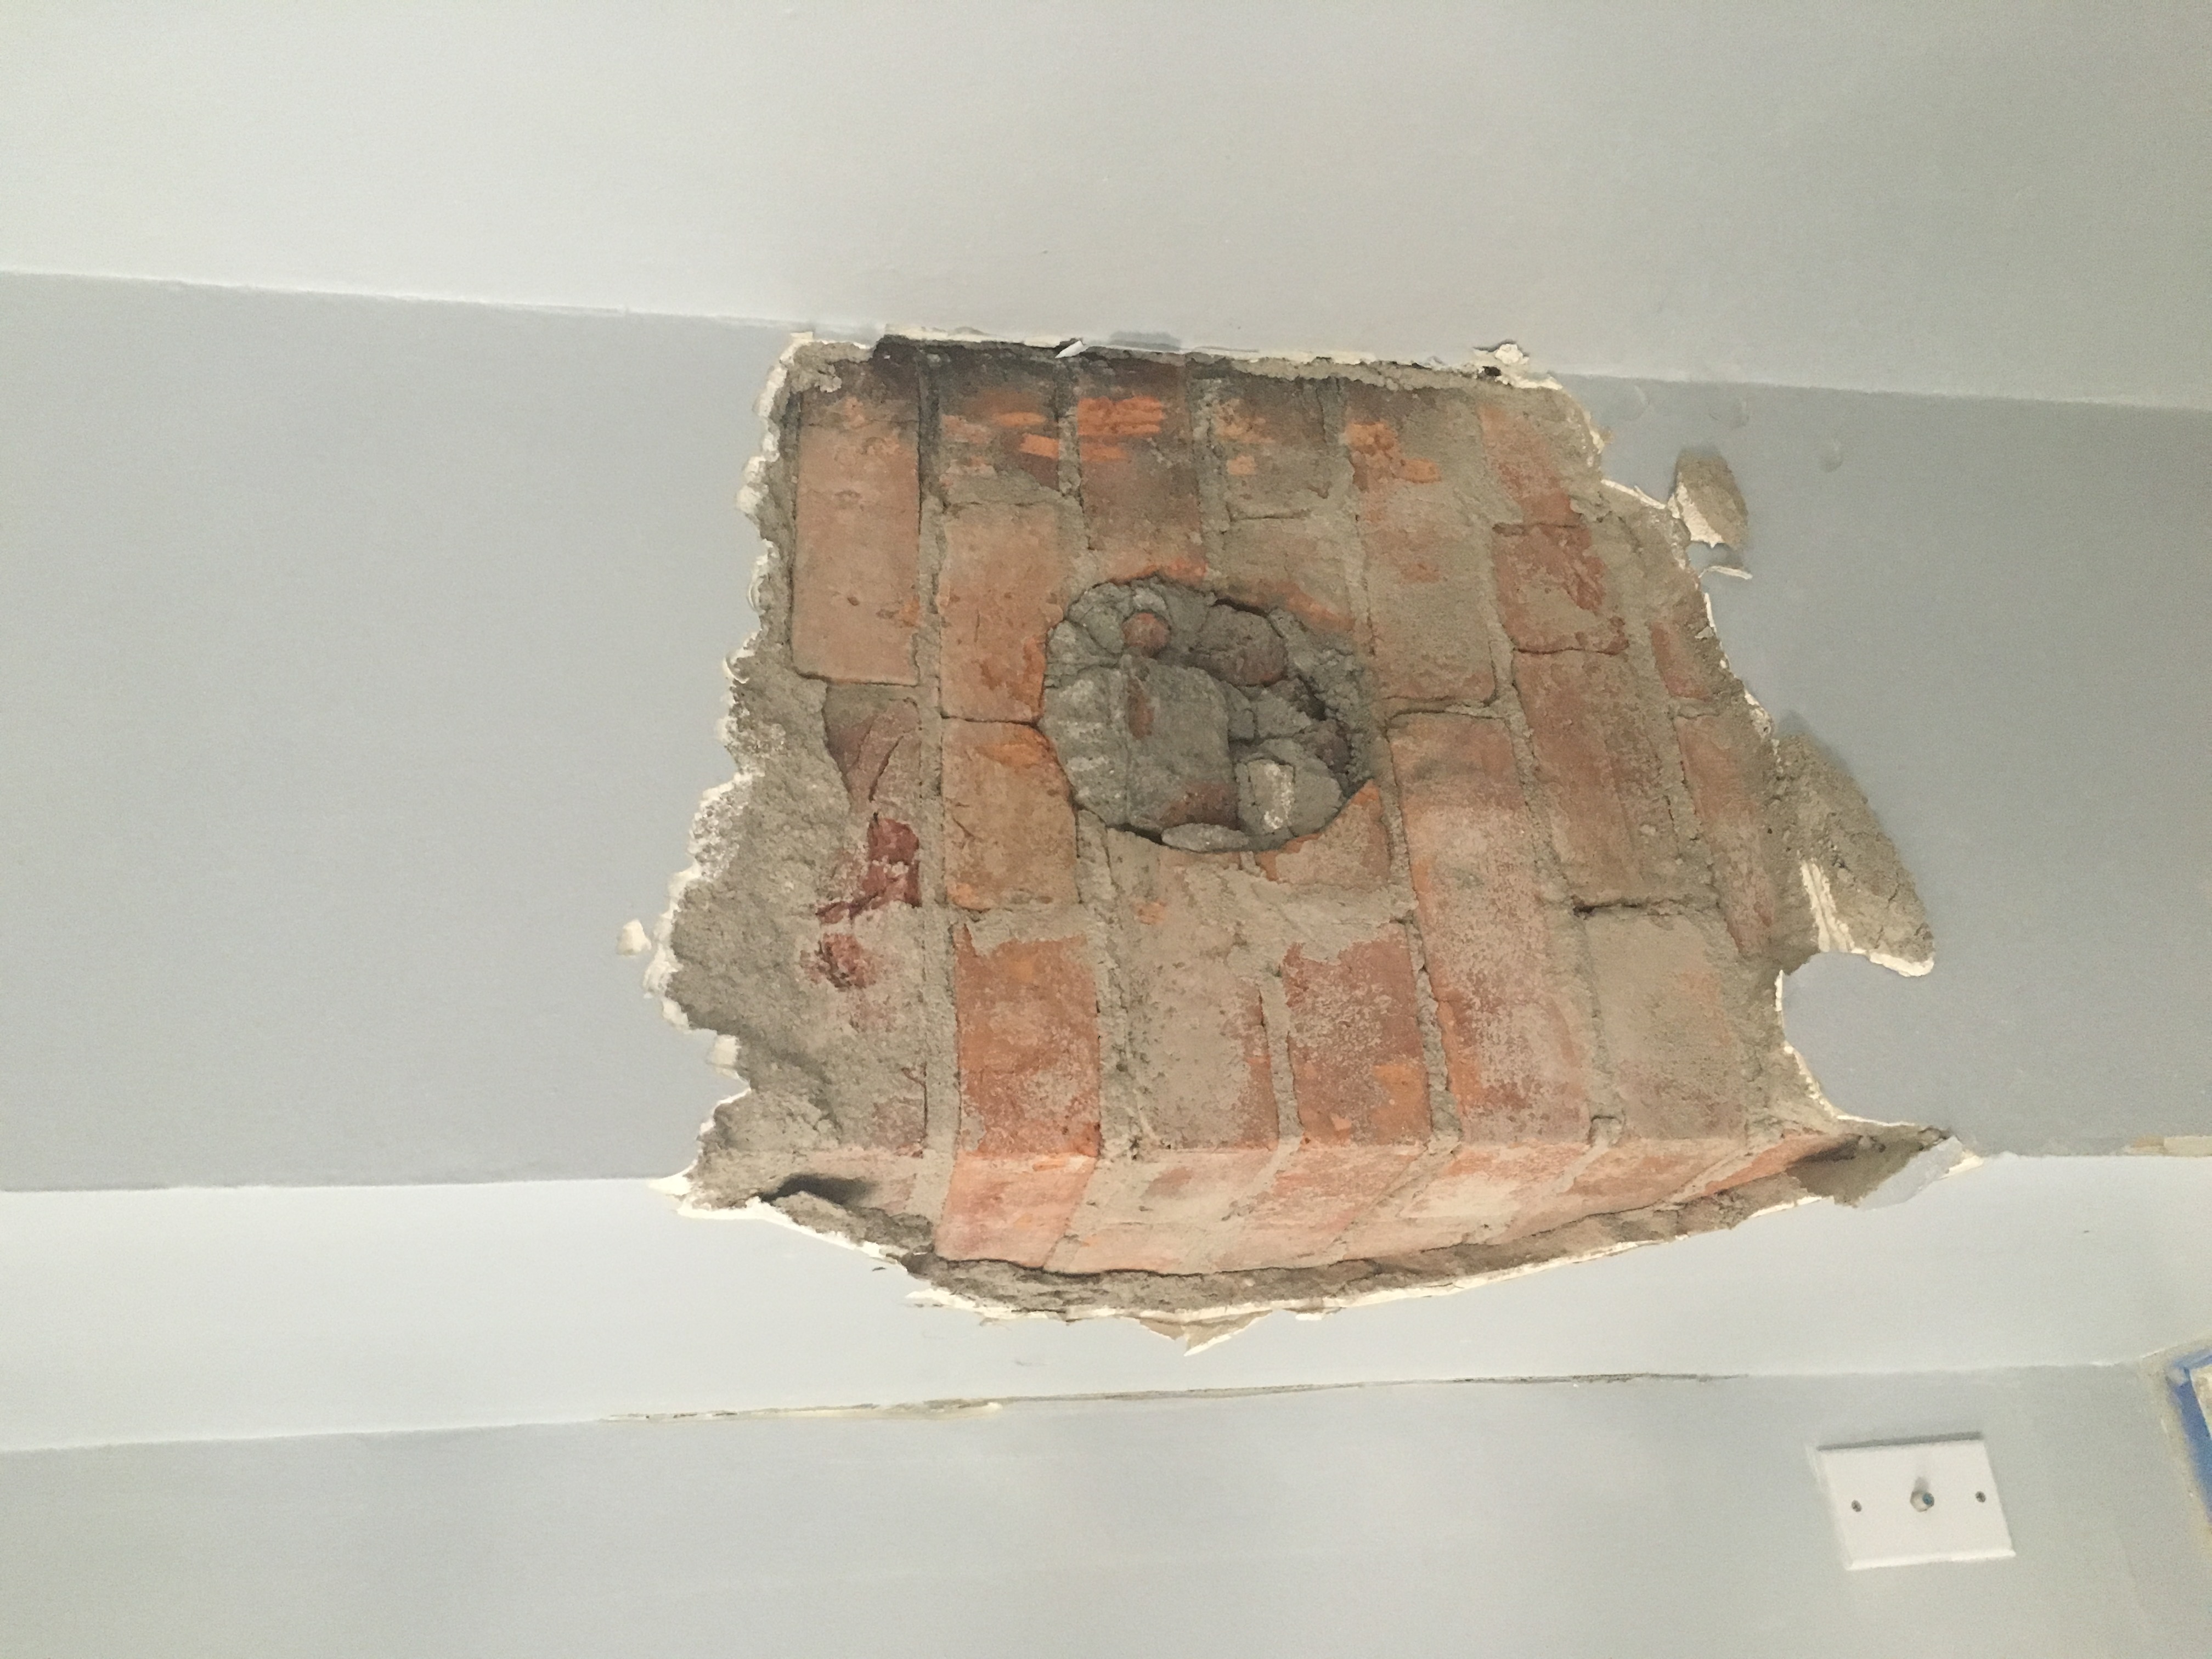
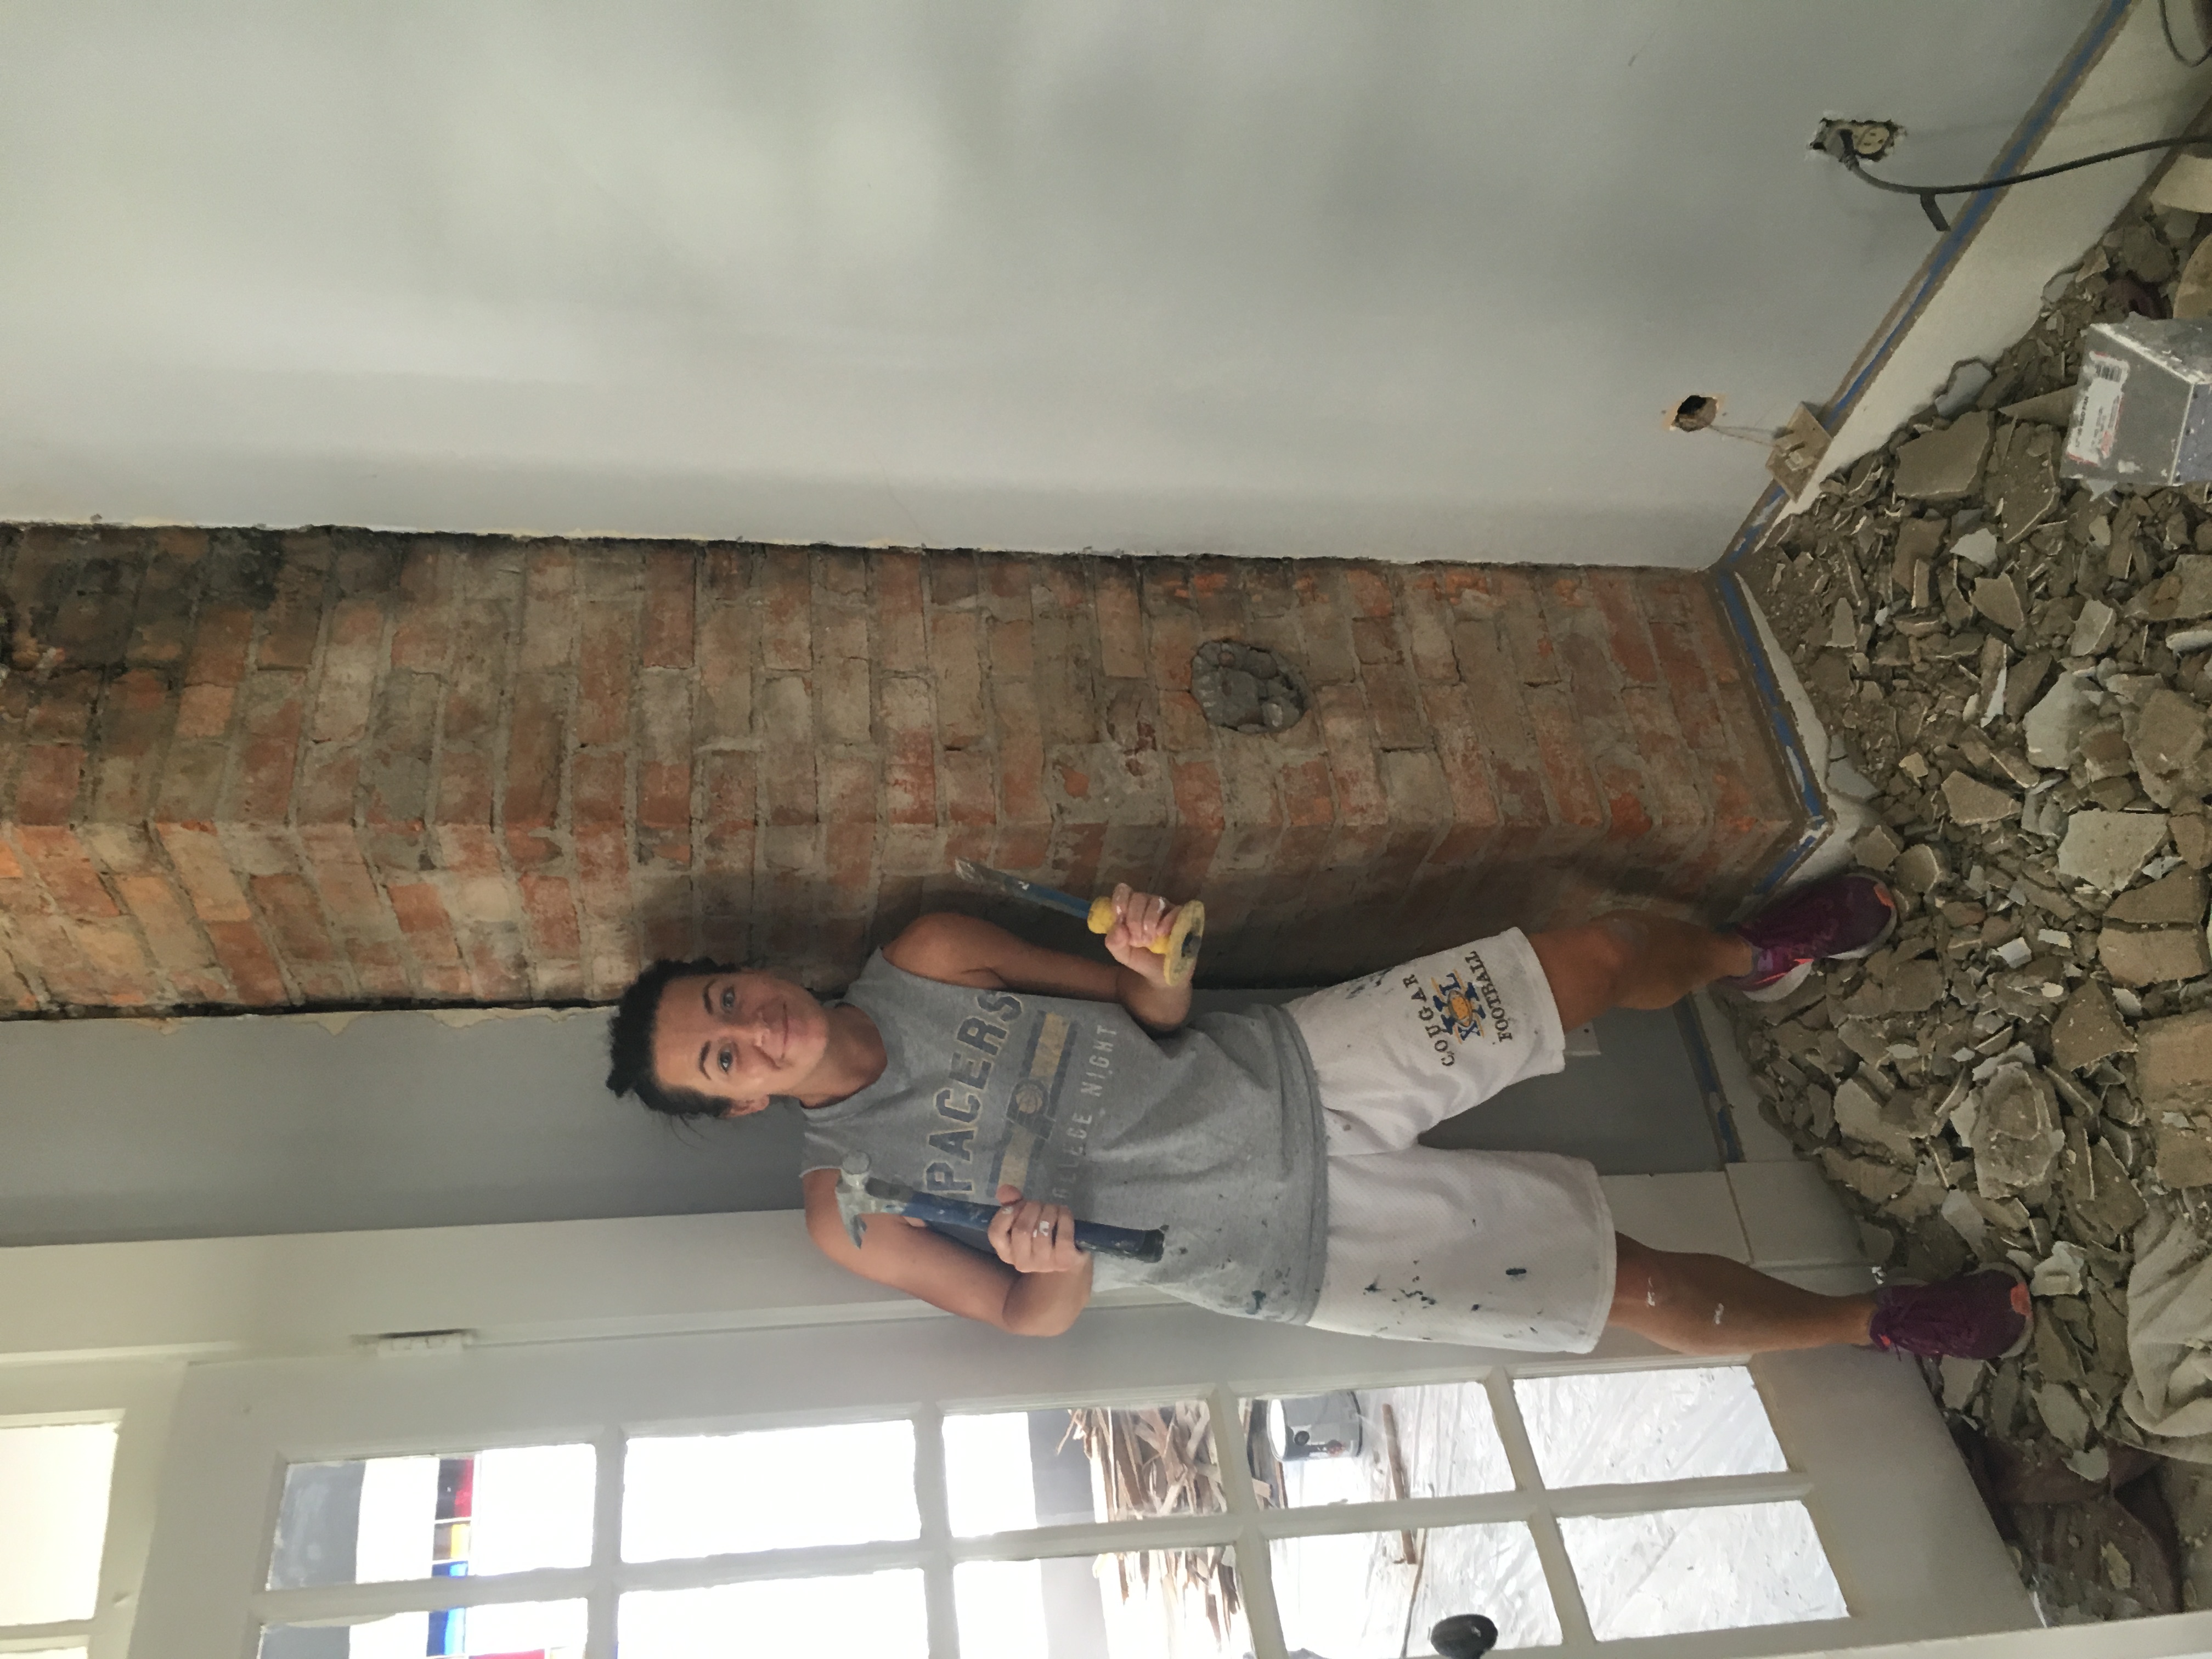
- Exposed brick in the corner
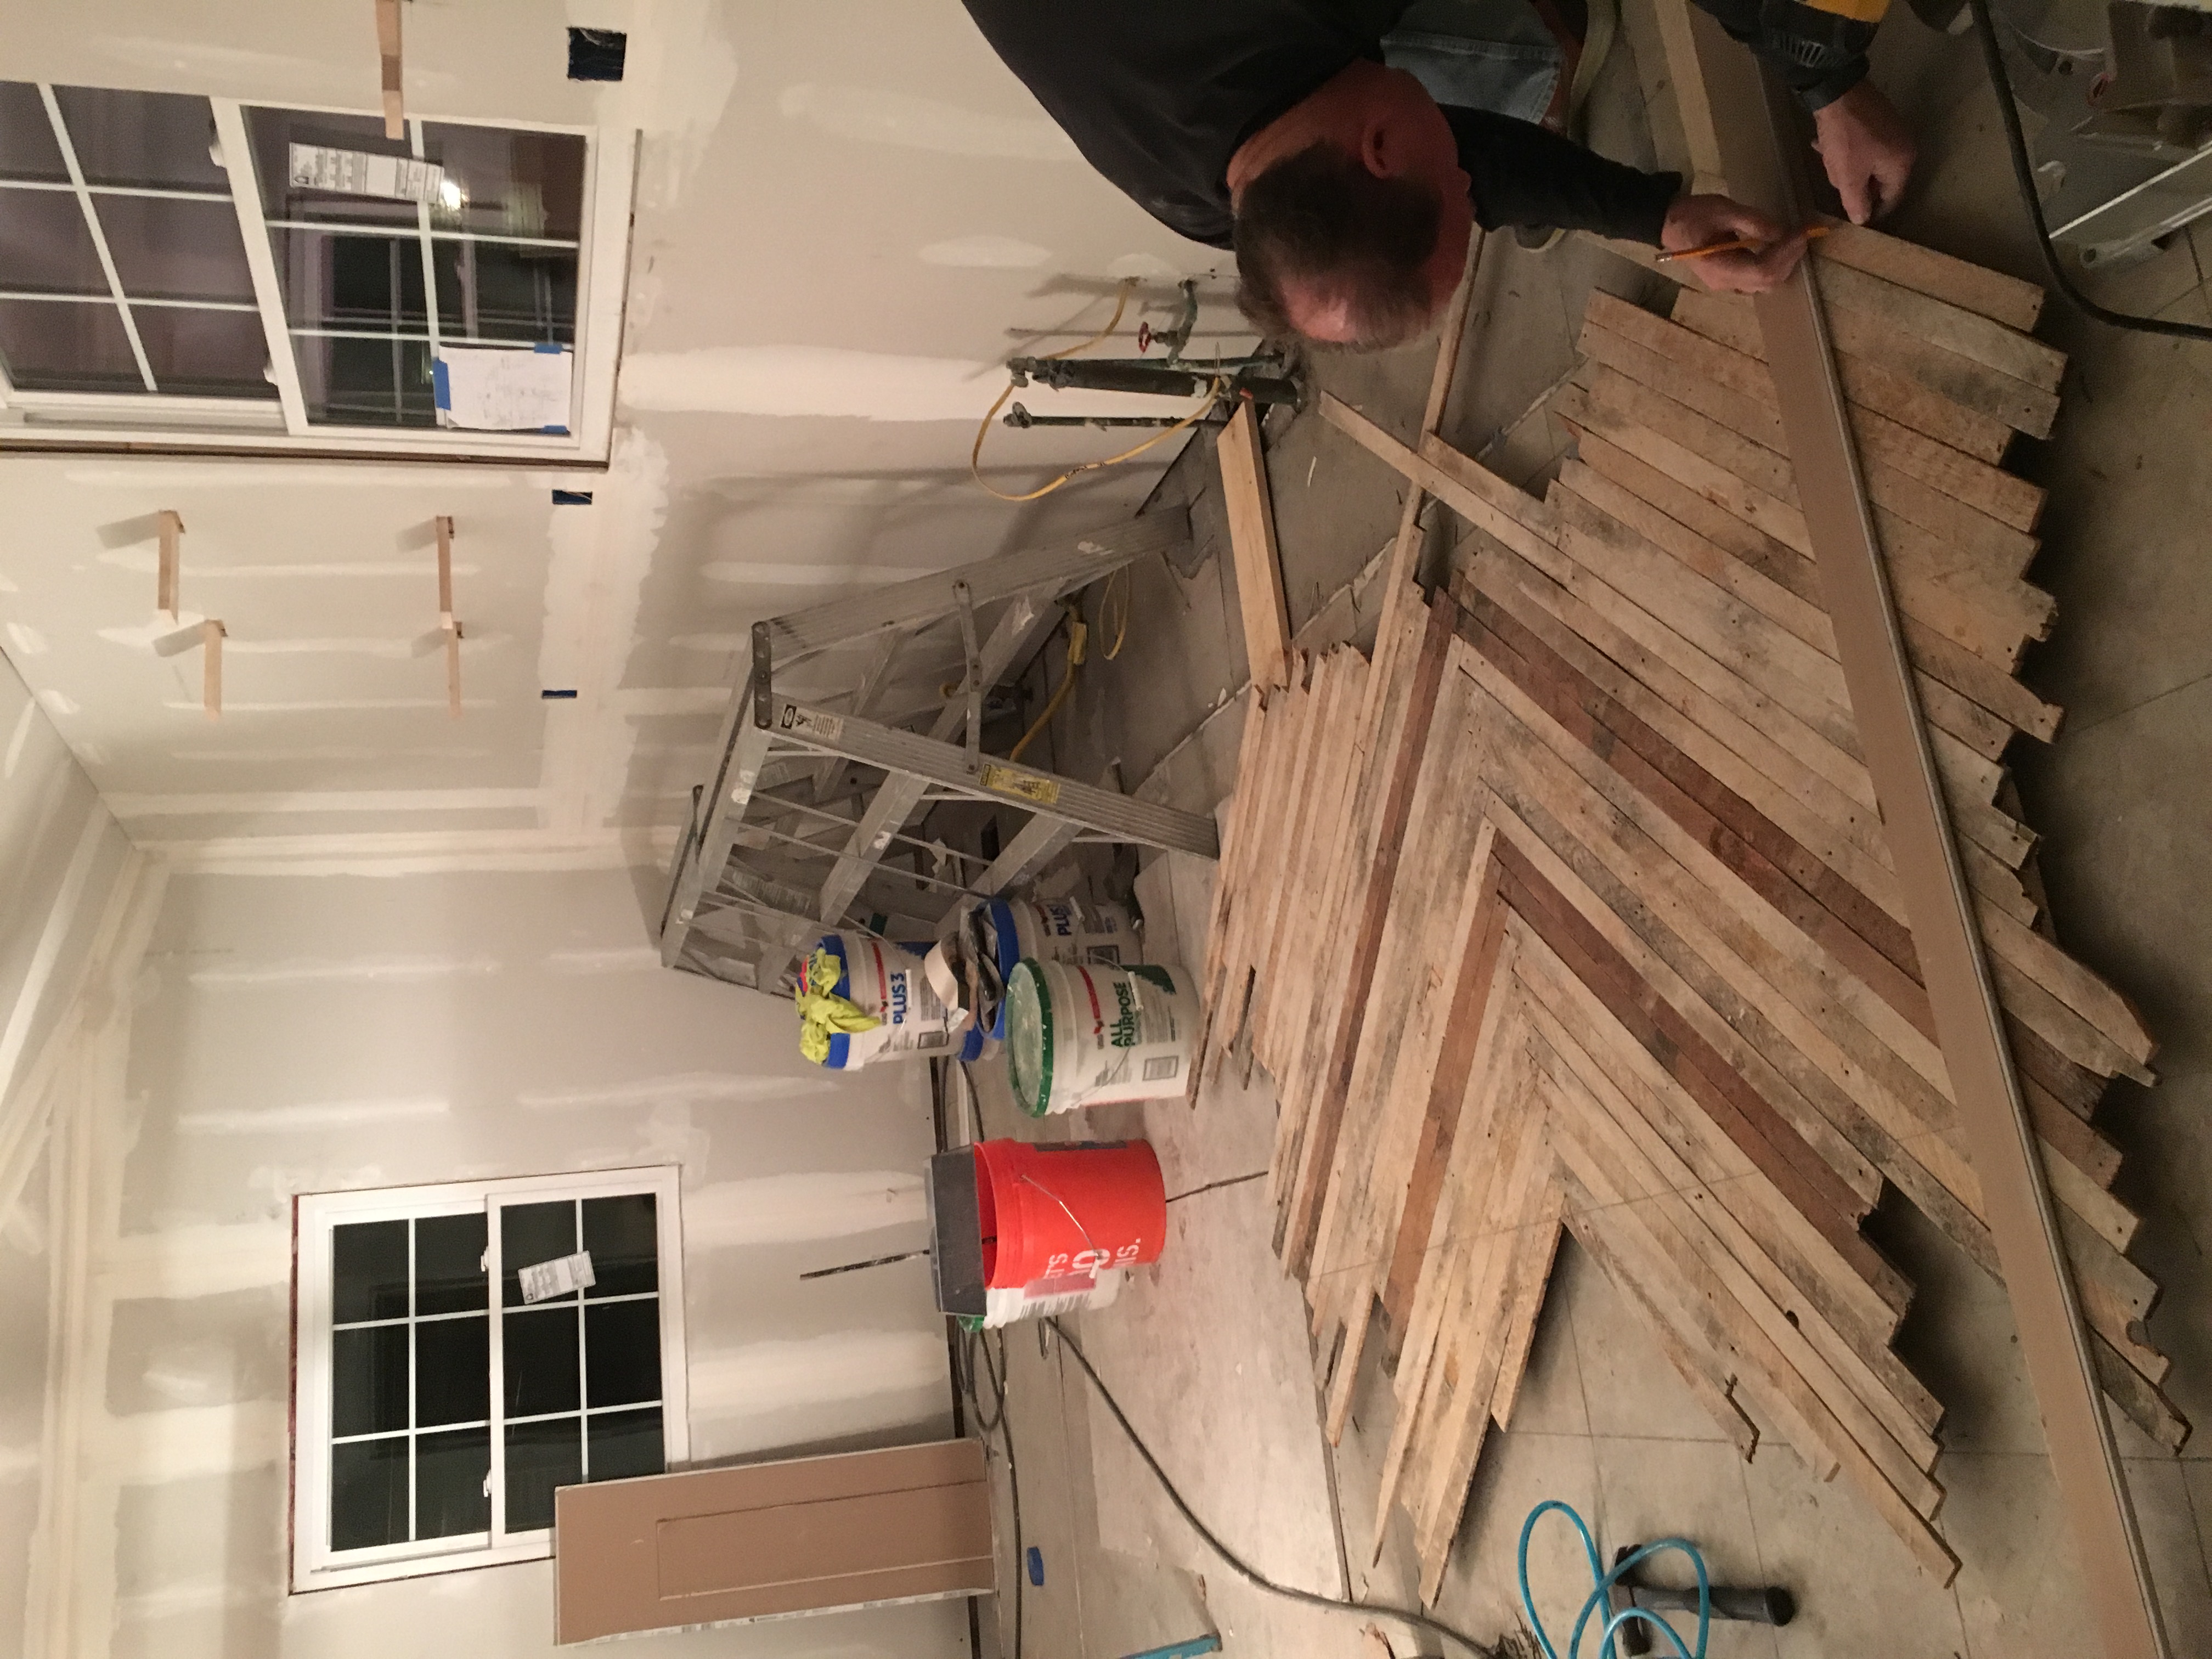
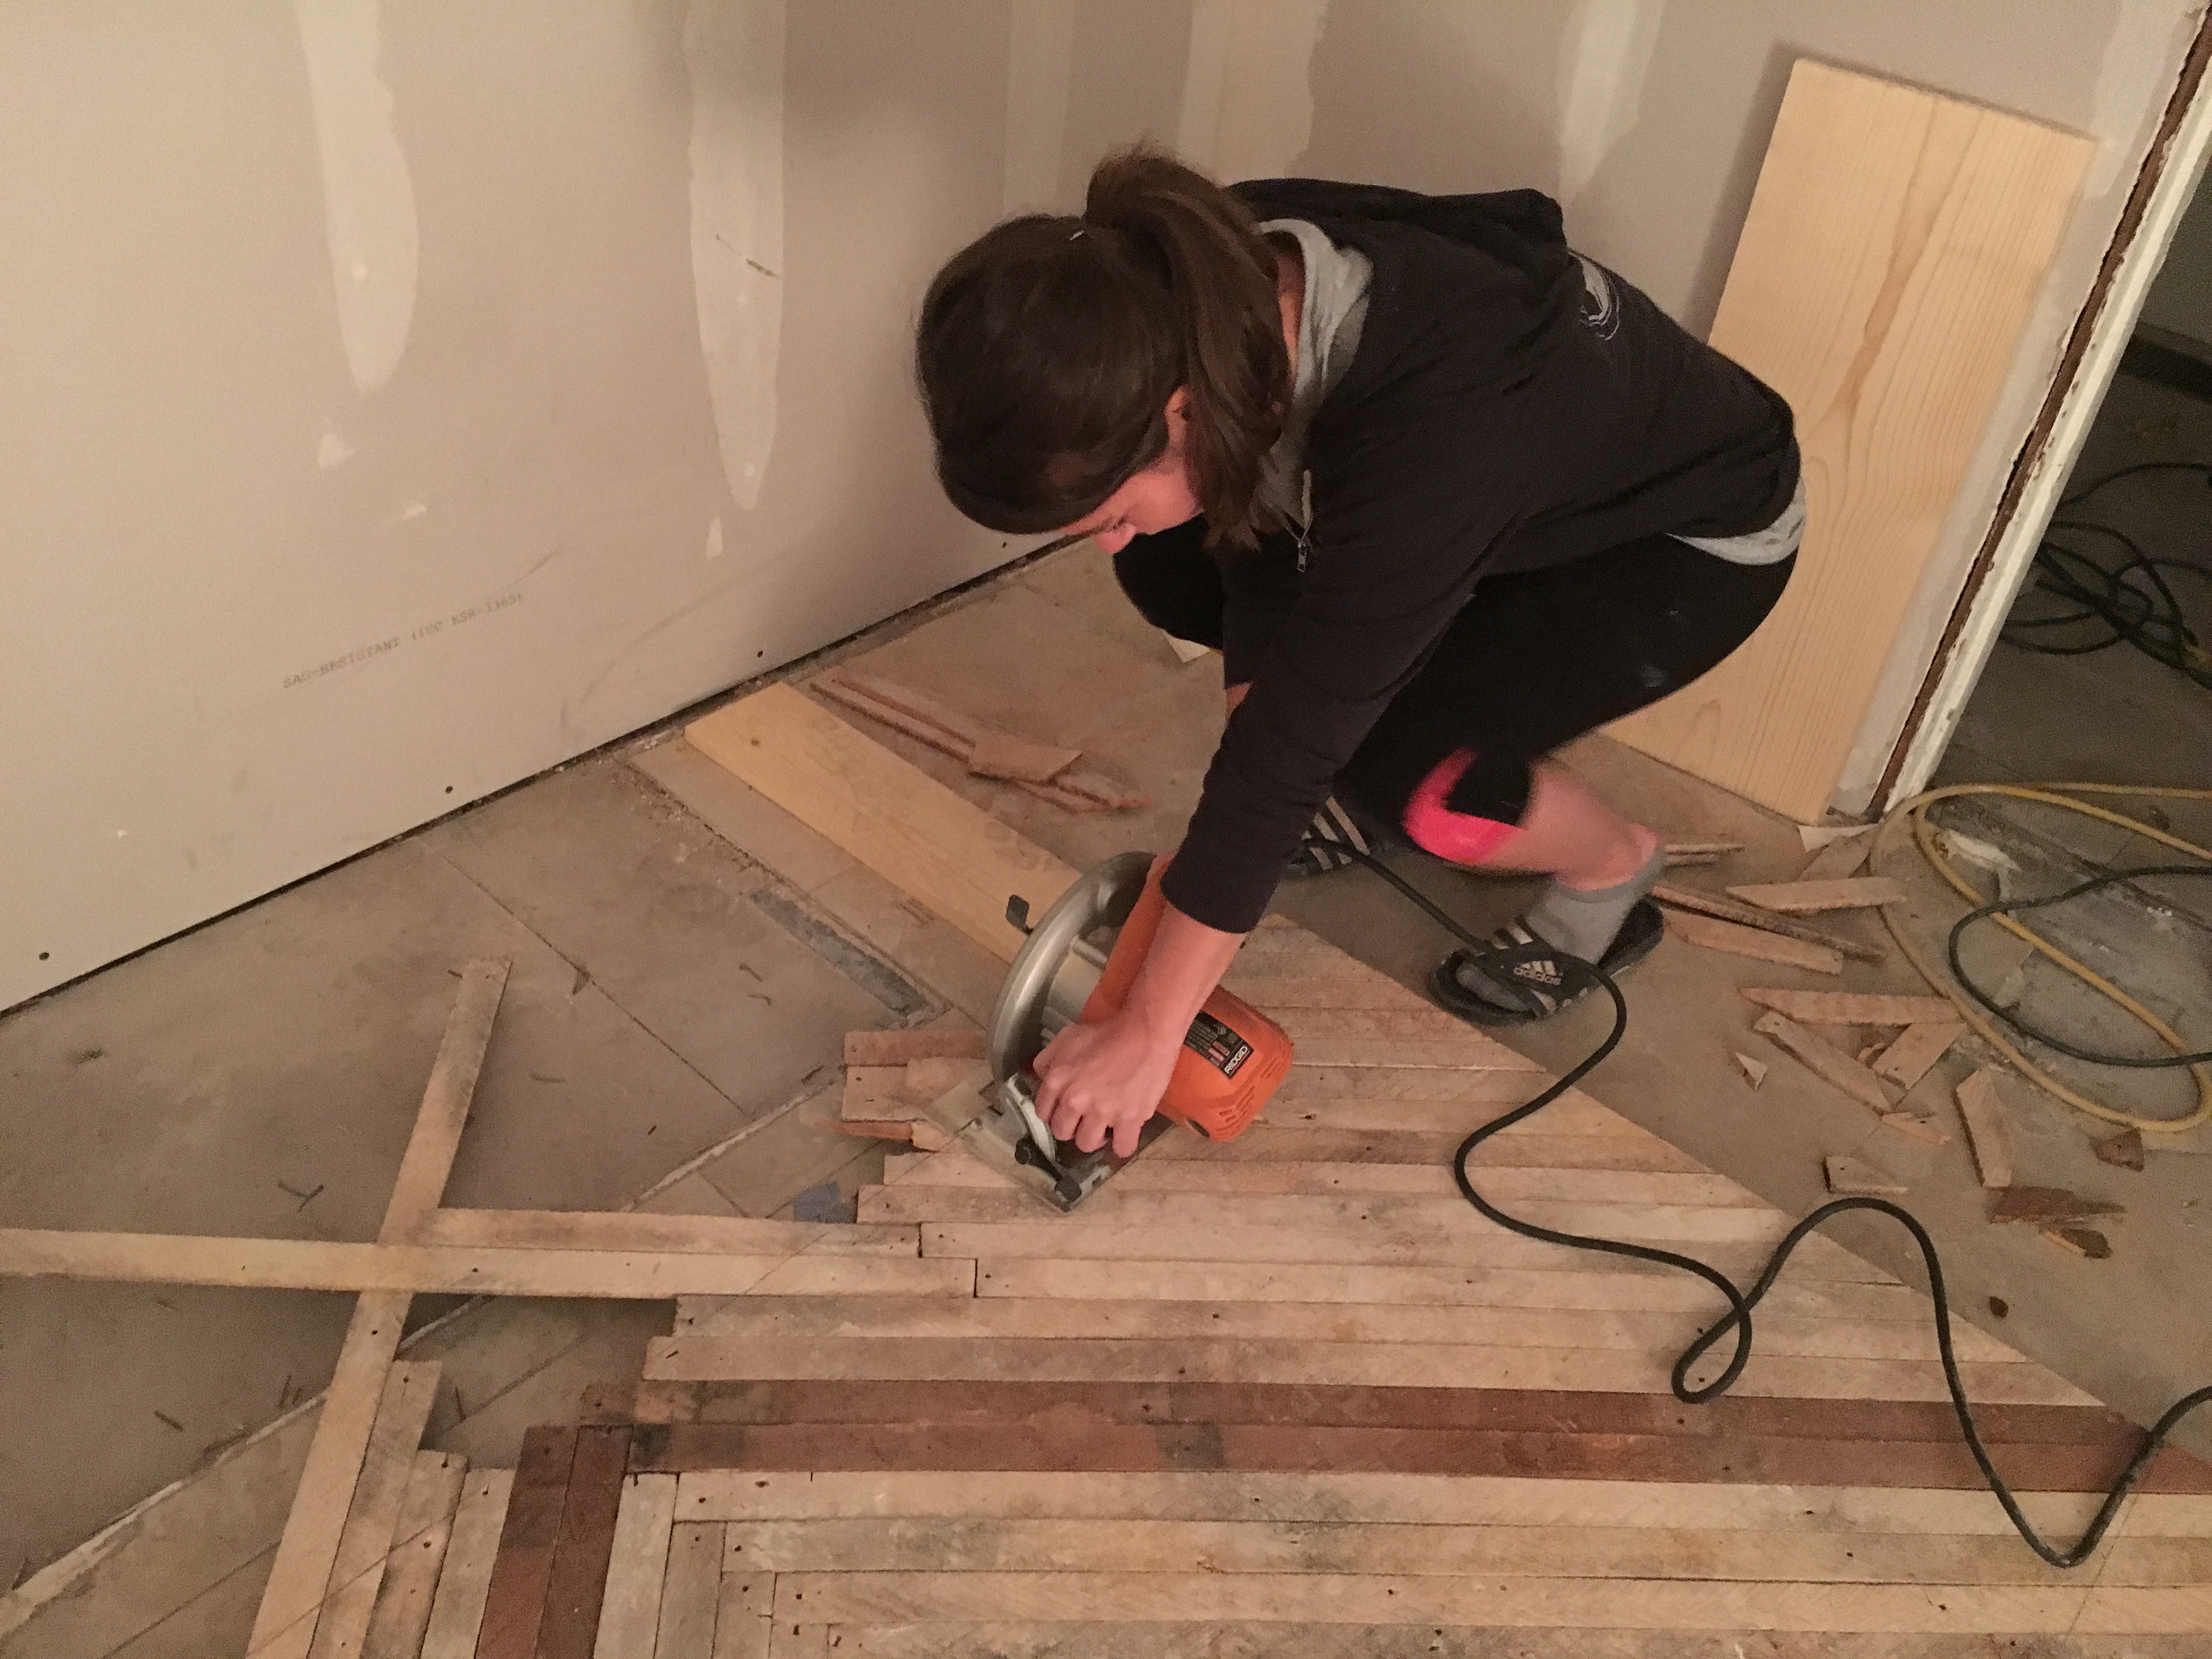
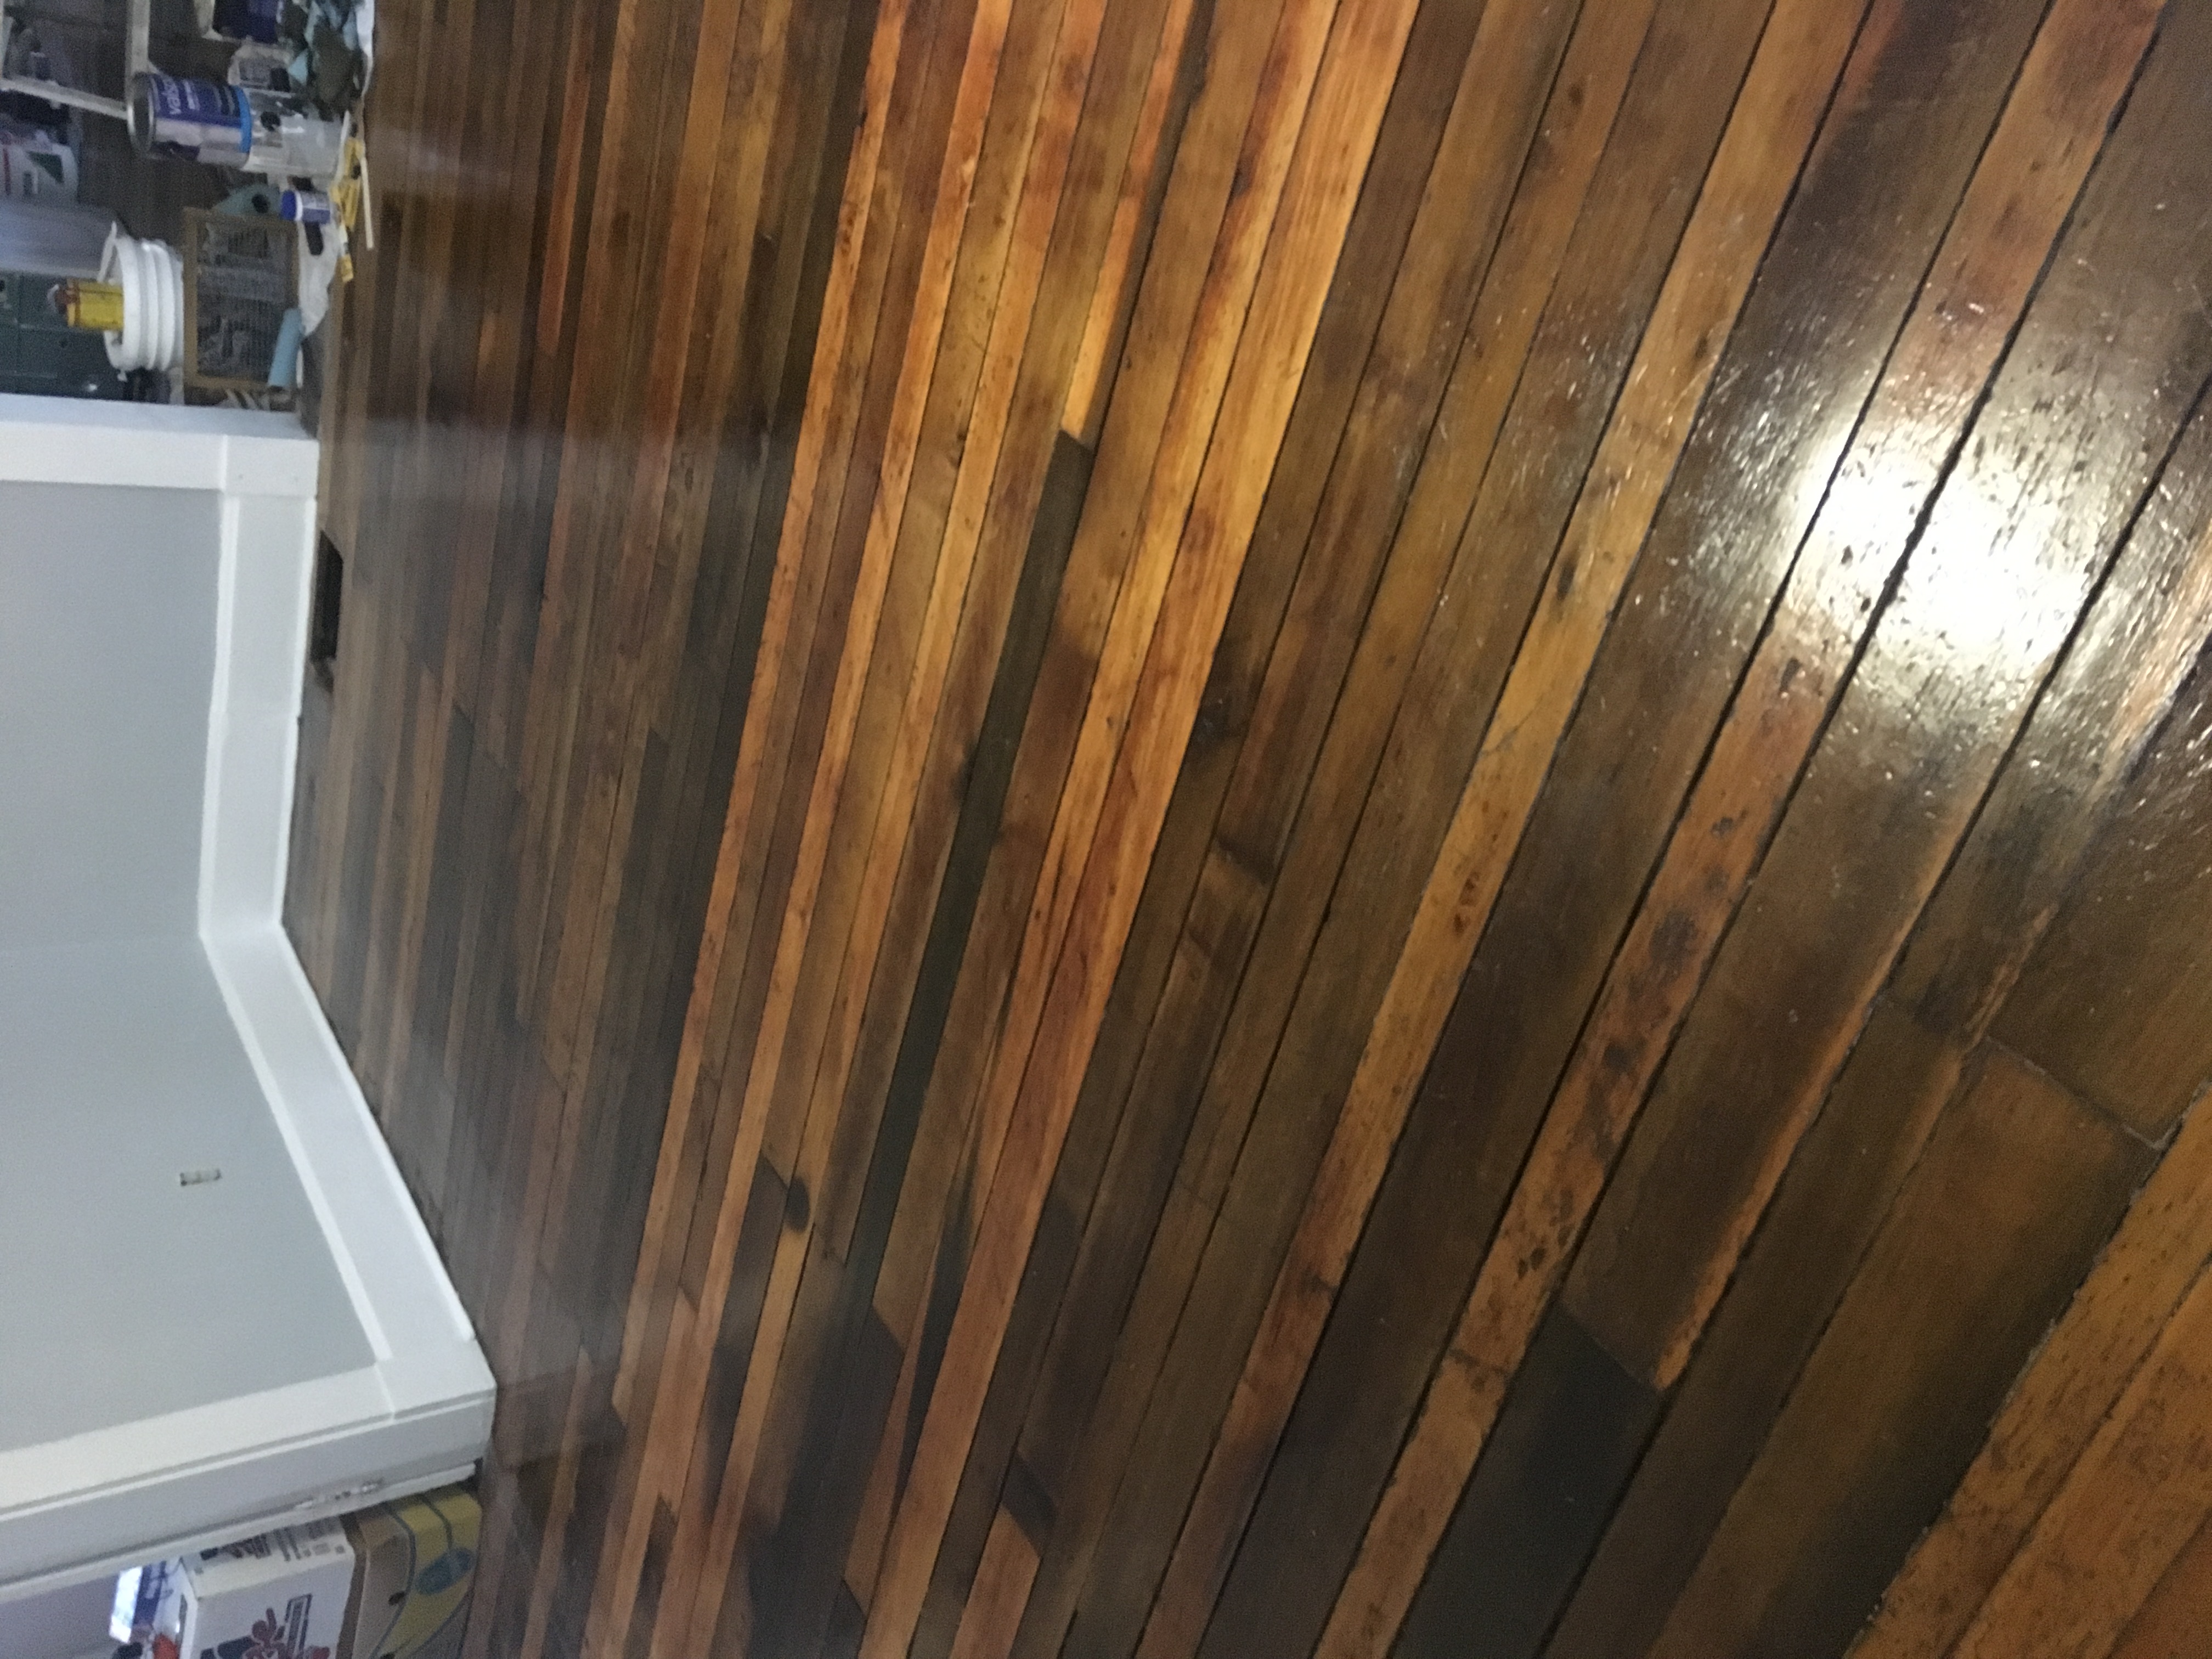
- Stained the floors (did not sand, just stained to cover the scratches slightly better)
- Chiseled all the caulk and paint that was all over the French doors and transom windows
- Hung curtains and rods
- Built coffee table using wood found at Midland Antiques
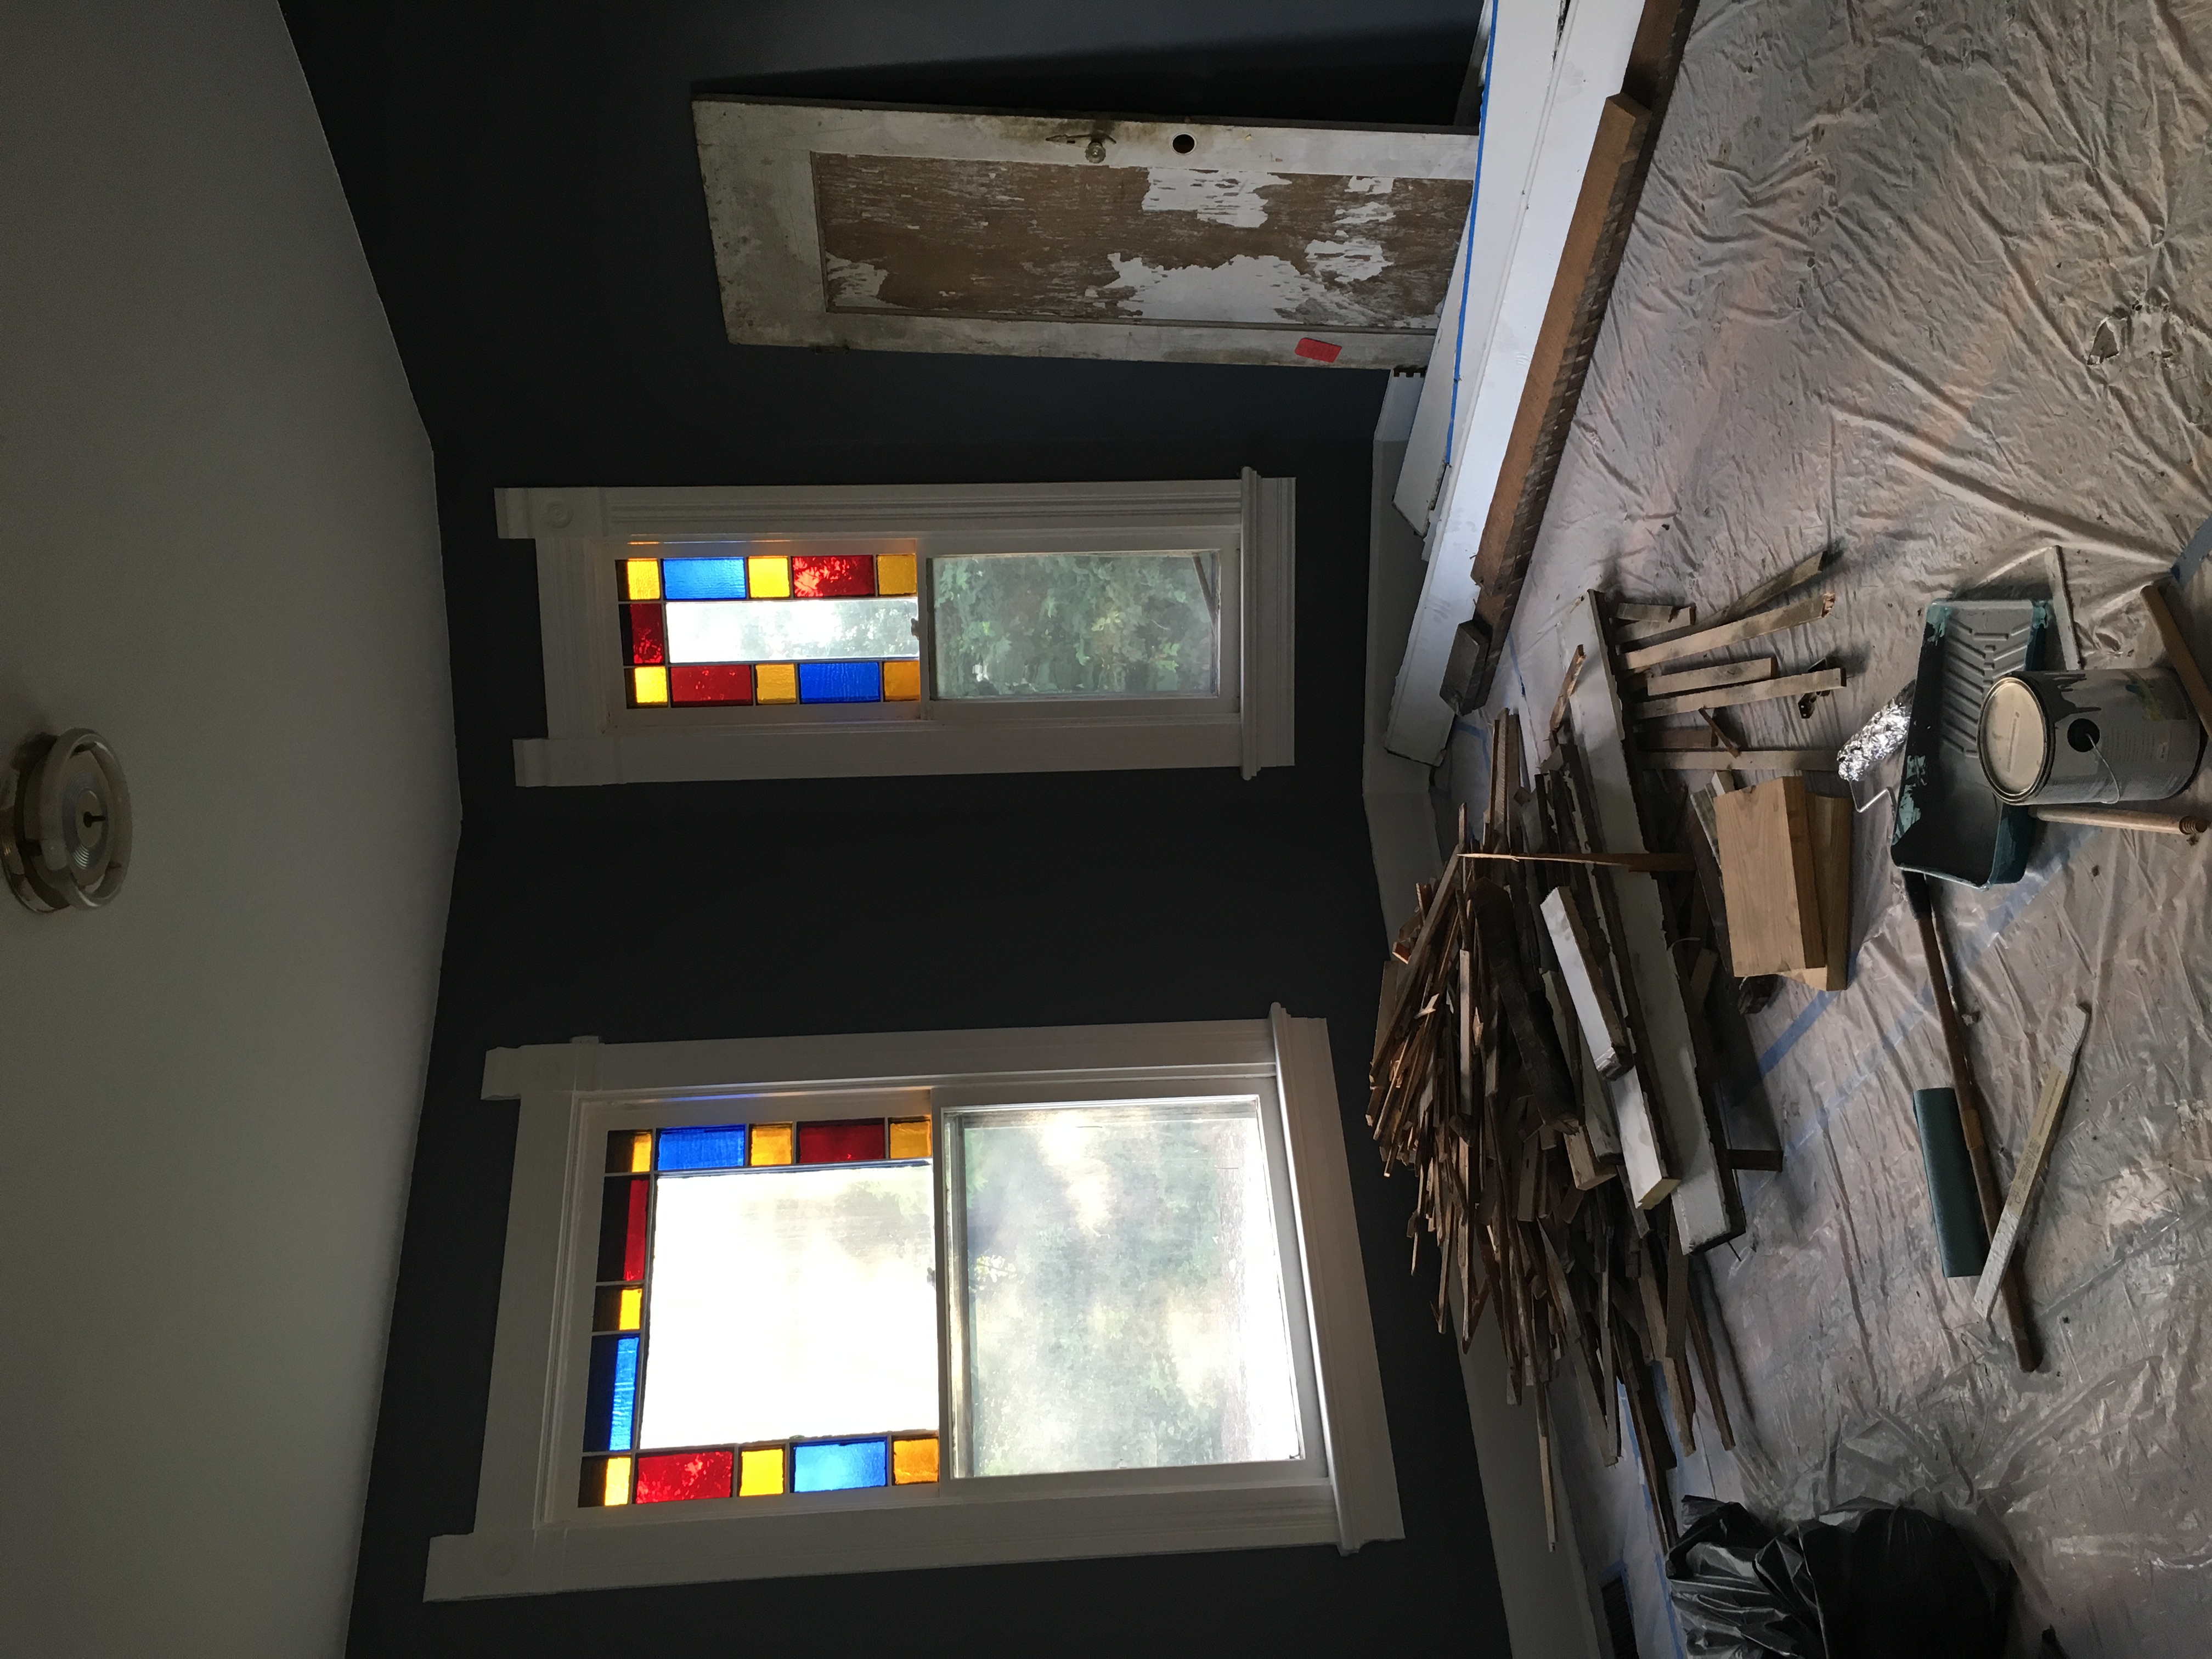
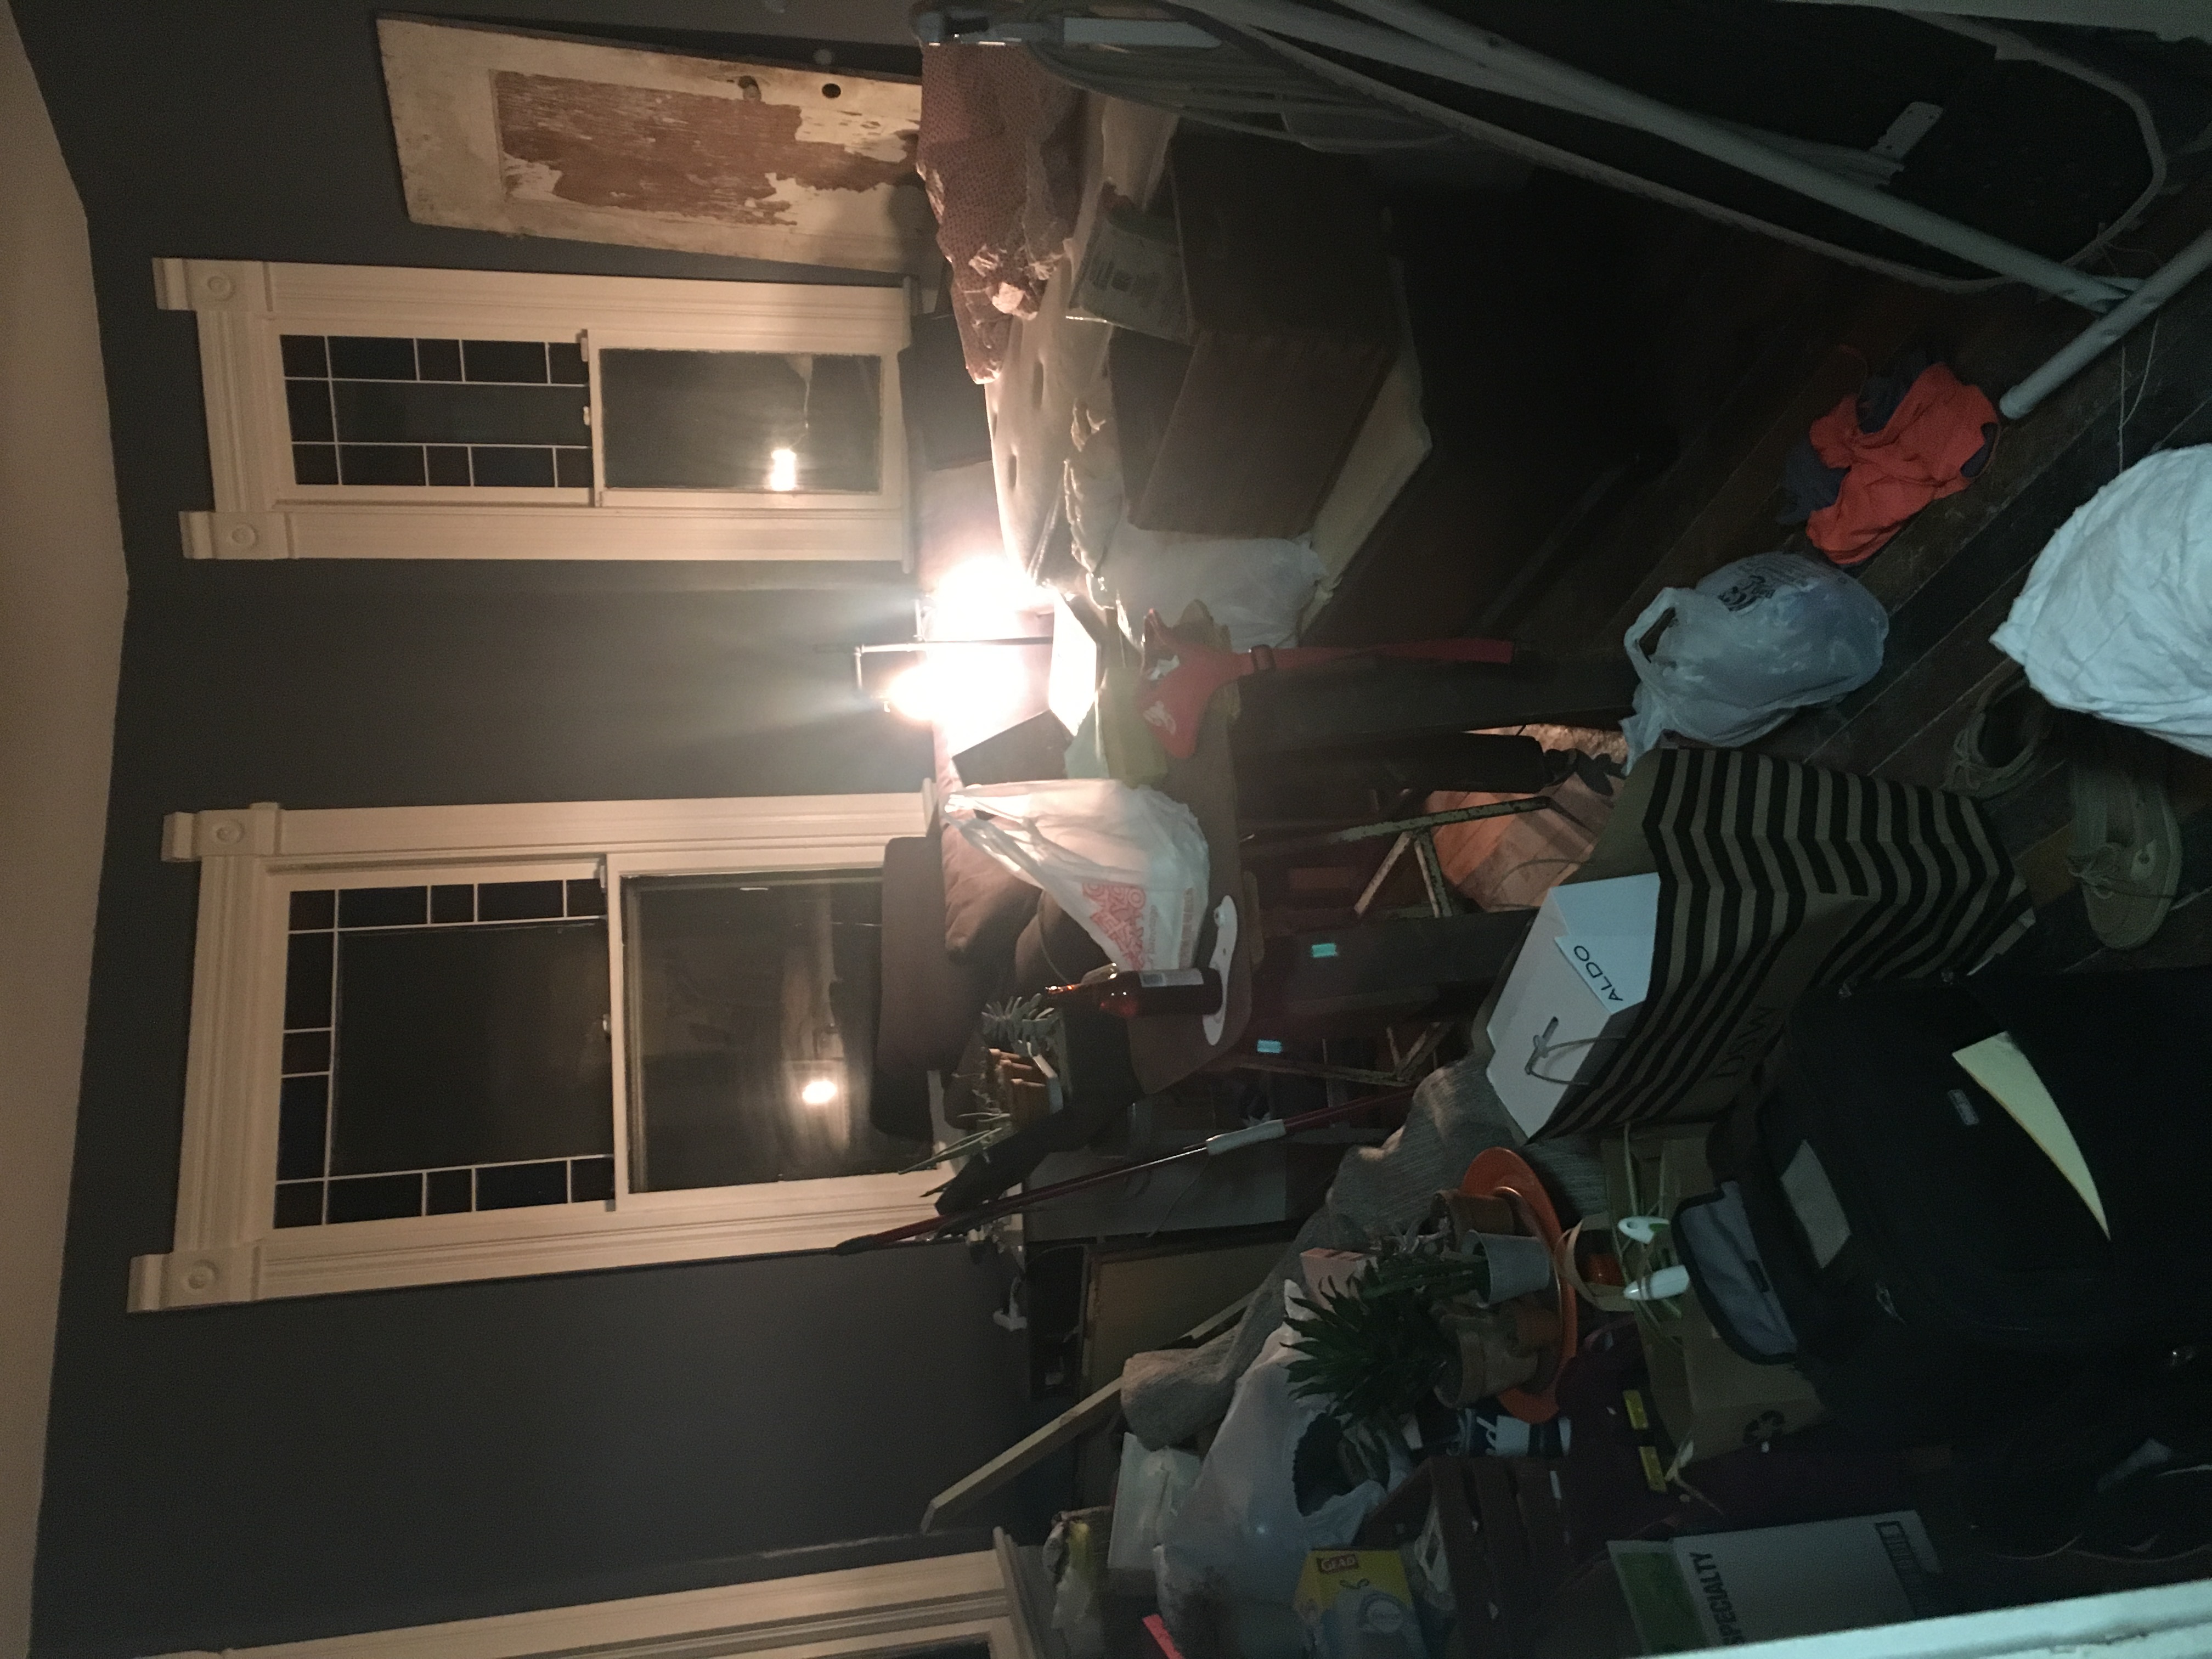
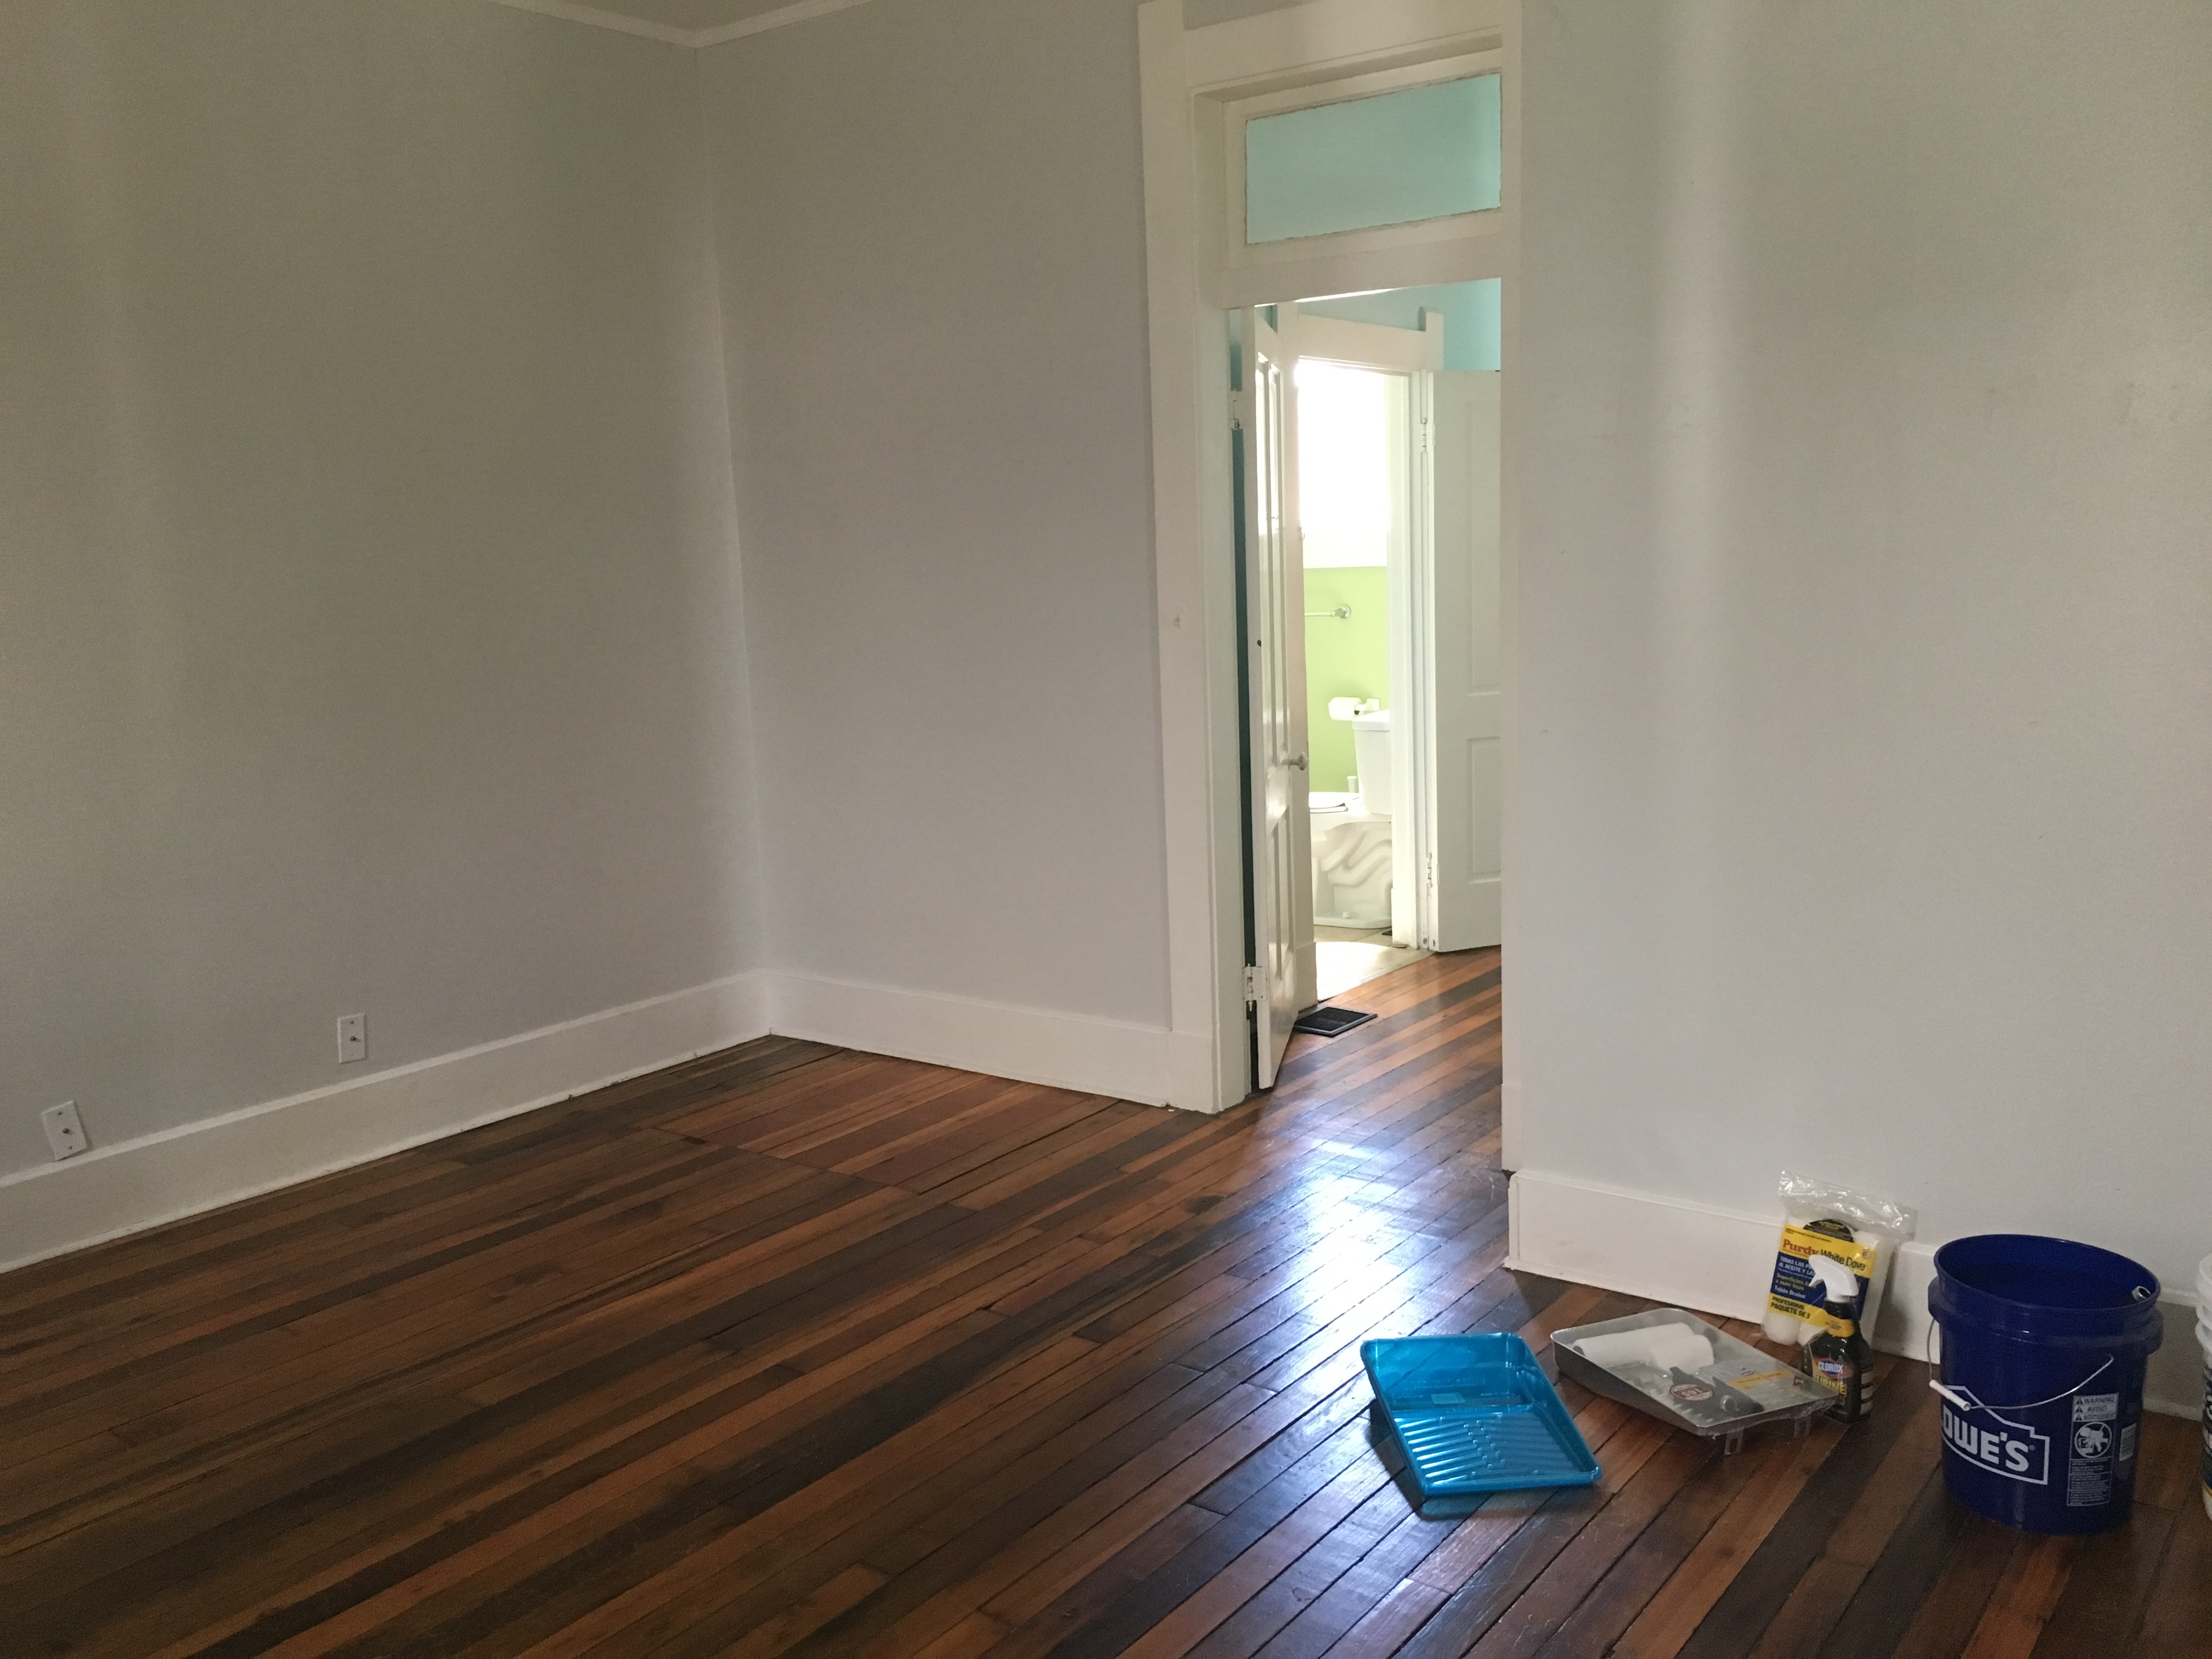
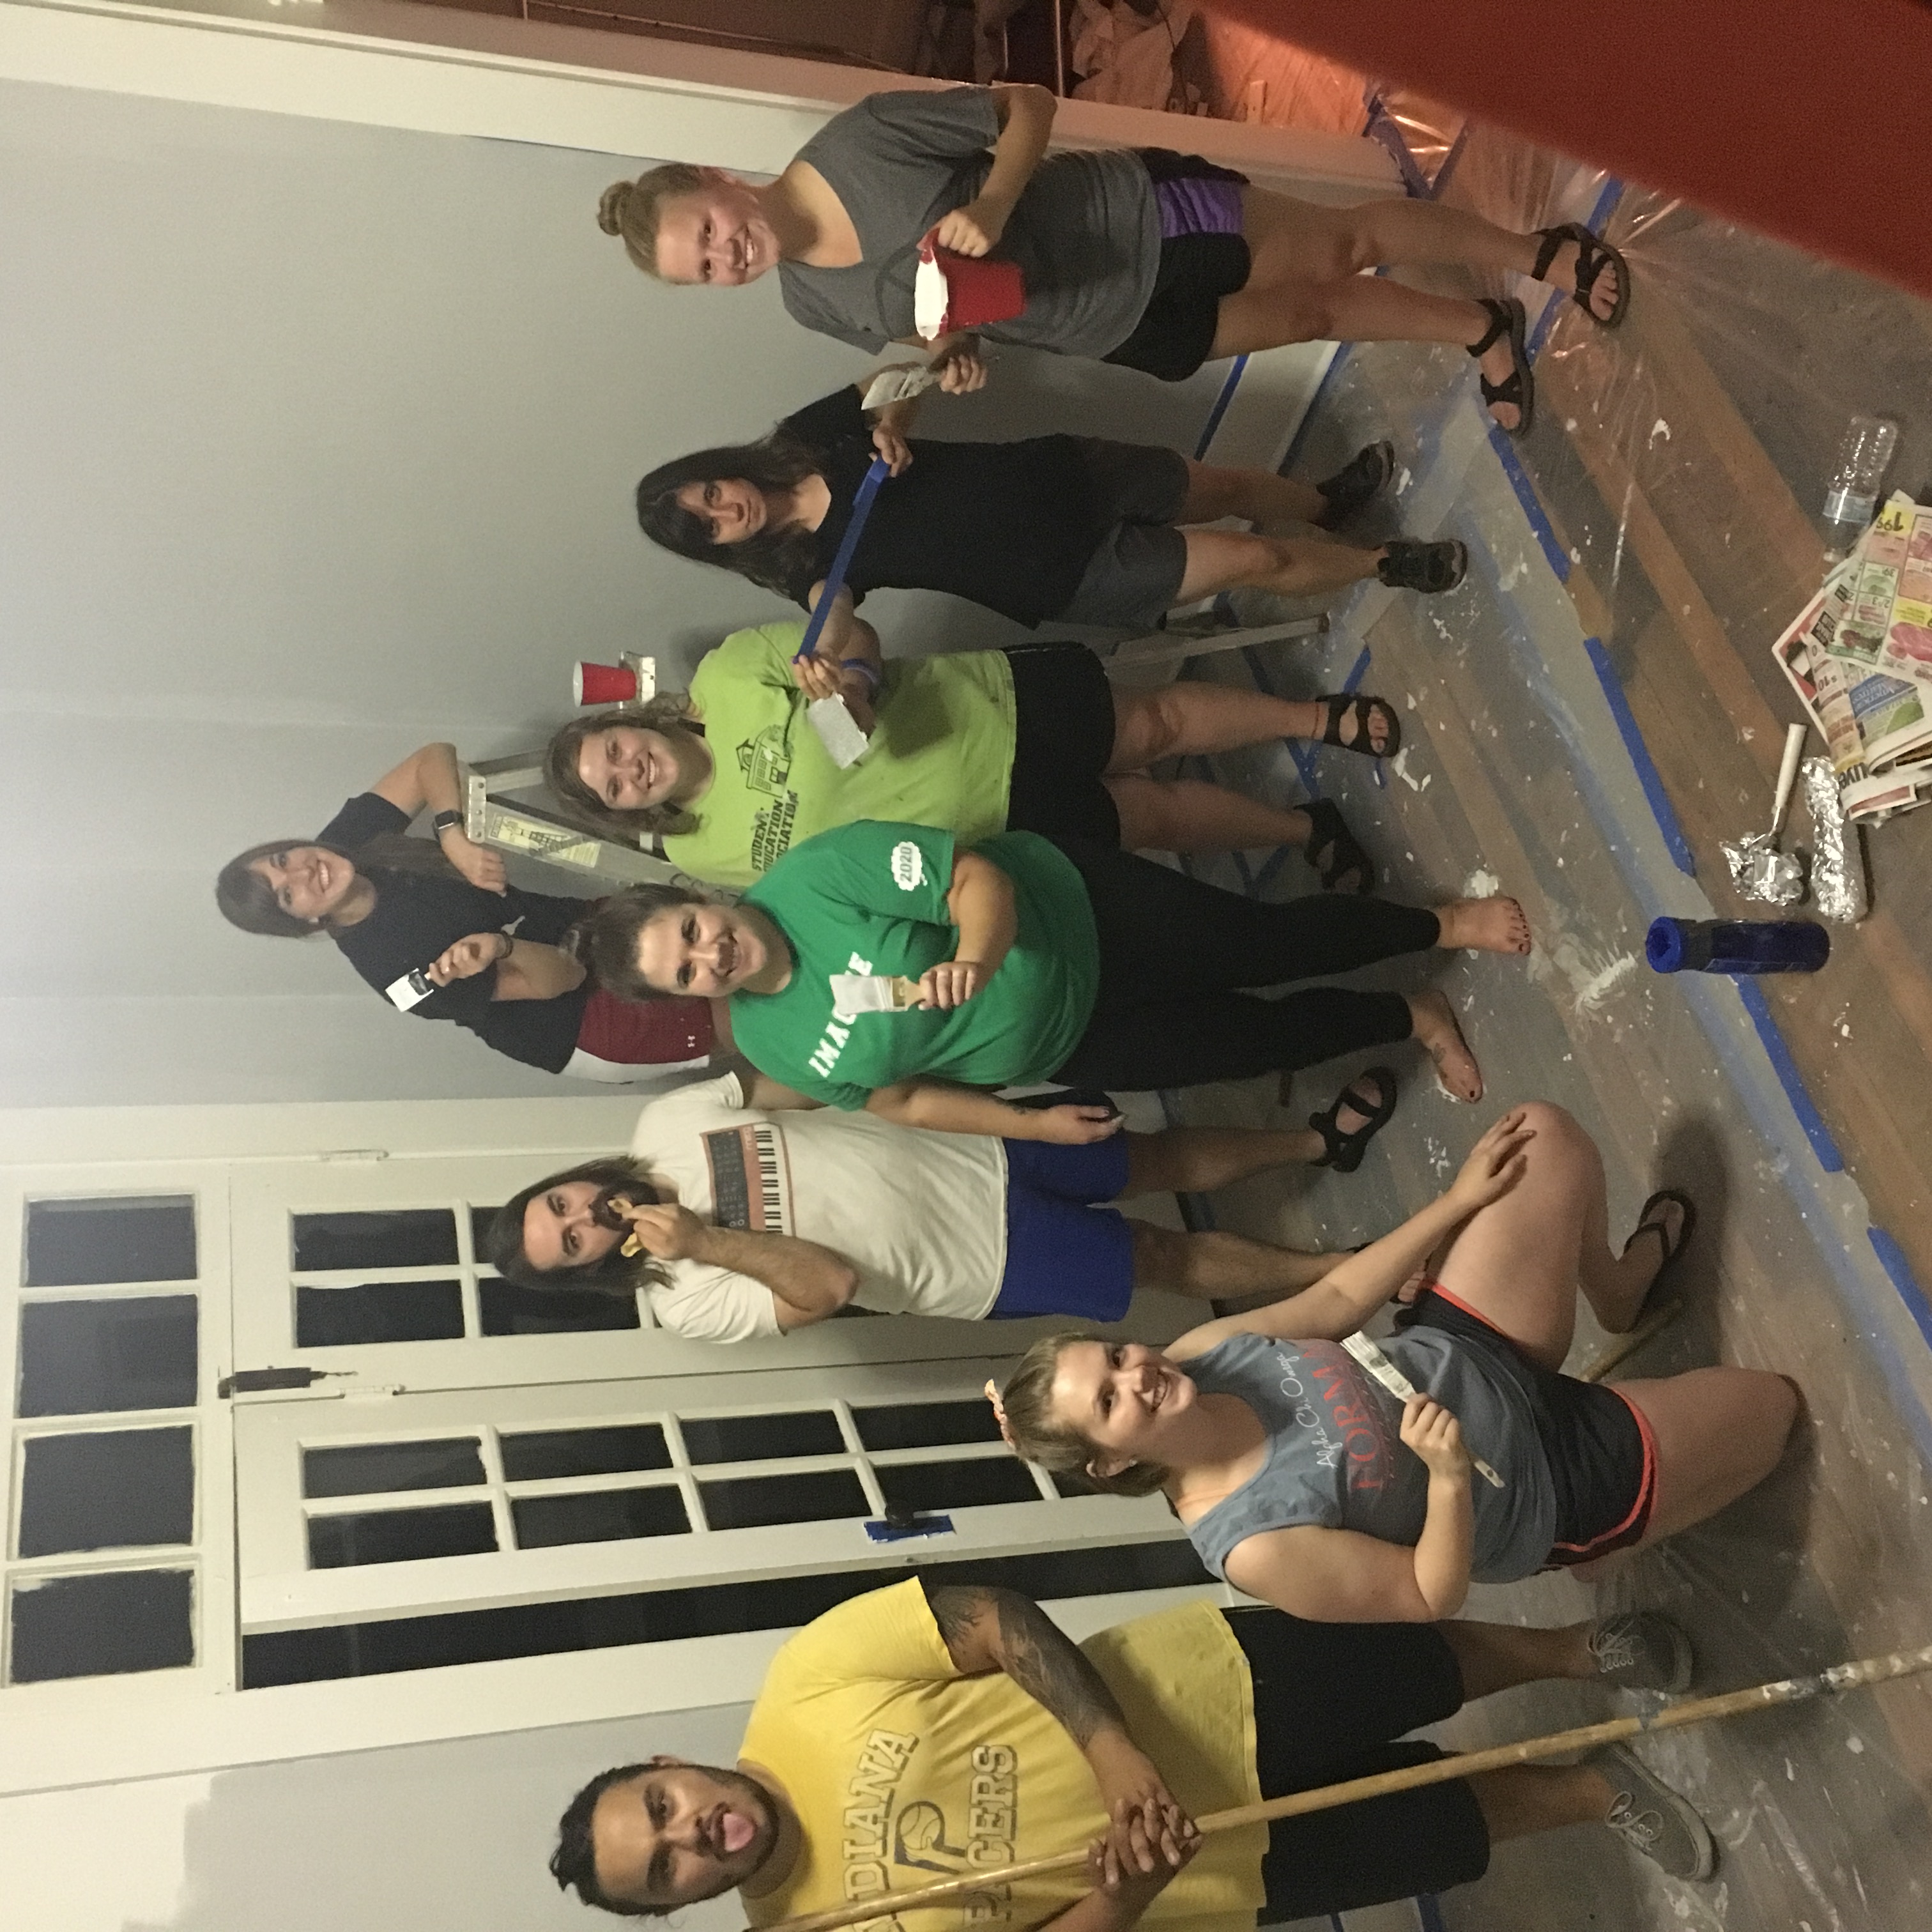
THE PROCESS:
.jpg)
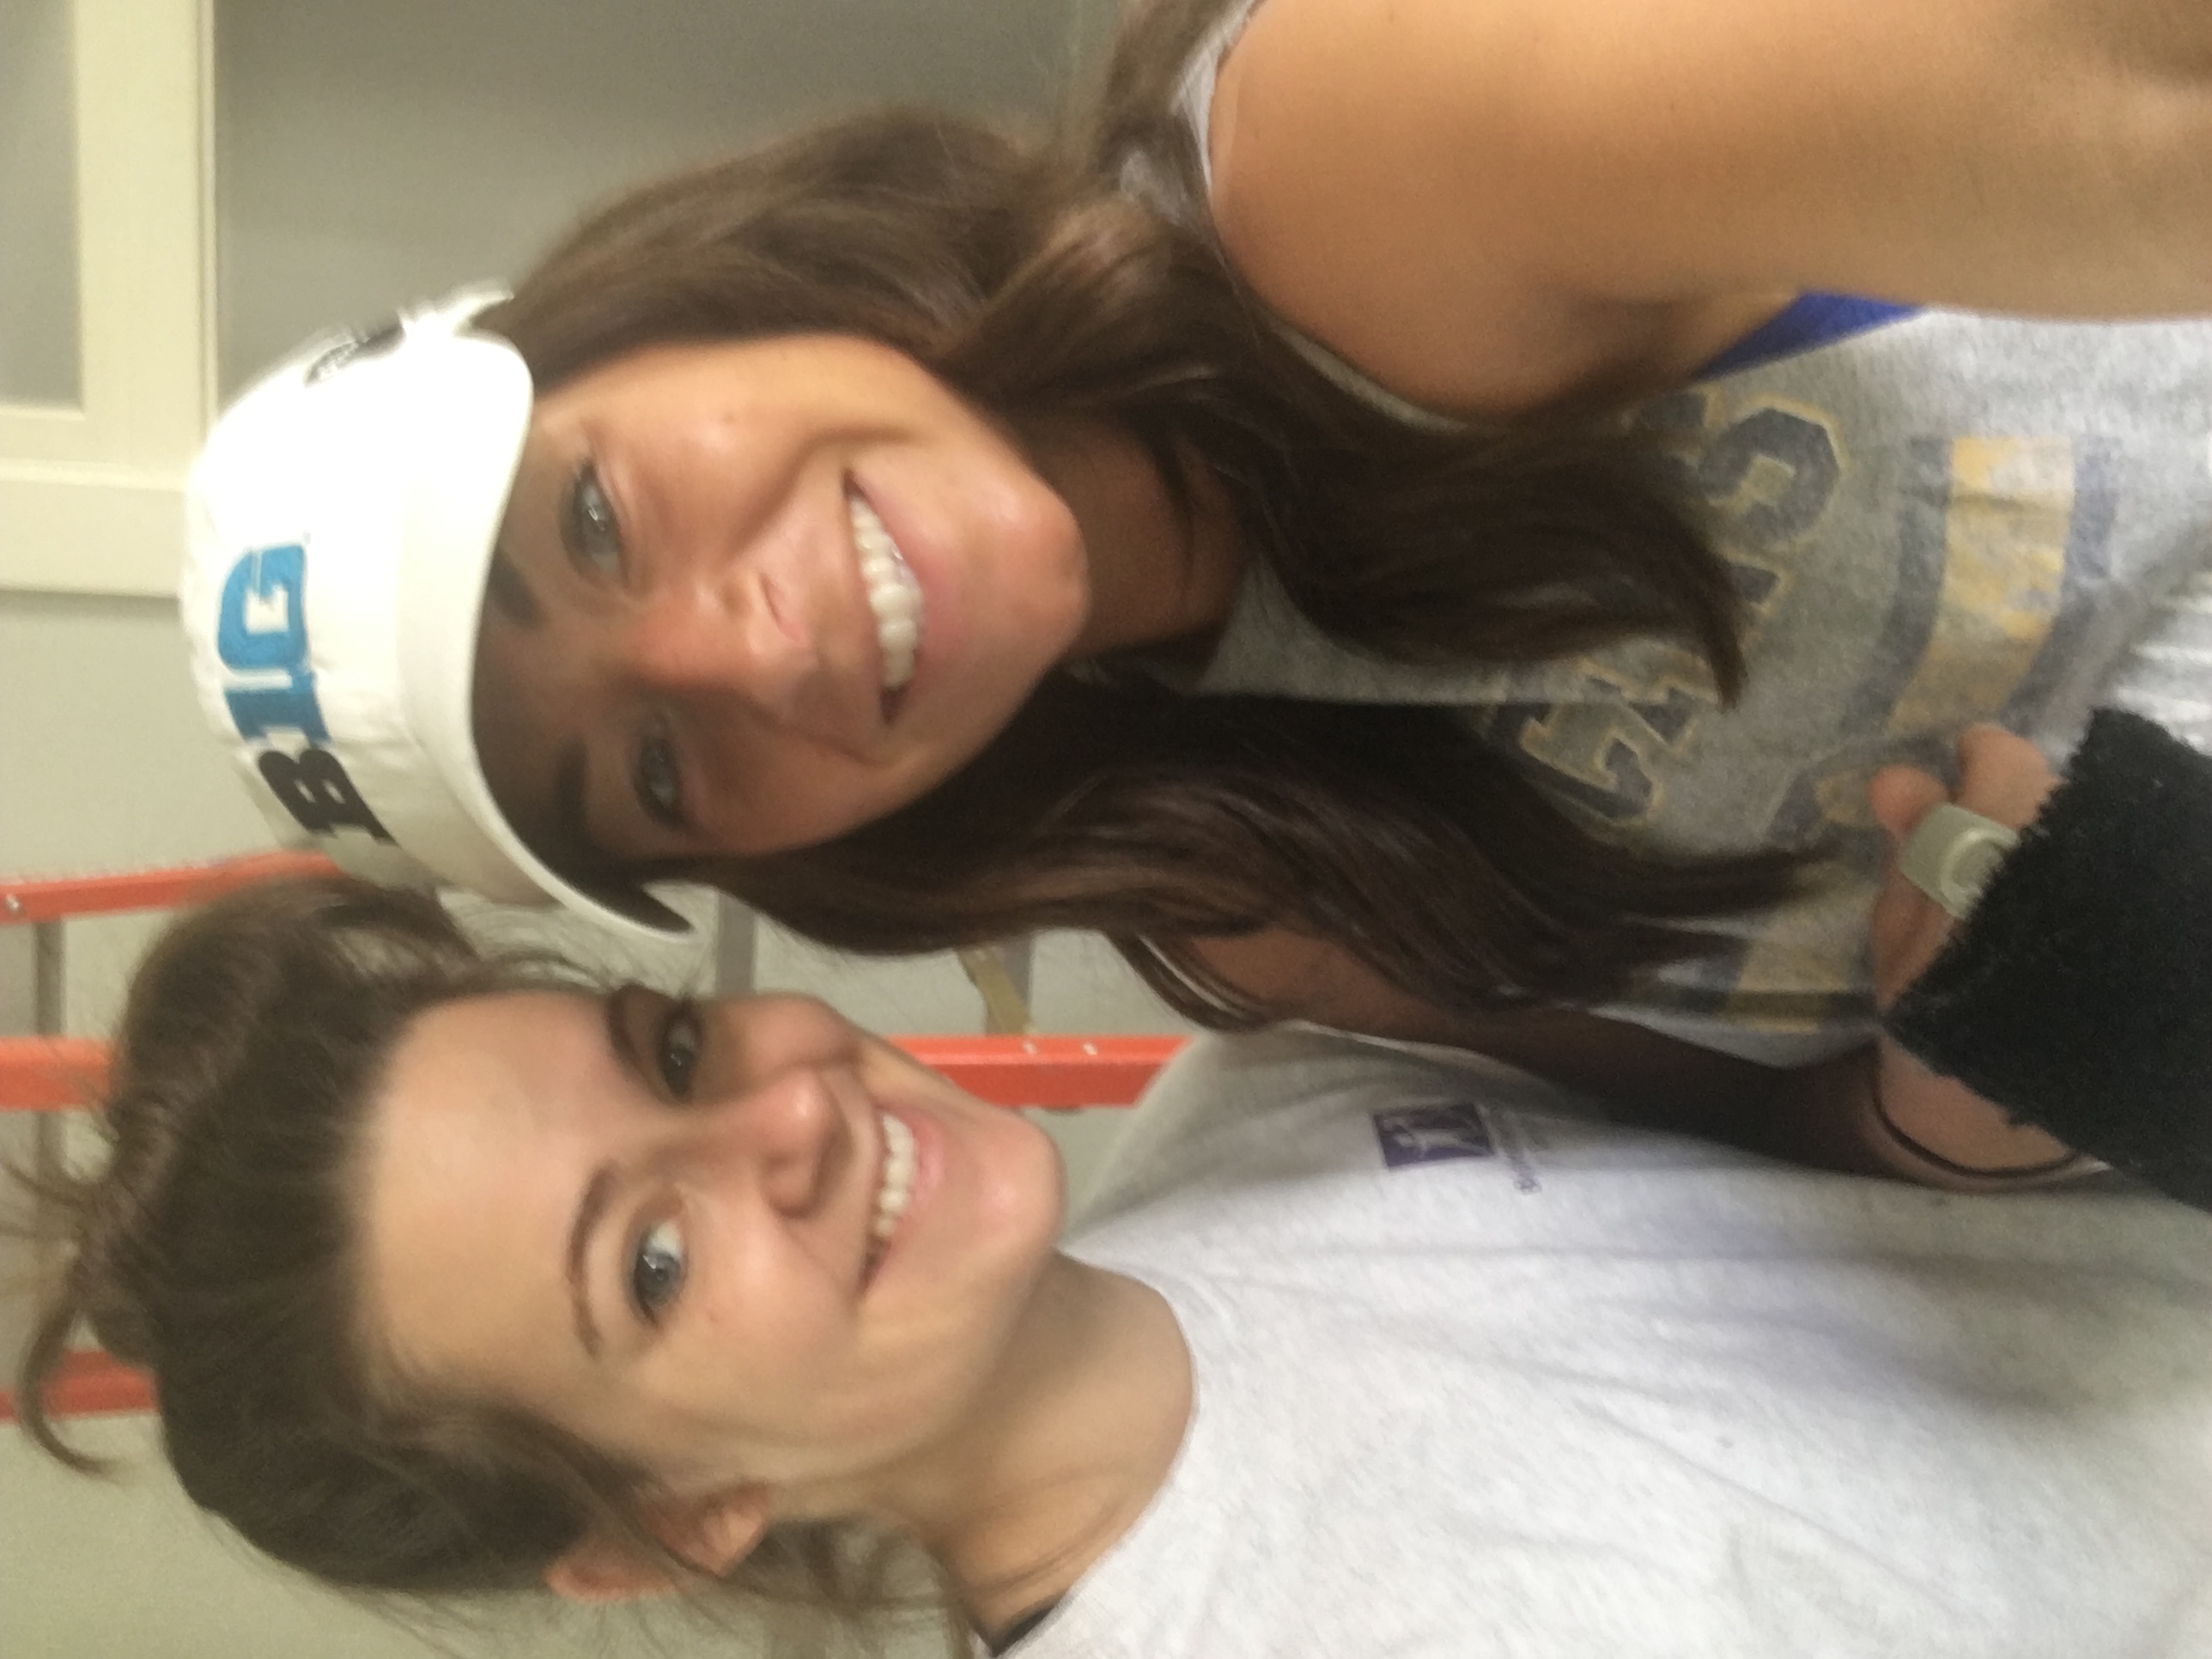
My amazing friends above and amazing friends in my church’s small group below.
.jpg)
.jpg)
It took me five paint samples to finally find the perfect blue-green-teal for this space.
I had nothing to do with this demo, just posing. Also, yes, I do wear the same outfit every day I would work on the house.
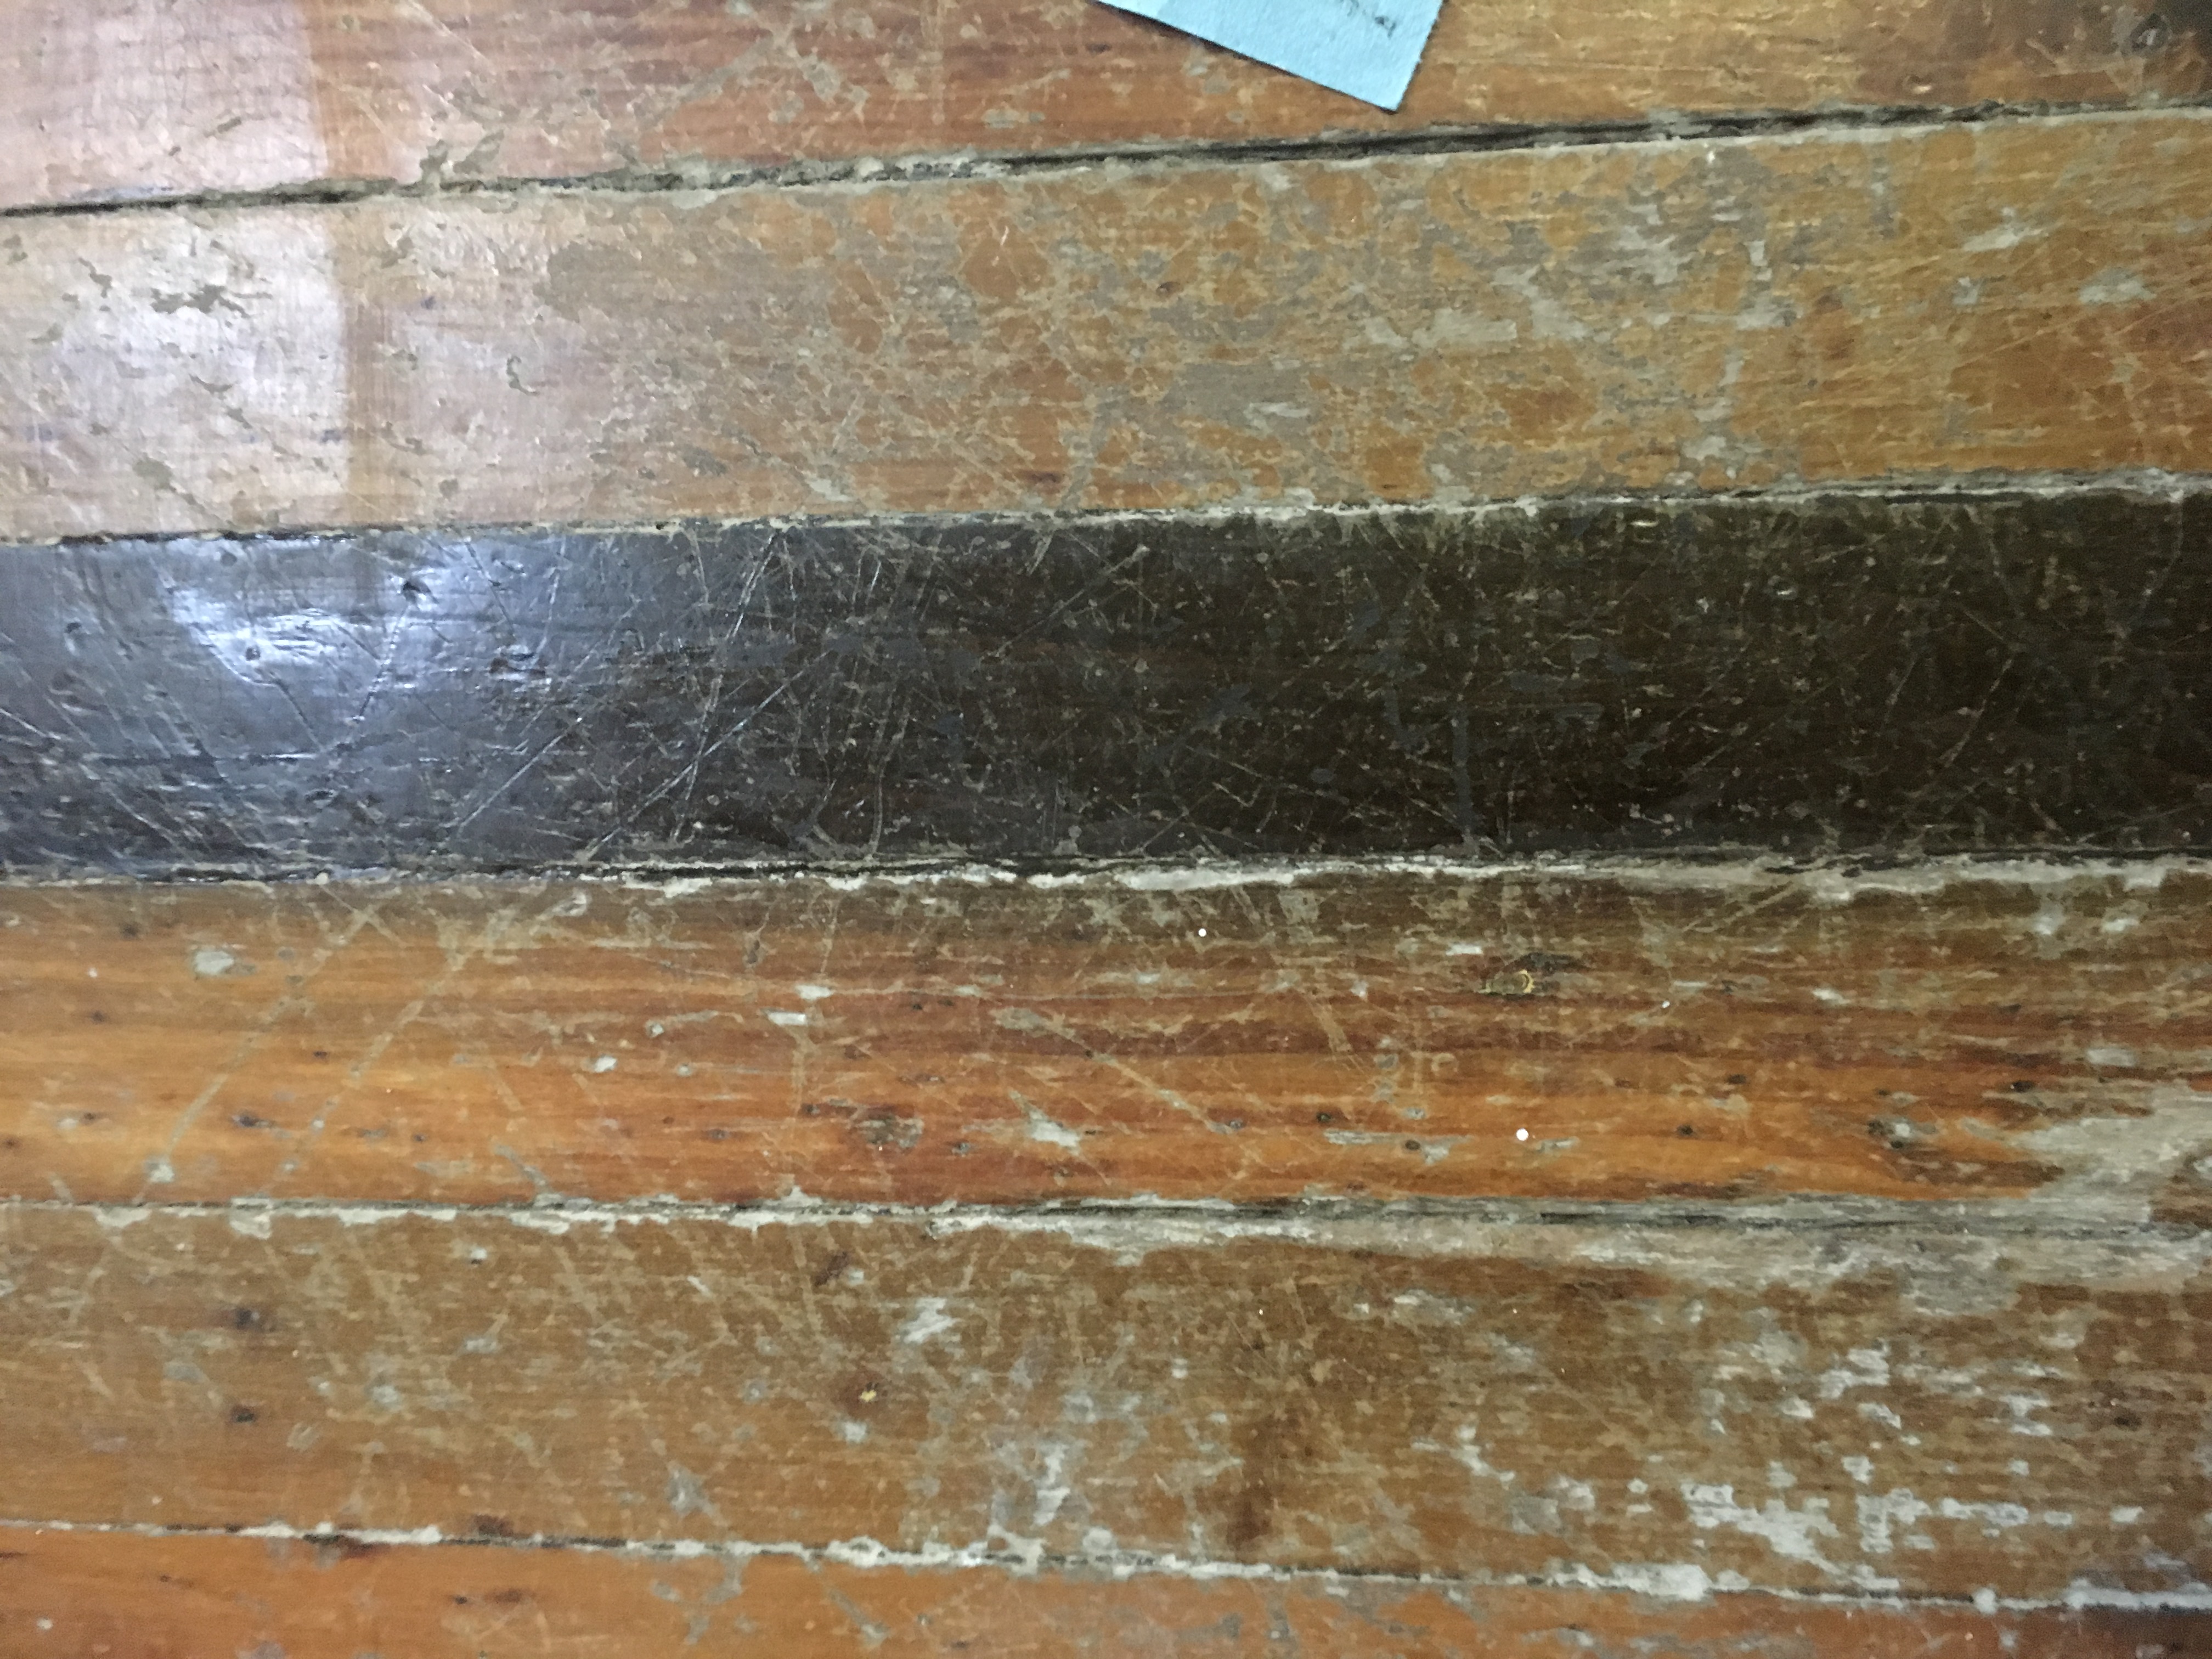
Even though the scratches are still there, it made a huge difference in blending the colors in a little better.
WHAT WAS BOUGHT:
- Couch & Chair in living room: IKEA
- Dining room table: Bowtie Woodworks — Created by Joe Freed using centuries-old barn wood
- Rug: West Elm [I got it right when it came off the floor in the show room so it was 80% off! Otherwise, a West Elm rug is a little out of my price range;)]
- Entertainment center: Society of Salvage
- Yellow and blue-gray stools: Society of Salvage
- Bar cart: Society of Salvage
- Dining room chairs: Midland Antiques
- Magazine rack: Doc’s Architectural Salvage
- Hanging wooden shelf: Logan’s Village Mall
- Indiana pillow: handmade by my sister!
- Floor lamp: Target
.jpg "Tessa Tillett Photography (20 of 22)")
.jpg "Tessa Tillett Photography (21 of 22)")
.jpg "Tessa Tillett Photography (17 of 22)")
.jpg "Tessa Tillett Photography (10 of 22)")
.jpg "Tessa Tillett Photography (5 of 22)")
.jpg "Tessa Tillett Photography (1 of 22)")
.jpg "Tessa Tillett Photography (8 of 22)")
.jpg "Tessa Tillett Photography (19 of 22)")
.jpg "Tessa Tillett Photography (7 of 22)")
.jpg "Tessa Tillett Photography (15 of 22)")
.jpg "Tessa Tillett Photography (16 of 22)")
.jpg "Tessa Tillett Photography (6 of 22)")
.jpg "Tessa Tillett Photography (22 of 22)")
.jpg "Tessa Tillett Photography (9 of 22)")
.jpg "Tessa Tillett Photography (11 of 22)")
.jpg "Tessa Tillett Photography (3 of 22)")
.jpg "Tessa Tillett Photography (4 of 22)")
.jpg "Tessa Tillett Photography (2 of 22)")
.jpg "Tessa Tillett Photography (12 of 22)")